
The fastest way to improve at anything is to practice without friction. With LEGO photography, that means having a scene ready to shoot at any time, so you’re spending your energy on the craft instead of the setup.
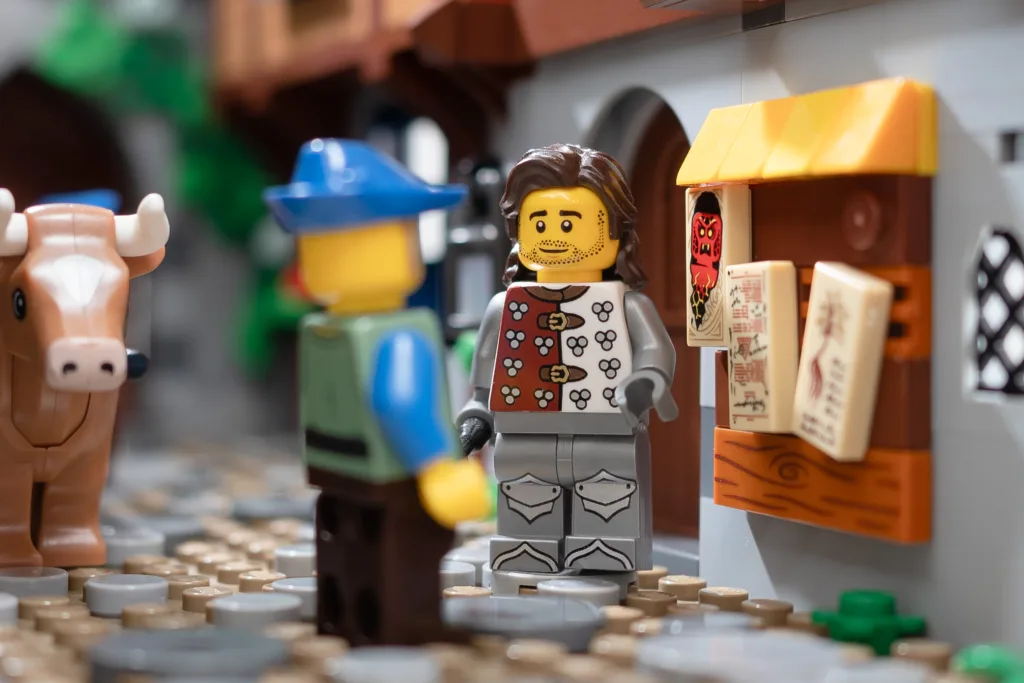
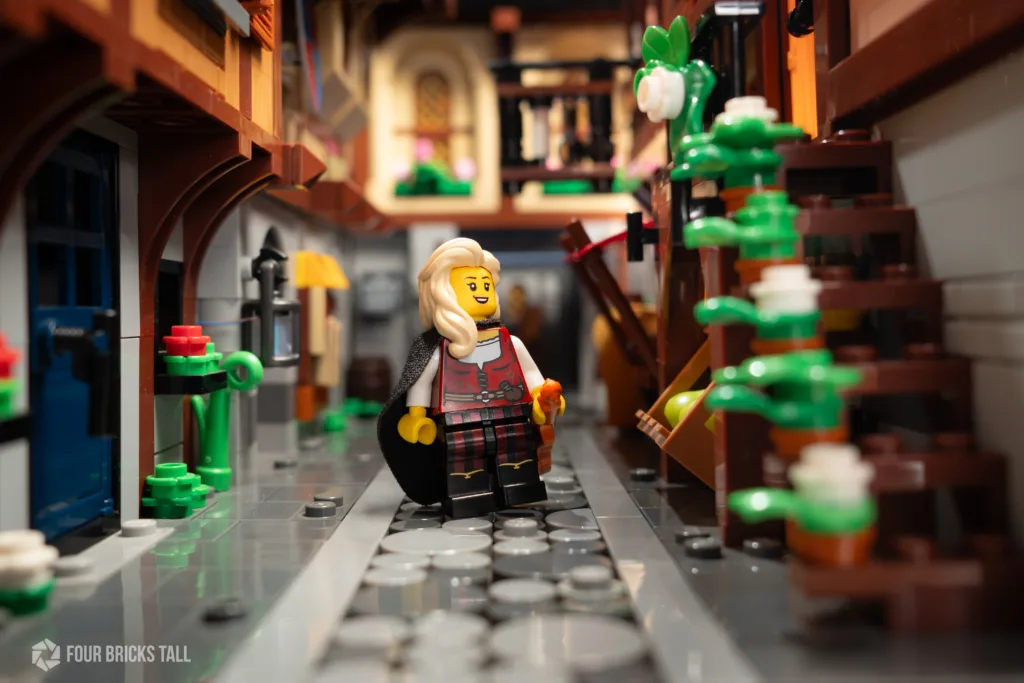
If you’ve seen my work, you know I shoot a lot in my narrow medieval street build called Galen’s Row. That scene features heavily in my photography over the last few years. Having this environment ready to pull off my shelf is a big reason why I was able to level up fast. It allows me to focus on playing with light, texture, composition, lenses, and whatever else quickly because the labor-intensive part is done.
This guide is built around that idea. We’ll lightly touch on gear, lighting, subject, and story, but everything feeds into one central piece of advice: build yourself a small room set, leave it out, and shoot in it every day.
Build your practice room first
Before we get into cameras or lighting, let’s talk about the thing that will actually accelerate your progress: a room.
A basic LEGO room can be a 16×16 baseplate with 2 adjacent walls that are stacked at least 11 bricks high (higher if you’re shooting with a phone, especially in portrait orientation).
Tile the floor if you have the pieces, but scatter a few jumper plates around too. Jumper plates let you position your minifig or furniture precisely without committing to a fixed spot. It’s a small thing that gives you a lot more freedom when you’re posing a scene quickly.
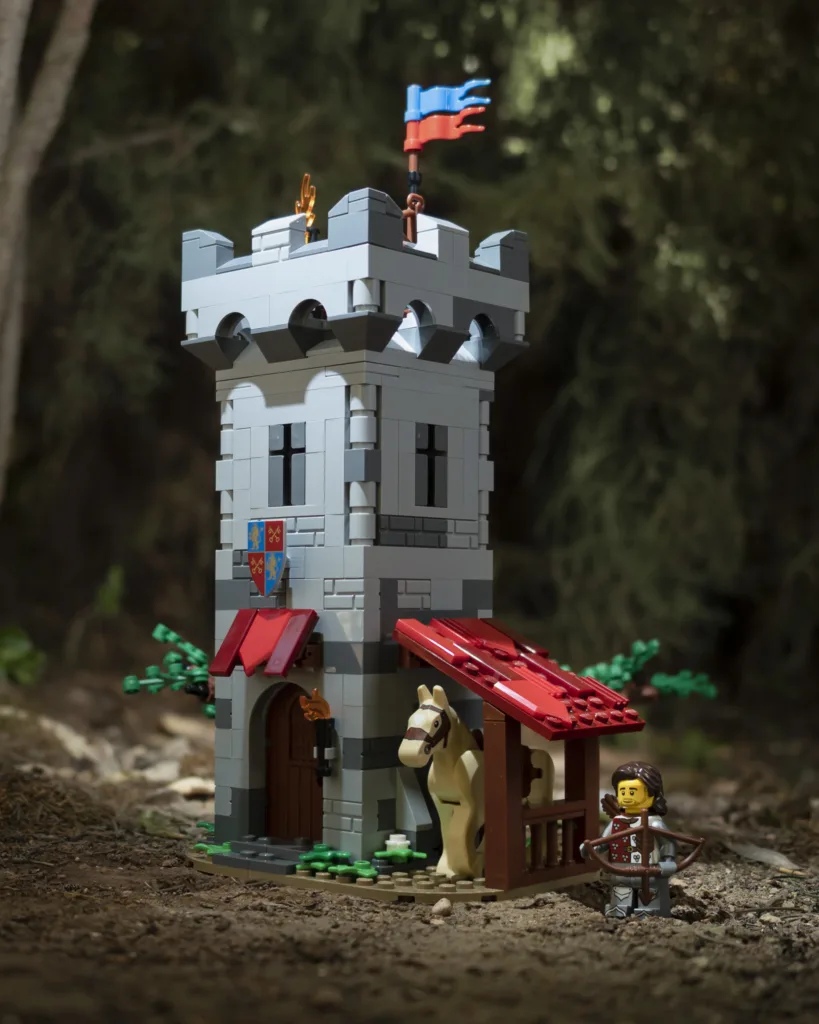
For furniture, start simple with an armchair, a sofa, a TV stand, some shelves. If you see furniture in an official LEGO set that you like, download the building instructions from LEGO.com and add the mini build to your room. You don’t need the whole LEGO set ( and frankly, sets are really tough to shoot in anyway).
There are also loads of free tutorials on YouTube for minibuilds that walk you through each step. Check out @brickdesigned on Instagram for lots of clever builds too.
Tip: If you have windows in your practice room, use a laptop or tablet screen with an image of nature to simulate the view outside. Alternatively, add a brick-built tree to block the windows.
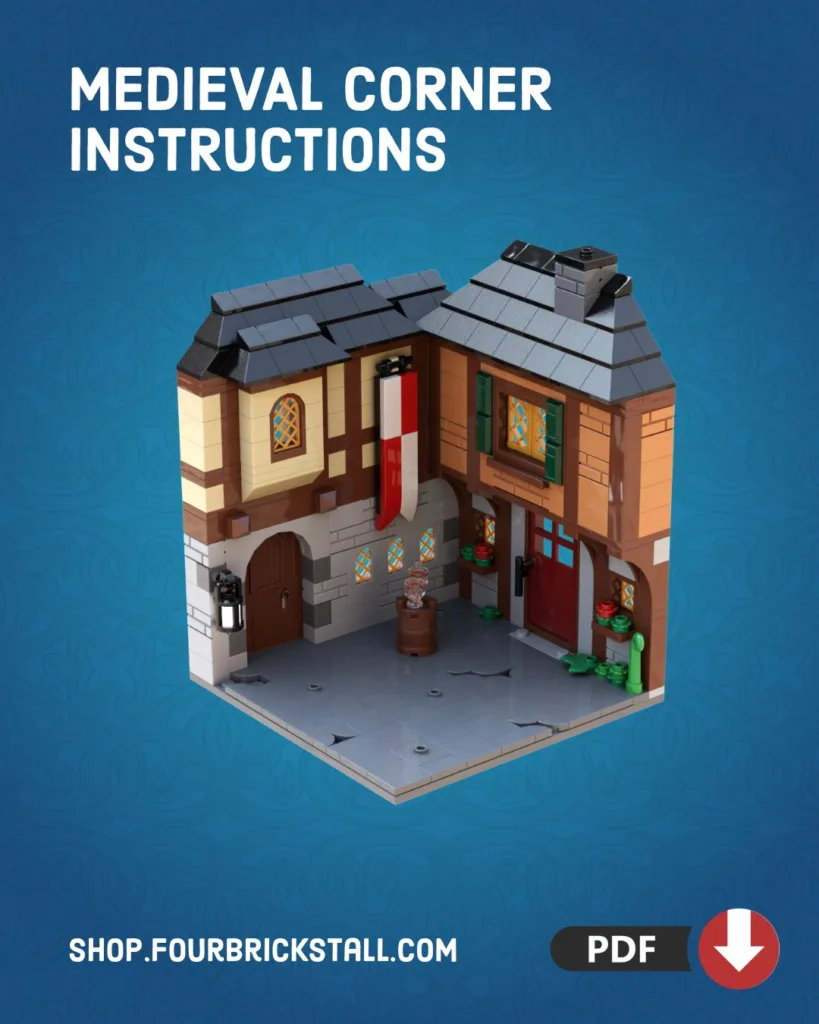
If you prefer to get started quickly with some builds optimized for LEGO photography, I’ve put together 2 starter builds you can download for free here. One is a modern cozy living room, and the other is a medieval corner similar to my Galen’s Row build, but a lot more compact.
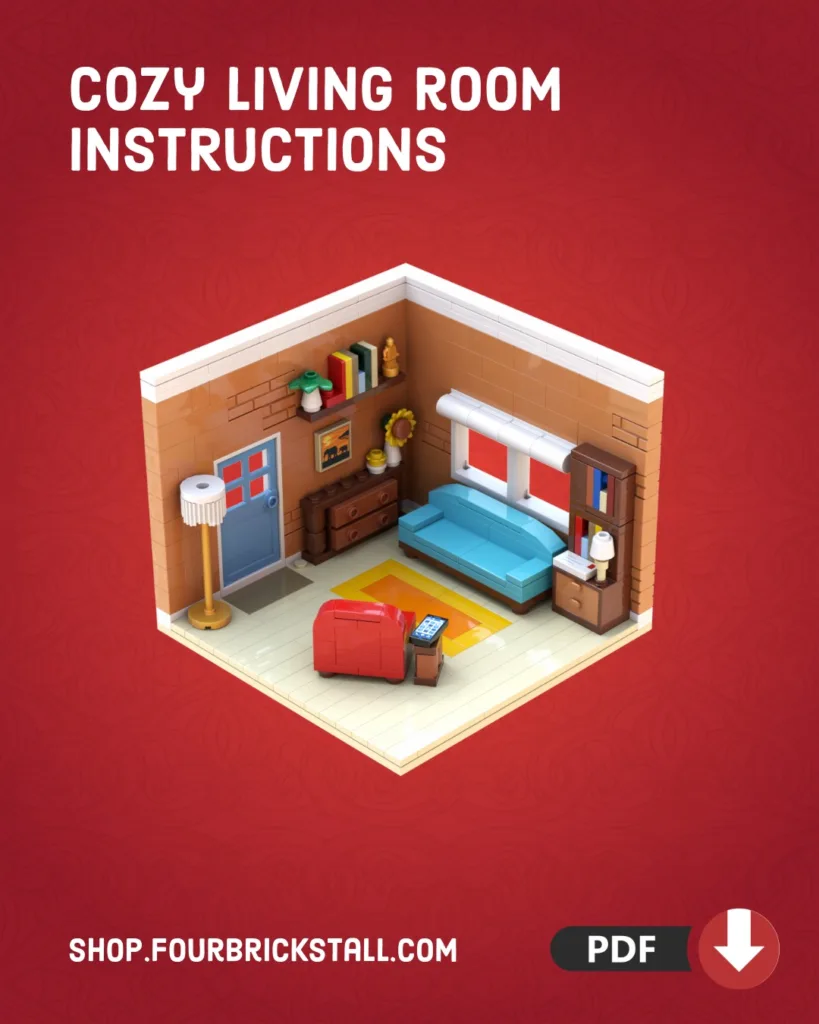
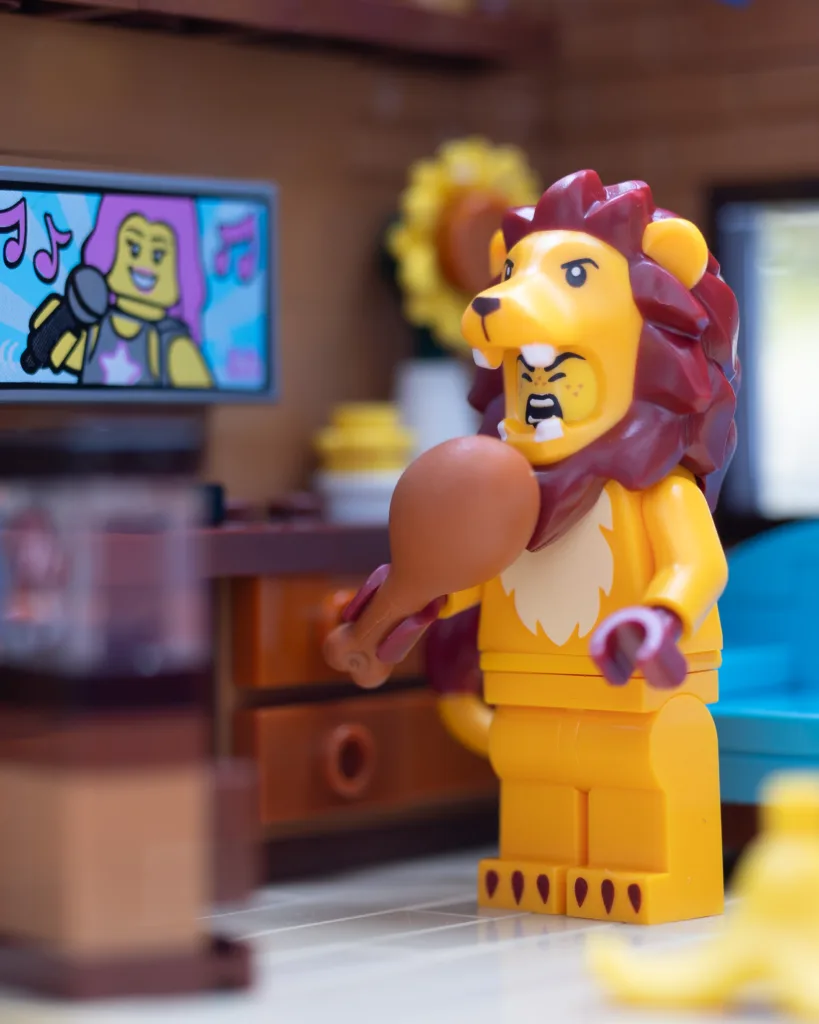
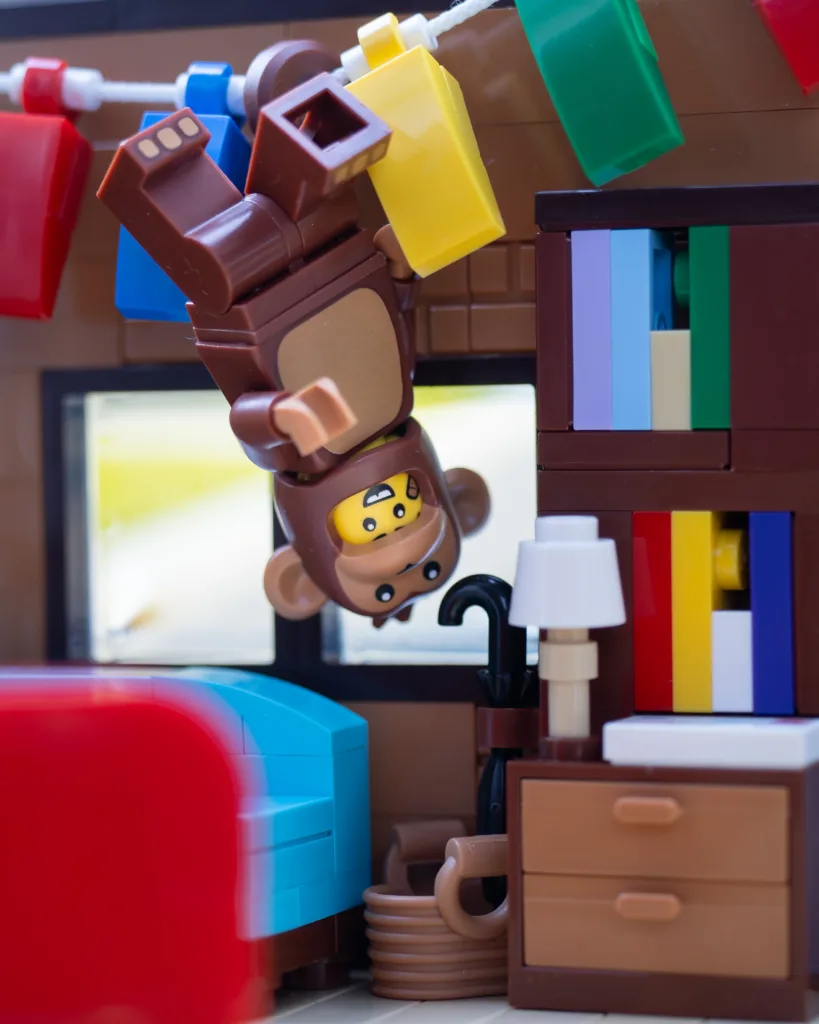
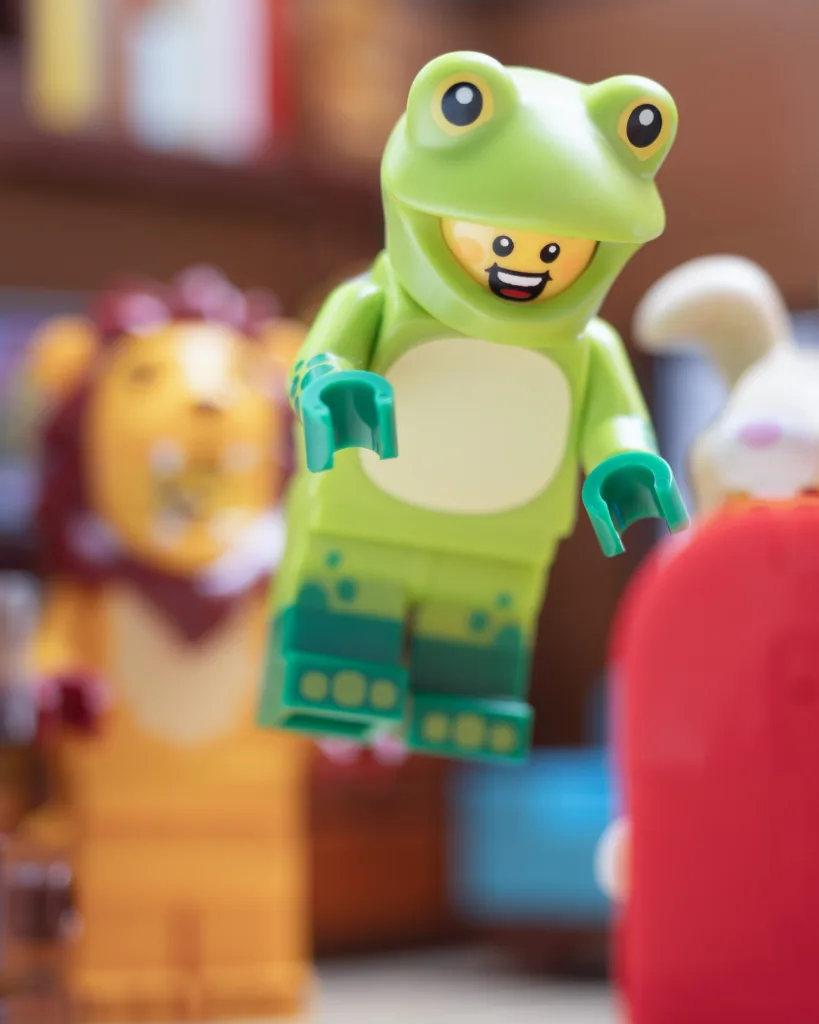
The Cozy Living Room is a modified version of the build I used for work commissioned by The LEGO Group for CMF Series 28. Here’s how it looks in action:

Now leave your practice room out. Don’t put it away. The whole point is that it’s always ready.
Pick one minifig as your muse
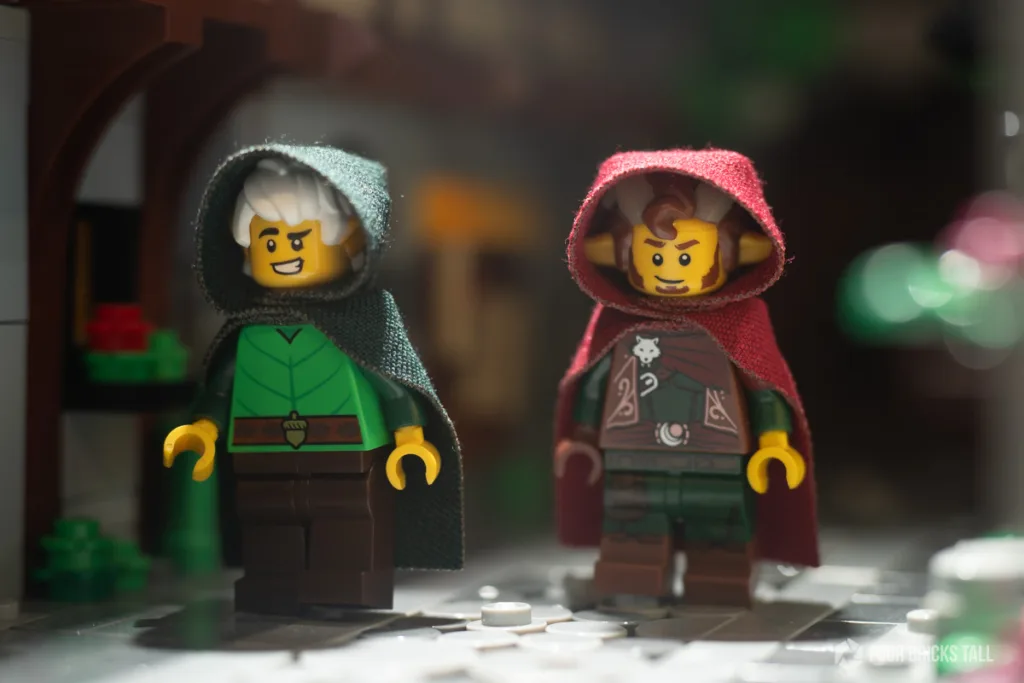
Once the room is built, pick one minifig to be your subject and stick with it for a while.
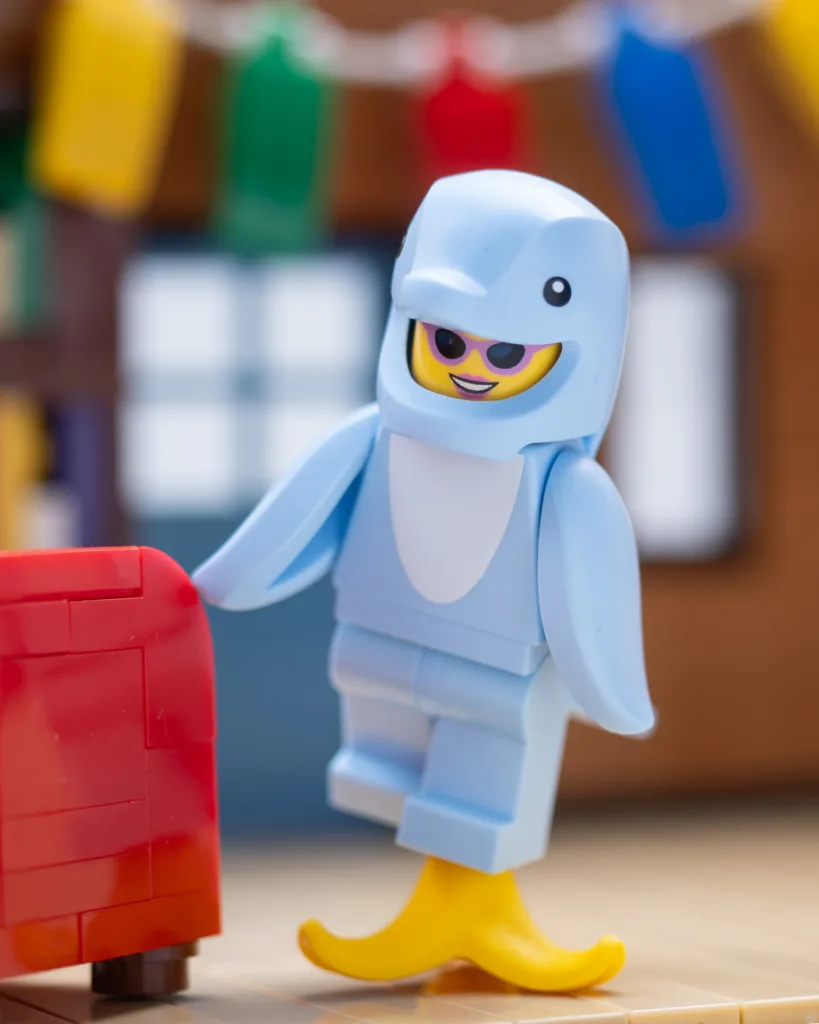
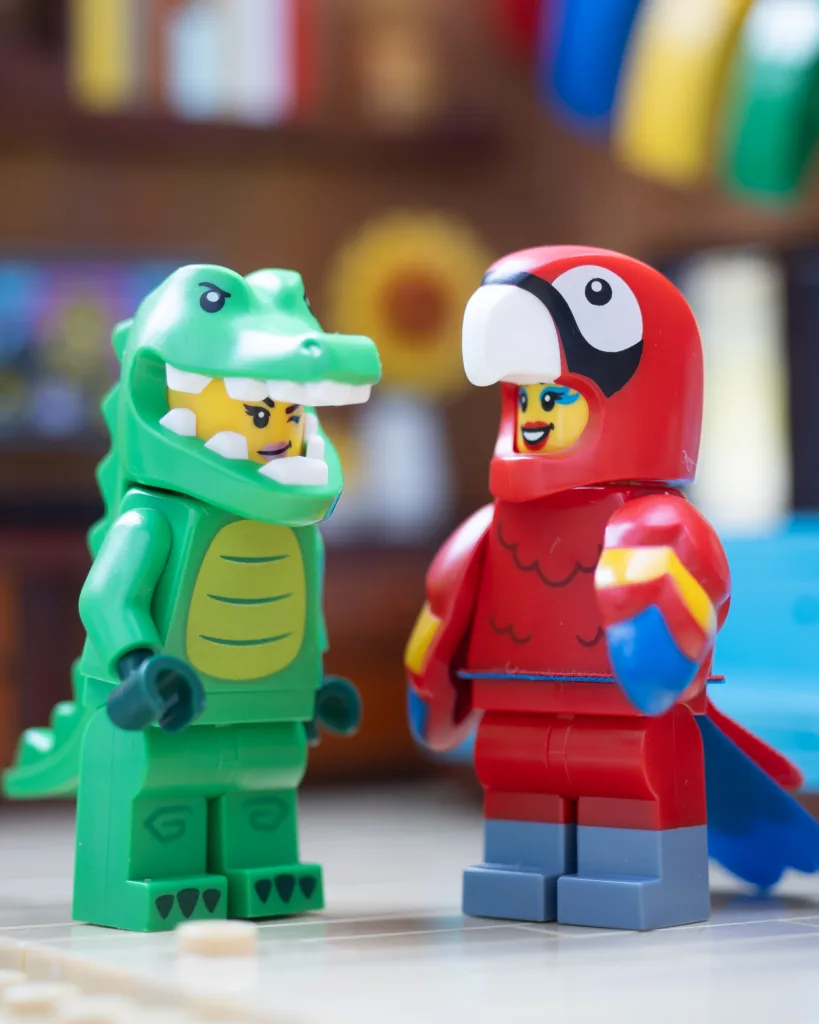
Minifigs straight out of the box have been photographed millions of times, so the more you can make yours feel specific, the better.
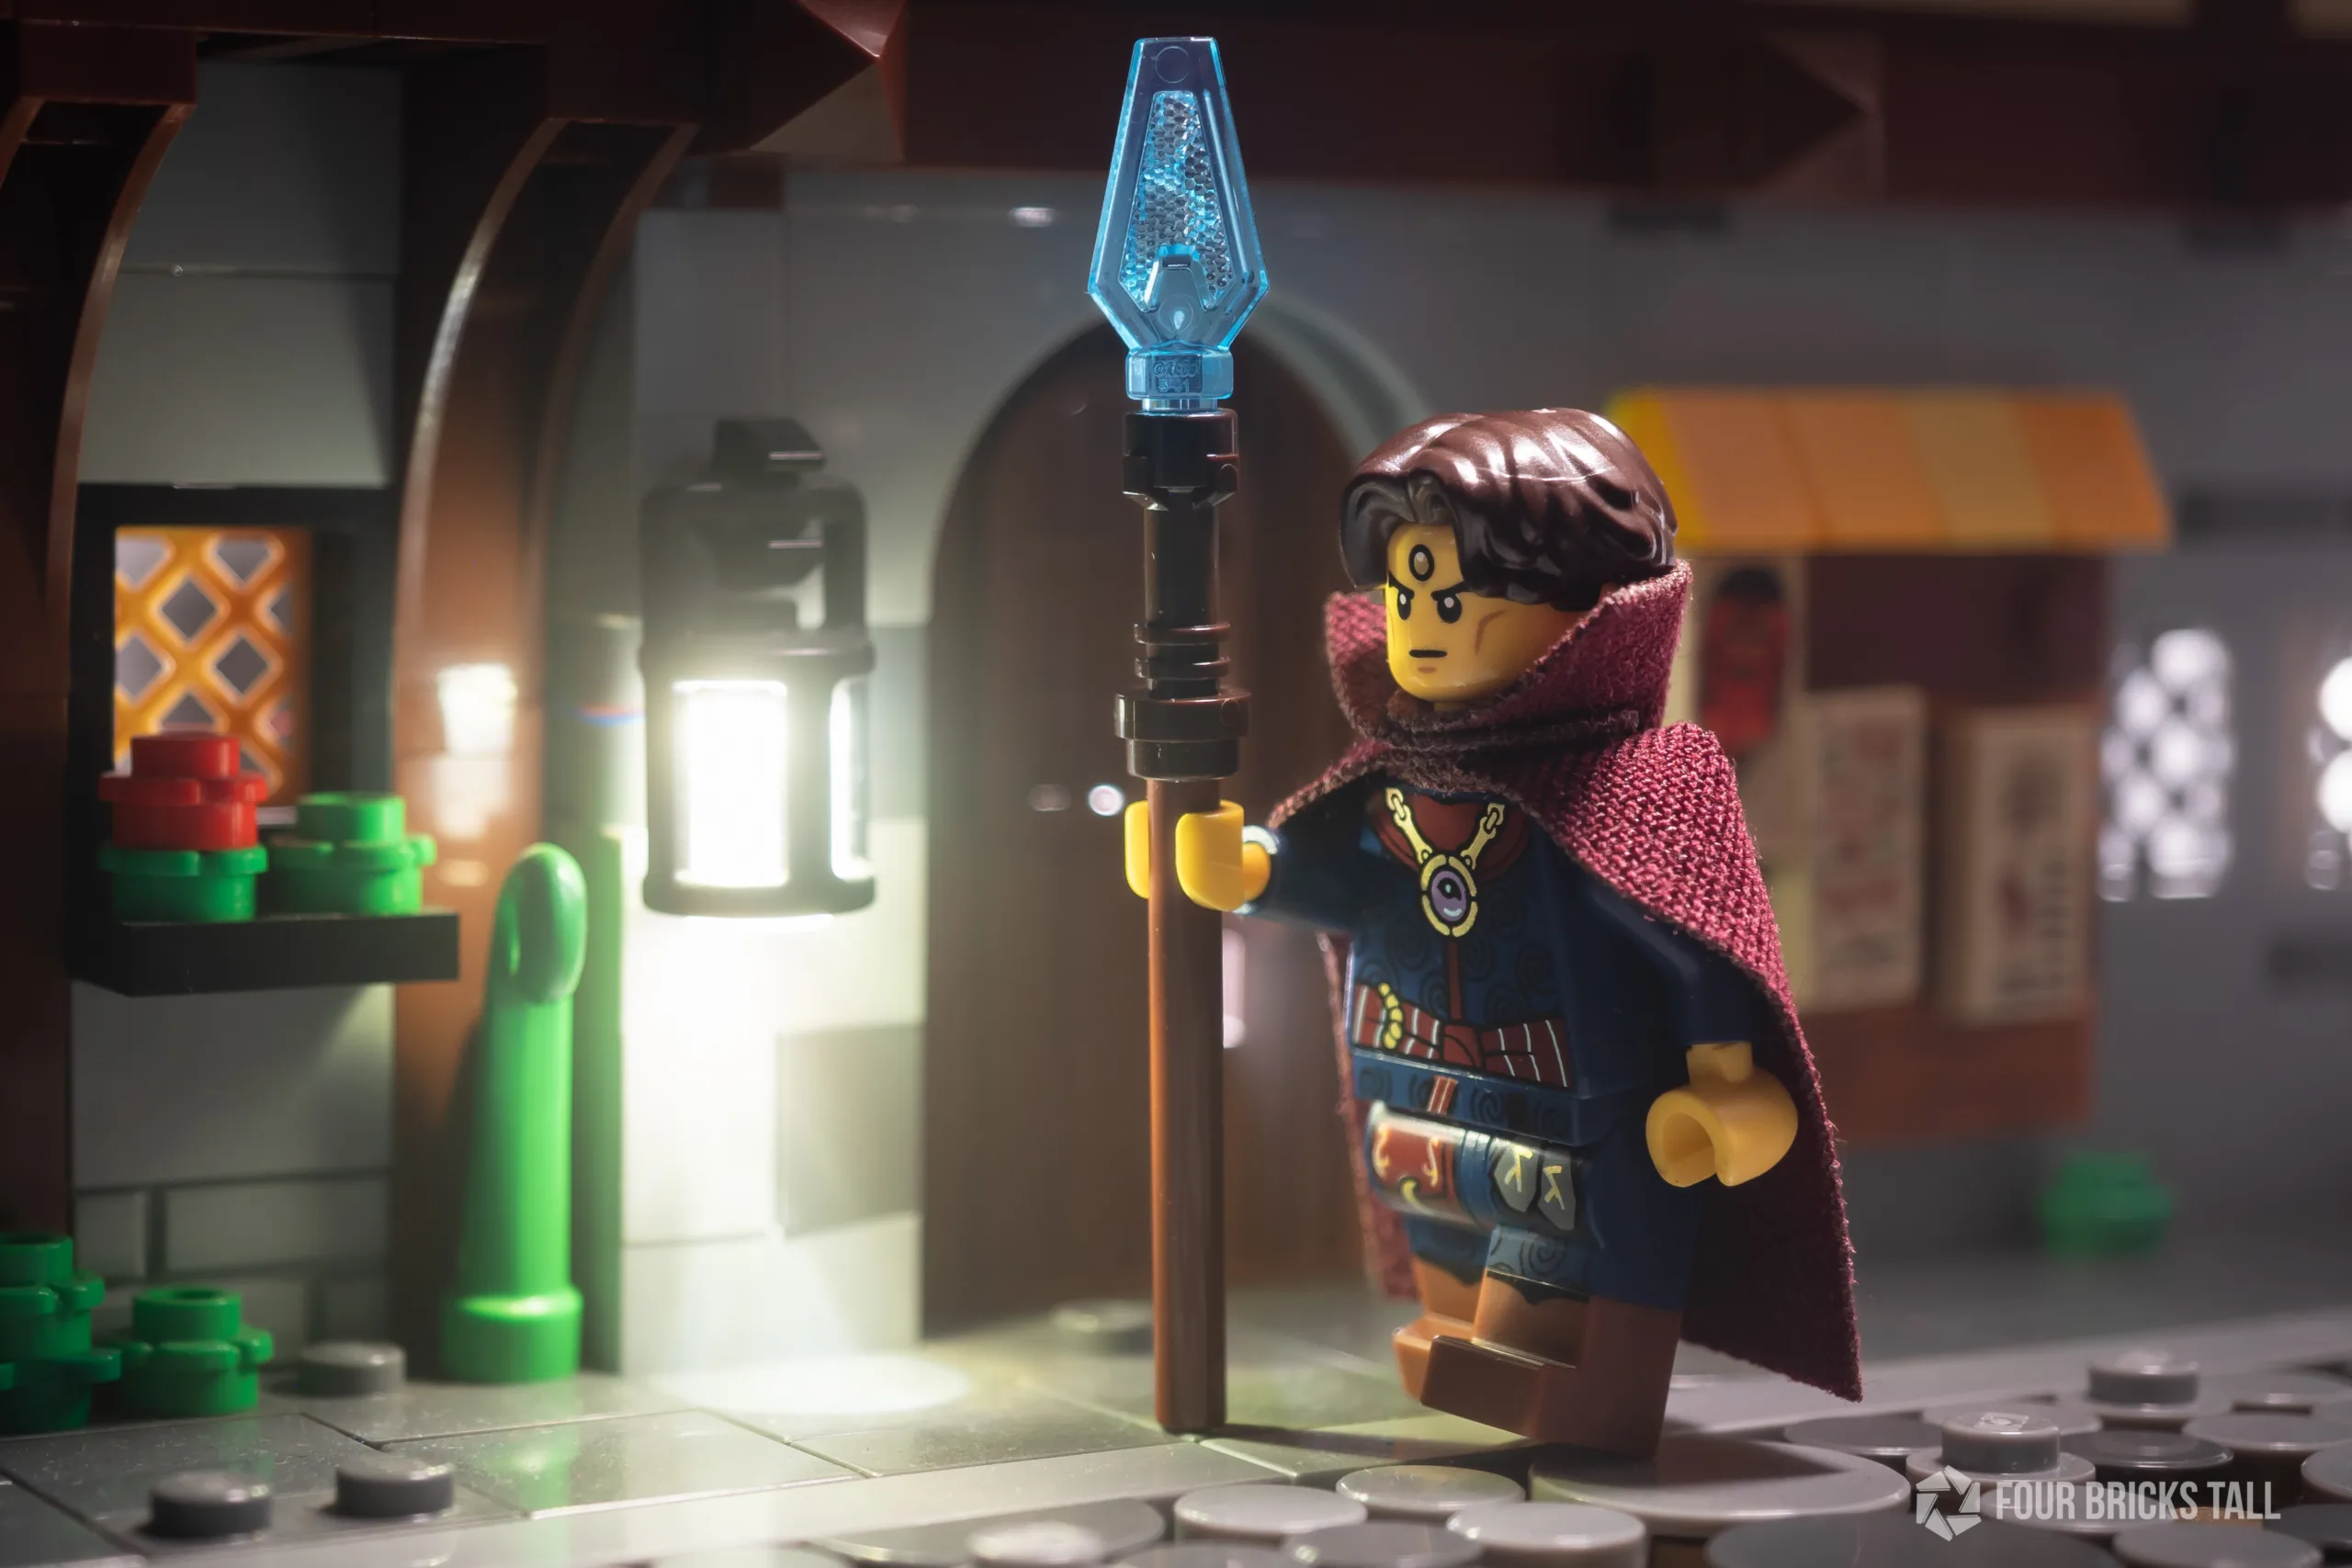
Expression is everything: LEGO faces are fixed, which means choosing the right head is a real creative decision. A smirking face reads completely differently from a worried one, even in the same scene with the same light.
When I started, I had one smirking guy who appeared in almost every shot I took. Later, I made a series based on a medieval character I named Galen. That constraint proved really useful because I could get to shooting quickly, and my shots all looked connected across different environments.
Load up on accessories. These plastic props instantly add character and storytelling opportunities. Cameras, guitars, and pets are a great start.
If you’re near a LEGO store, they have Build-a-Minifigure areas where you can create 3 minifigs for under $10. You can also pick up the Collectible Minifigure blind boxes for about $4 each.
Tip: if you don’t like surprises, download a minifig scanning app like OMGbricks and scan the QR code to see what’s inside the box.
A lot of toy photographers eventually make a sigfig (a minifig version of themselves), and it’s a great thing to work toward. But building it well can become its own project. So for now, pick something you already have that you want to photograph, and commit to it.
What camera should you use?
Whatever you have works. Don’t get stalled thinking about gear at this point.
A phone is ideal for capturing the full interior of the practice room with every detail intact. The challenge is making your minifig stand out when everything around it is equally sharp. That’s a composition problem, solved through angles, framing, and where you place your subject. This is exactly what daily practice teaches you.
Tip: Switch to a telephoto lens instead of the default wide angle lens to make it easier to frame up the shot. You can also zoom in or crop in edit later.
A camera with a macro lens gets you optically close so your minifig fills the frame and looks imposing. The tradeoff is a shallow depth of field: only a small section of the scene will be in focus at close distances. That can be beautiful, isolating your subject against a softly blurred background, but it can also strip out all the context that makes the scene interesting. With practice you’ll learn to balance both.
Neither approach is better. They just ask different things of you and your gear. (For more on shooting with a phone specifically, see my phone photography tips collection.)
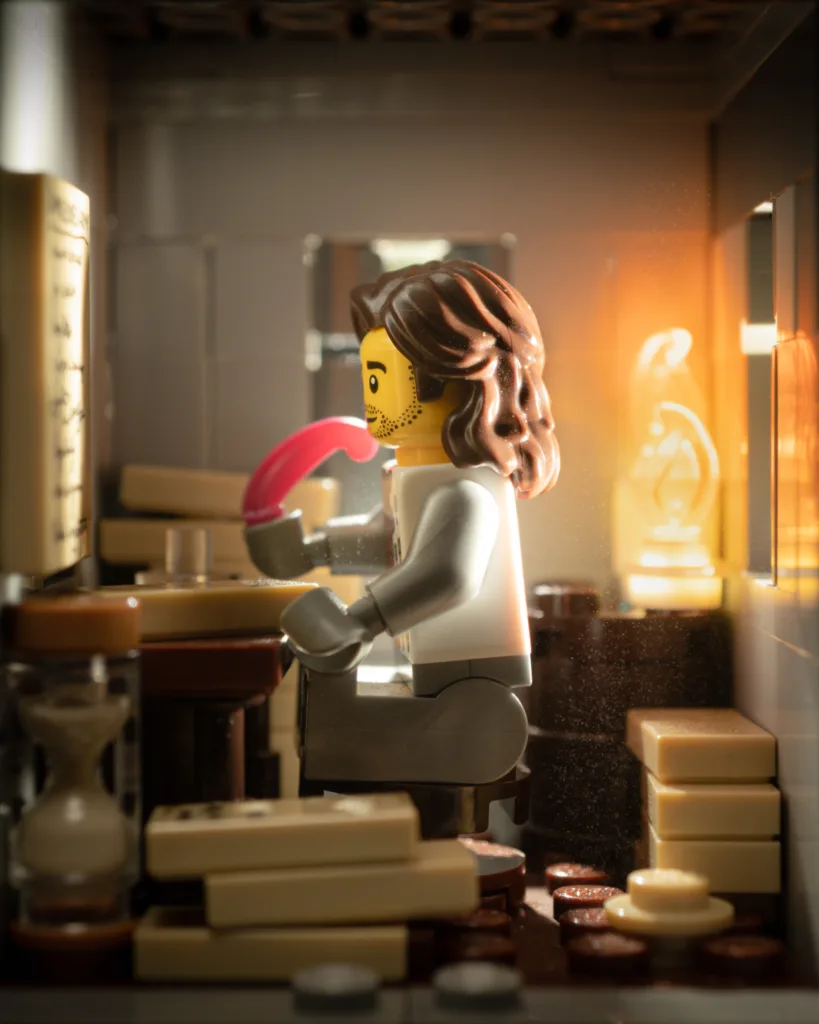
Learning light inside the room
The room isn’t just a practice set. It’s a controlled environment for learning about light, which is the single biggest variable in toy photography.
Start with a household flashlight and try shining it through the windows at 45 degrees. Then straight in. Watch how the shadows move and what happens to the mood of the scene. Each position tells a different story.
Tip: Grab some translucent paper like tissue and hold it between the flashlight and the build. Look at how soft the shadow edges are now and what happens to the reflections.
This kind of exploration is much harder to do outdoors because the light is always changing and you’re dealing with too many variables at once. Inside the room, you control everything.
Natural light
If you’re shooting near a real window with sunlight, the same principles apply. Hard sun creates dramatic shadows that become part of the composition. Shade gives you something softer and more even. Overcast skies are the beginner’s best friend: cloud cover acts like a giant softbox, evening out the light so colours read true and detail holds across the frame. If you’re just starting out, wait for a cloudy day.
Artificial light
Artificial light means you can shoot whenever you want, which matters when the whole point is shooting every day. A basic LED panel can be had for cheap and will serve you well because it covers more area than a flashlight and you can usually change the color temperature. (For more on lighting, see Understanding the Art of Lighting.)
Telling a story inside your room
When you’re not thinking about setup, you can focus entirely on what’s happening in the scene.
Ask yourself: what is this minifig doing right now?
It doesn’t have to be complicated. Think about props and posing.
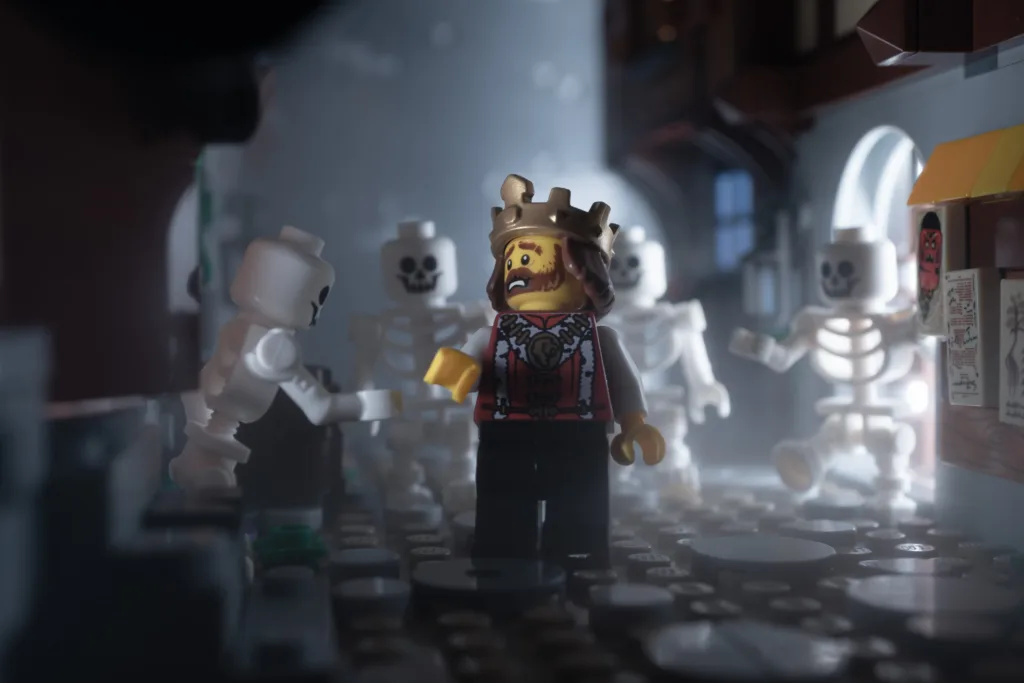
Props. A held object anchors a character in a moment. A lit torch, a raised sword, or a mug on a table: props make the scene feel inhabited.
Posing. Minifigs have limited articulation, but you can do a lot with it. Tilt the torso forward for urgency or swing the arms to suggest motion. Rotate the head slightly off-centre and use the jumper plates to just barely fix the minifig at an angle. Small adjustments communicate a lot.
The point is to keep shooting
When the set is already up, you don’t need a location idea or a reason to get everything out. You just shoot. And every time you shoot, you build an instinct about light, composition, and story that you can’t build any other way.
This is how you get good fast: remove the setup and replace it with shooting.
To get you situated, I’ll set up weekly challenges just for beginners on r/studshooters so you can level up with others doing the same exercise. Those will start sometime in May, so order bricks now and get ready!
Tip: If you’re new to Reddit, sign up with your email so you can choose your own username. If you don’t, Reddit will generate a random one for you. You can never change your username so it’s worth the effort to type out your email address.
Build the room. Pick your fig. Leave it all out. Then shoot.
Great tips. Will be trying them out this weekend.