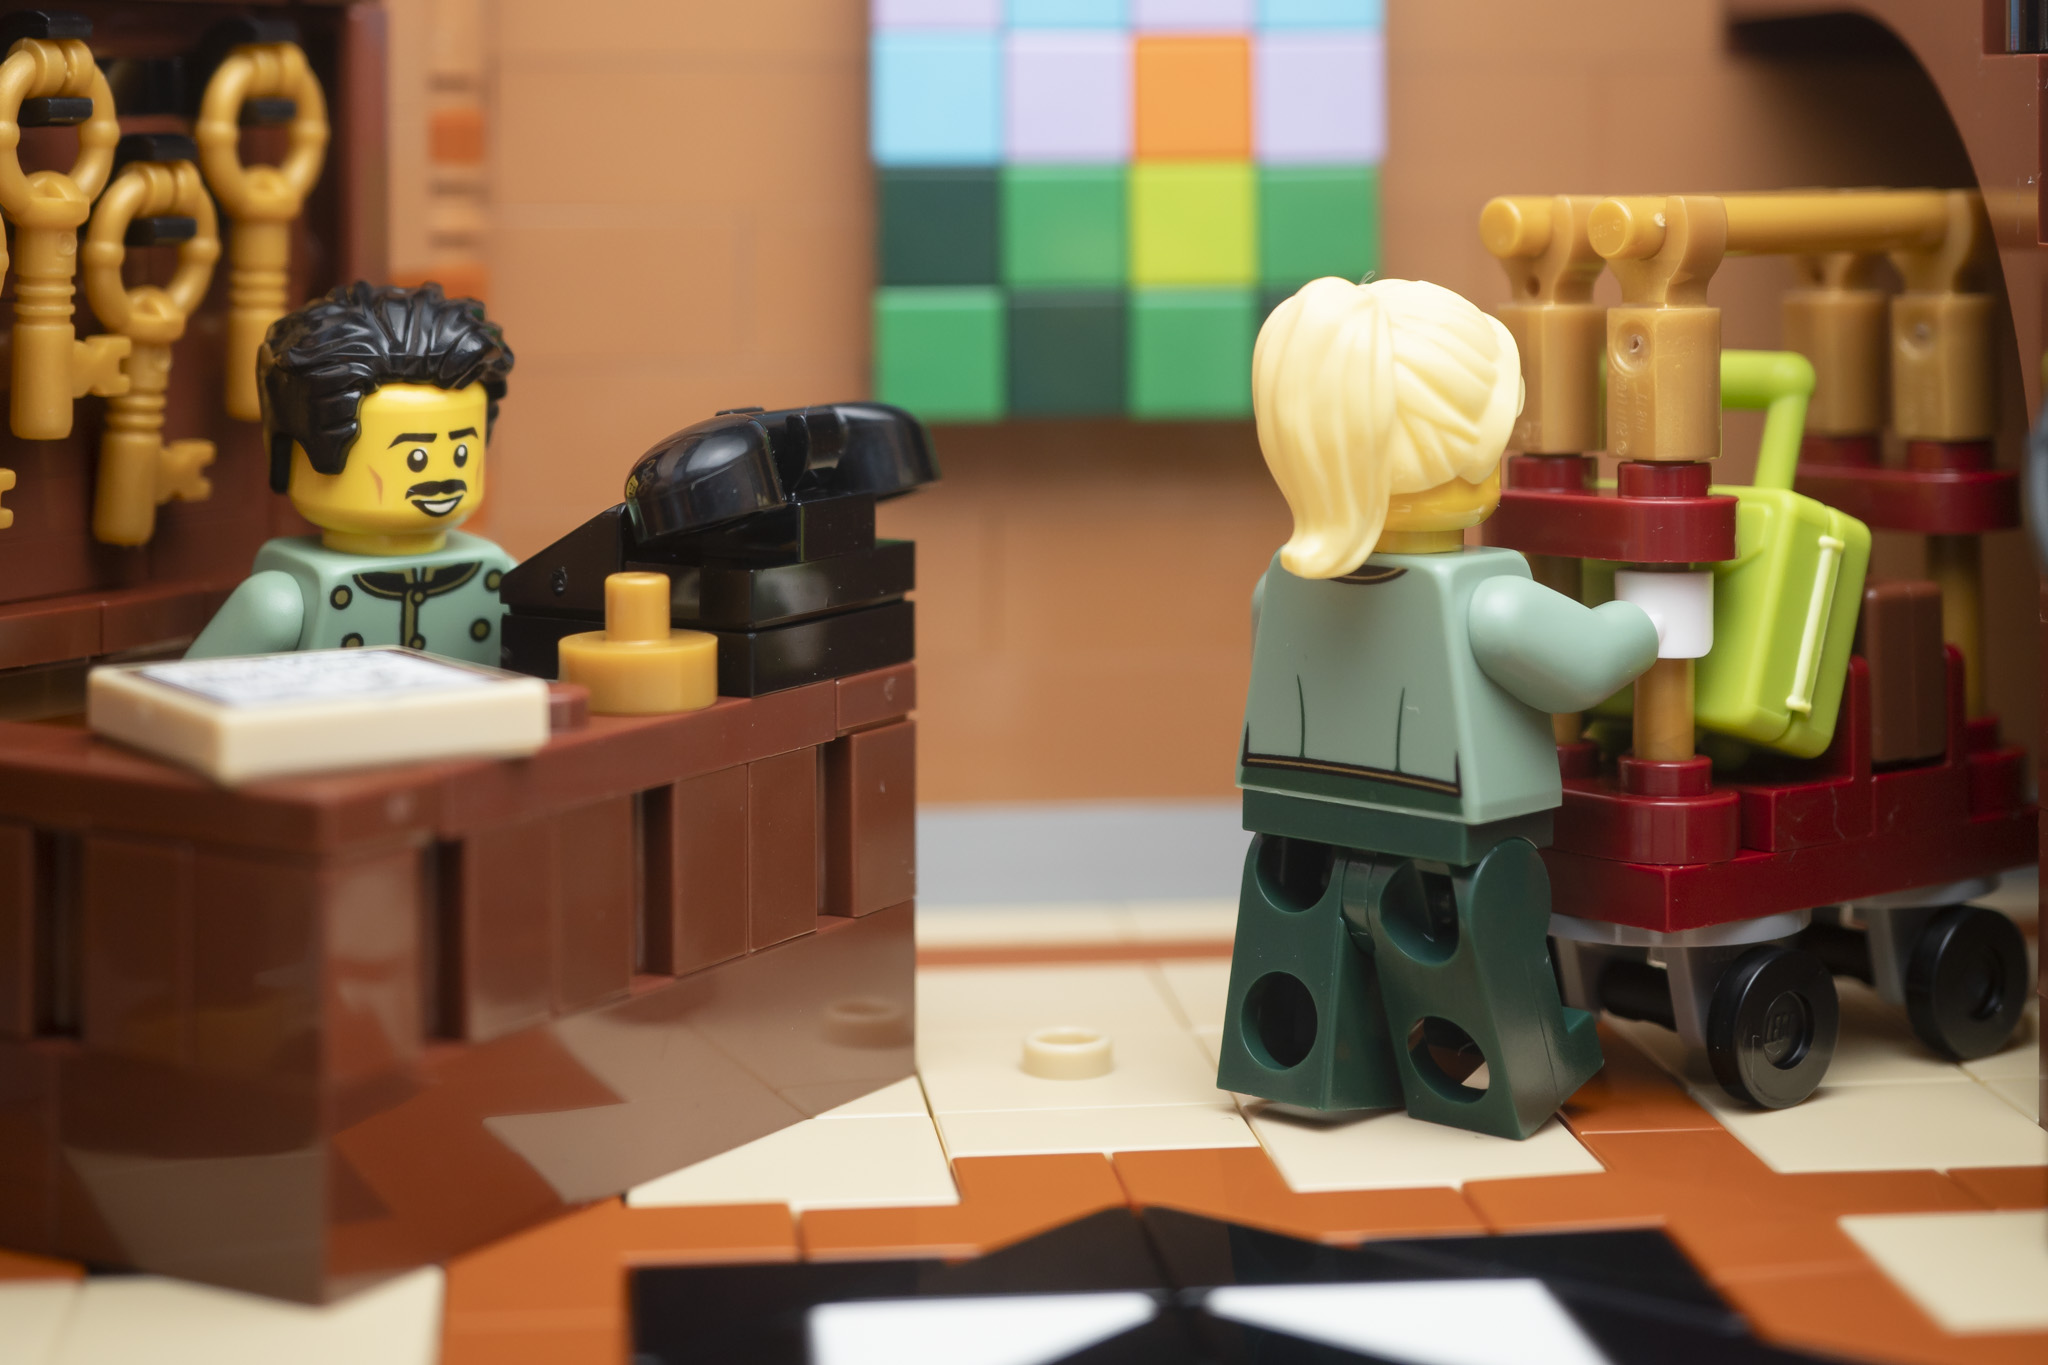
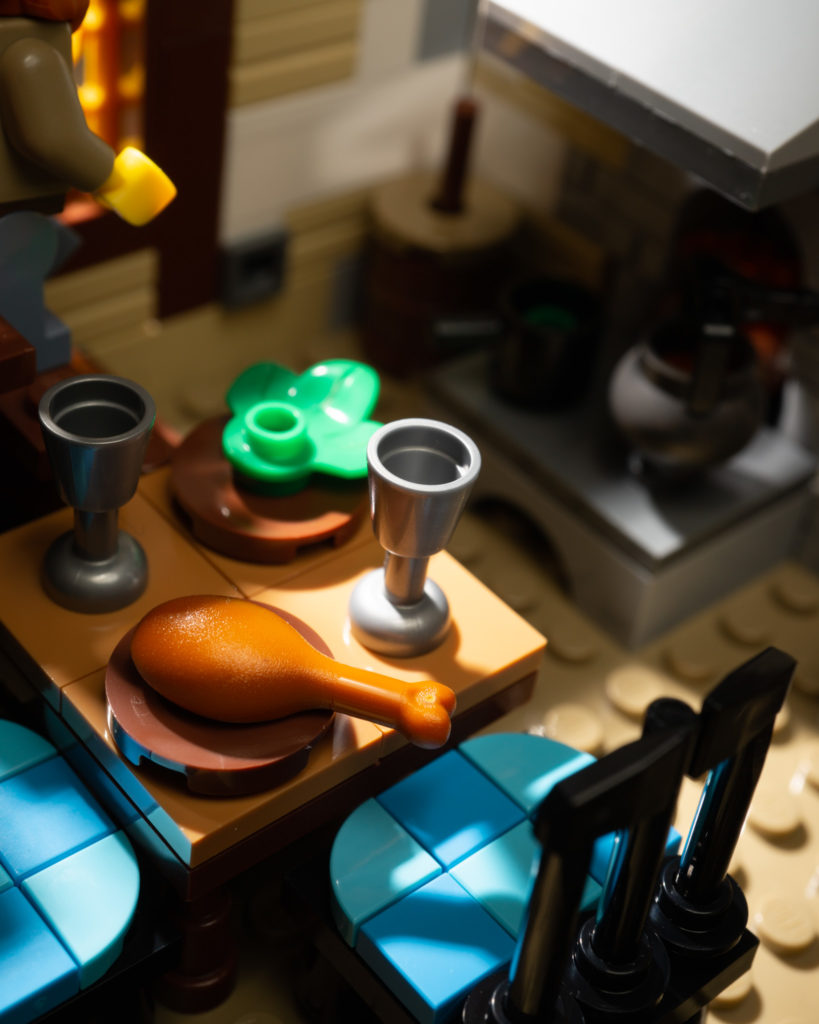
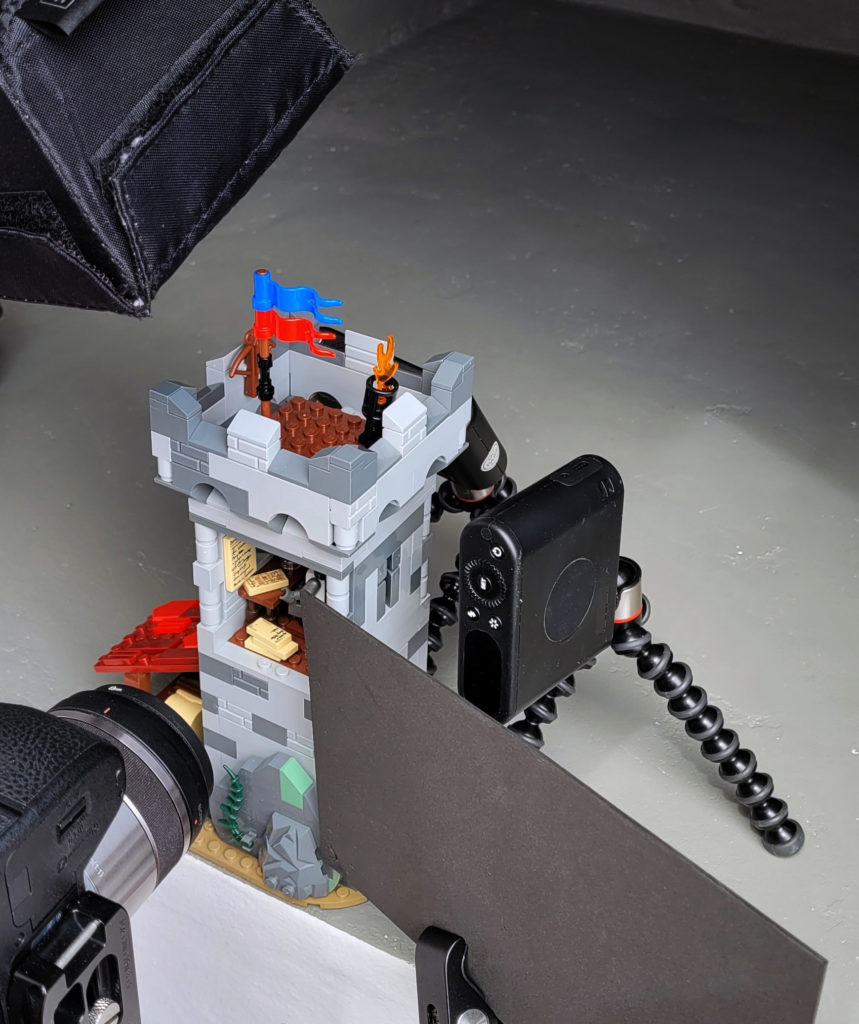
Shooting the interior of a brick-built scene can be very challenging for a LEGO photographer because most models restrict camera angles and limit lighting opportunities.
When I shoot official LEGO sets, I have to really work around what the designer of the set has created with displayability and playability as their priorities. It’s a lot easier to shoot a MOC because I have designed it with different priorities: camera angles and lighting.
In this article, I’m going to show you how I go about shooting and lighting the interior of LEGO models, and give you some tips on designing a MOC for photography.
Limited angles
Many of the large official LEGO sets are fully enclosed buildings which are usually built with detachable levels or floors. Since you’re looking down into the model, the obvious camera angles to use with these kinds of sets are a high angle or overhead/bird’s eye.
This is a fun angle but it can get boring fast for LEGO photography in particular because it’s what we expect. We see the high angle frequently used in LEGO’s product images.
I might take a few high-angle shots but I prefer to get more minifig-eye level shots in general because they feel more intimate. This isn’t so easy to do in an official LEGO set though.
Since we can’t shoot through walls to get at eye level, one option is to shoot through doors, windows, or other small openings from the exterior of the model.
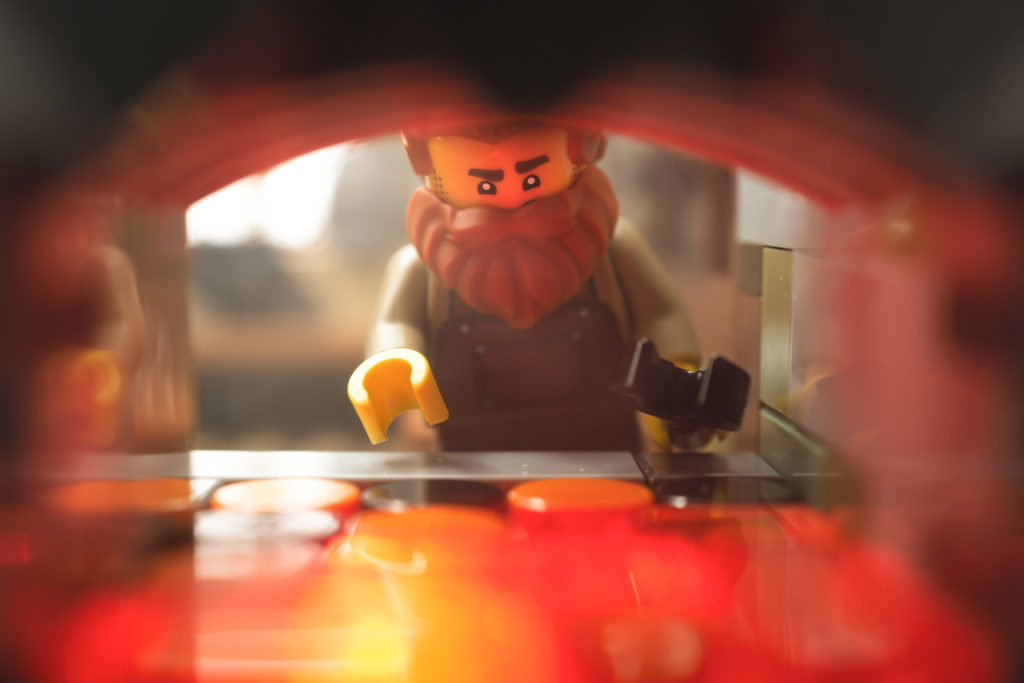
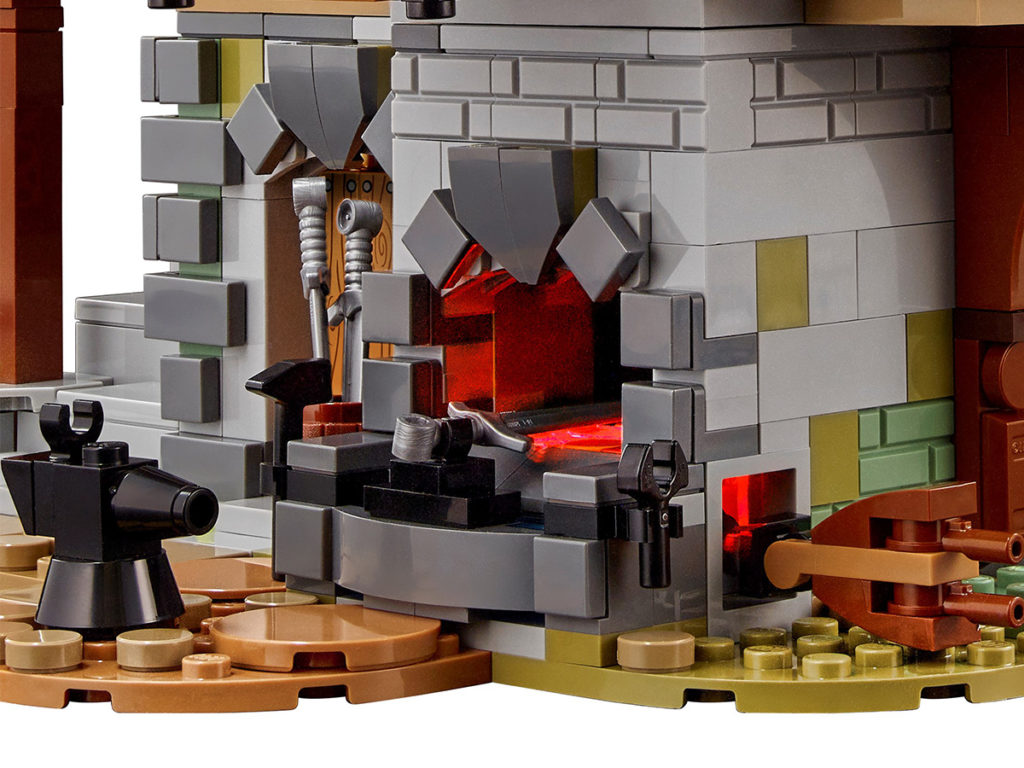
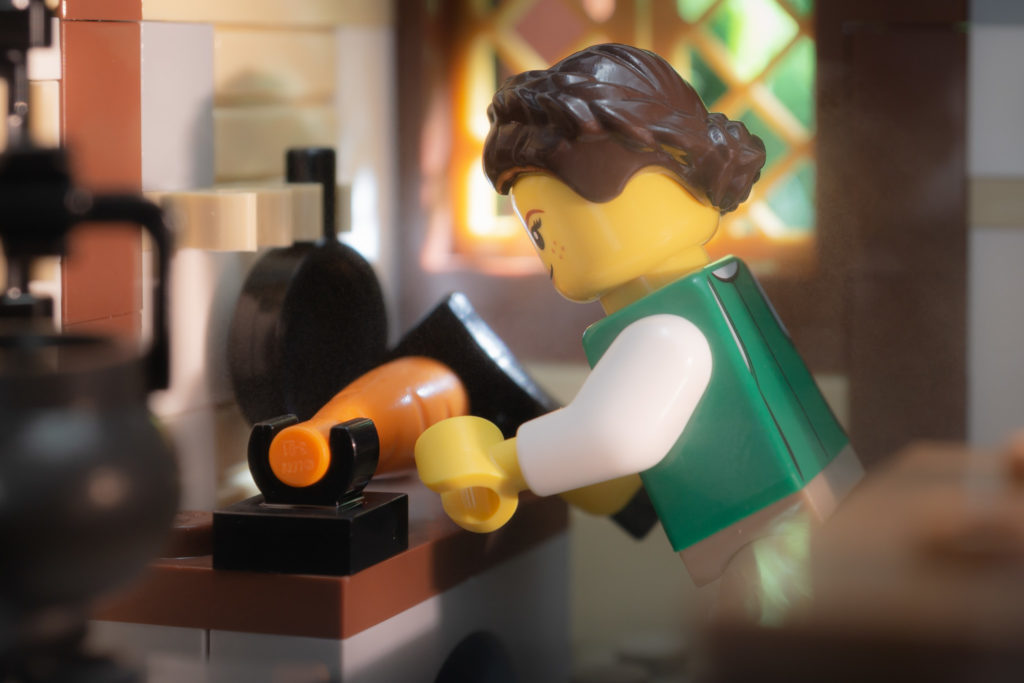
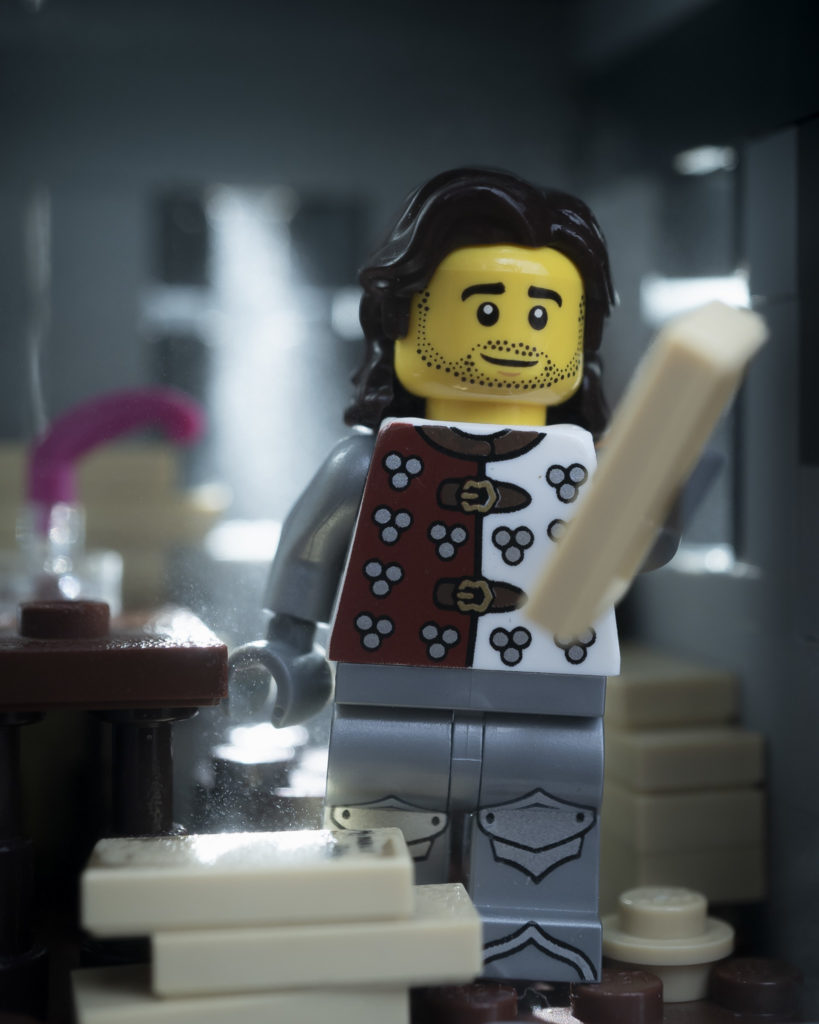
To get the photo above, I shot through the opening of the forge of the Medieval Blacksmith set. My macro lens was a huge help as its short minimum focusing distance allowed me to get in close.
At just 4 studs wide and 2 and a half studs high, I only had one angle available to me: straight through the forge opening. I had just enough room to tilt the lens down very slightly so I could get some of the red coals that were lit by a LightBrick, but only so much so that I wouldn’t cut off too much of the blacksmith’s head at the top.
Windows are a little bit bigger at 4 studs wide and 3 studs high. I always pop out any panes connected to the frame, even if they are transparent, to get the clearest view.
Doors are usually 4 studs wide and 6 studs tall so they can be great to shoot through. As with window panes, I usually remove the door itself and leave the empty door frame.
Doors can also be secret doors like the one in the Medieval Castle that provides an escape from the dungeon.
If shooting through existing openings proves too difficult because of their size or placement, or if you don’t have a capable lens, disassembly is a good option. It’s LEGO anyway so you could always put things back together after!
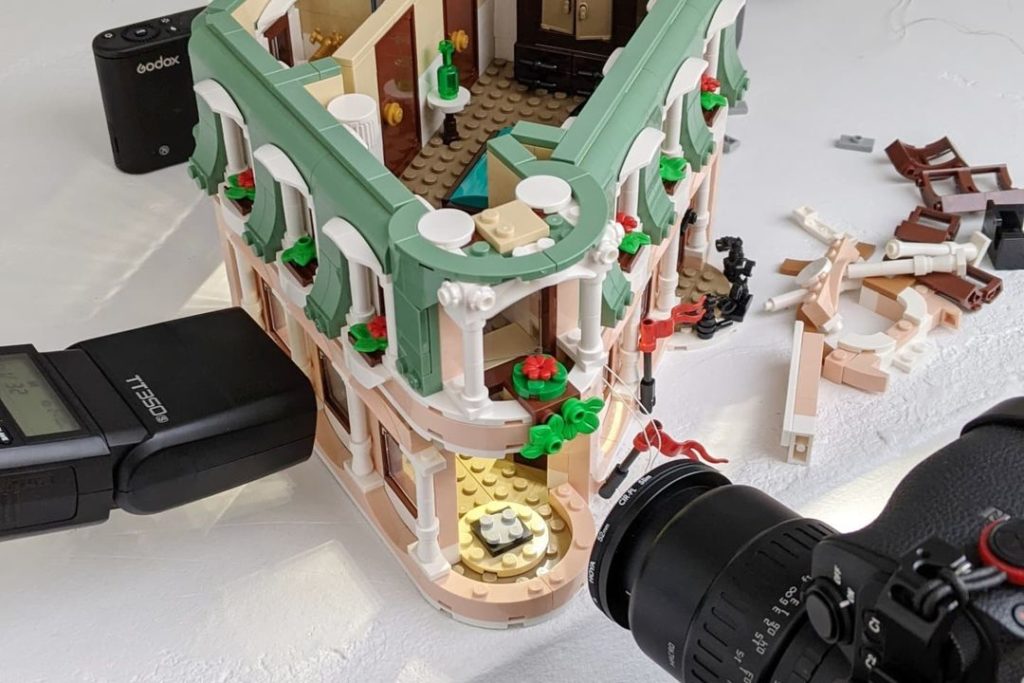
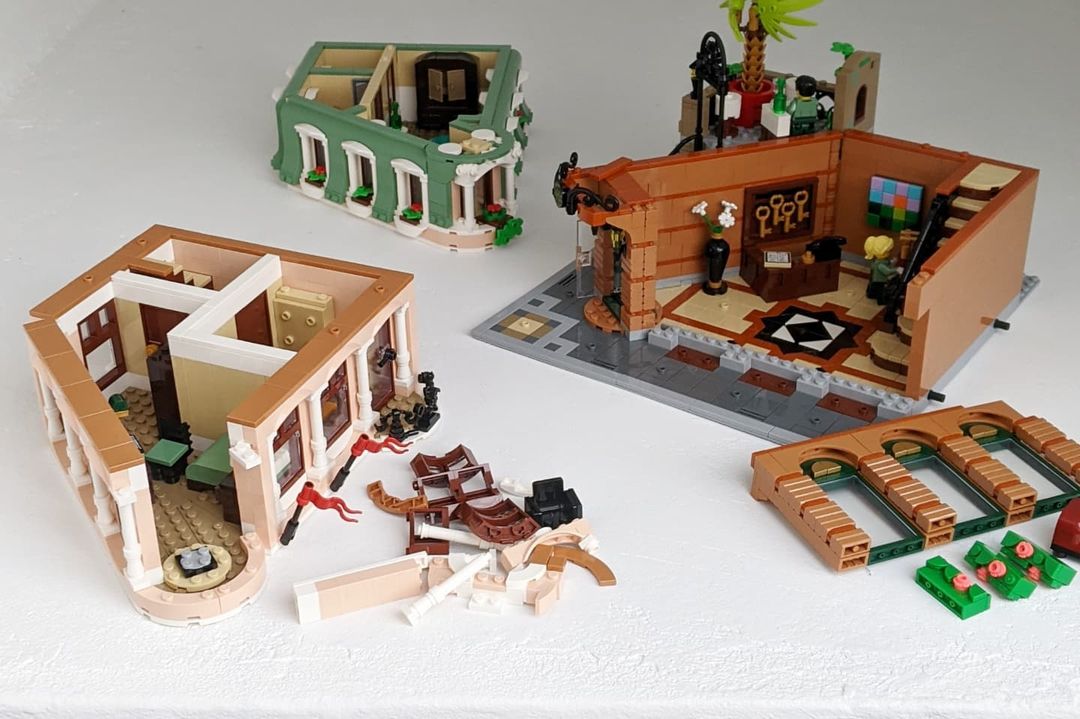
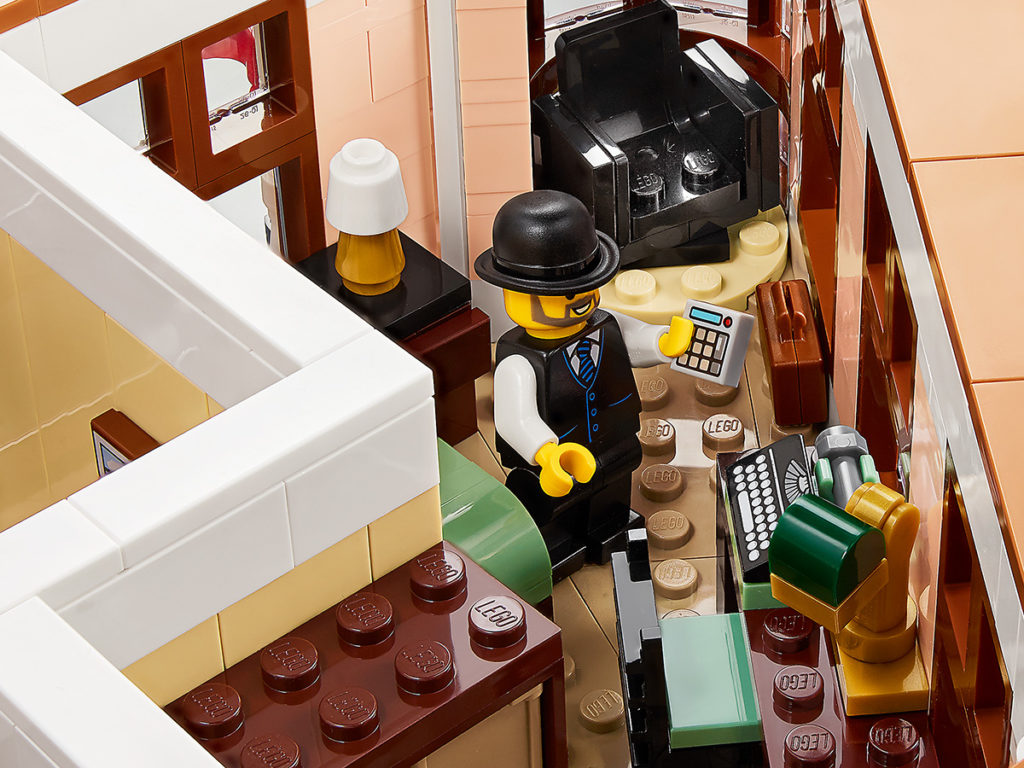
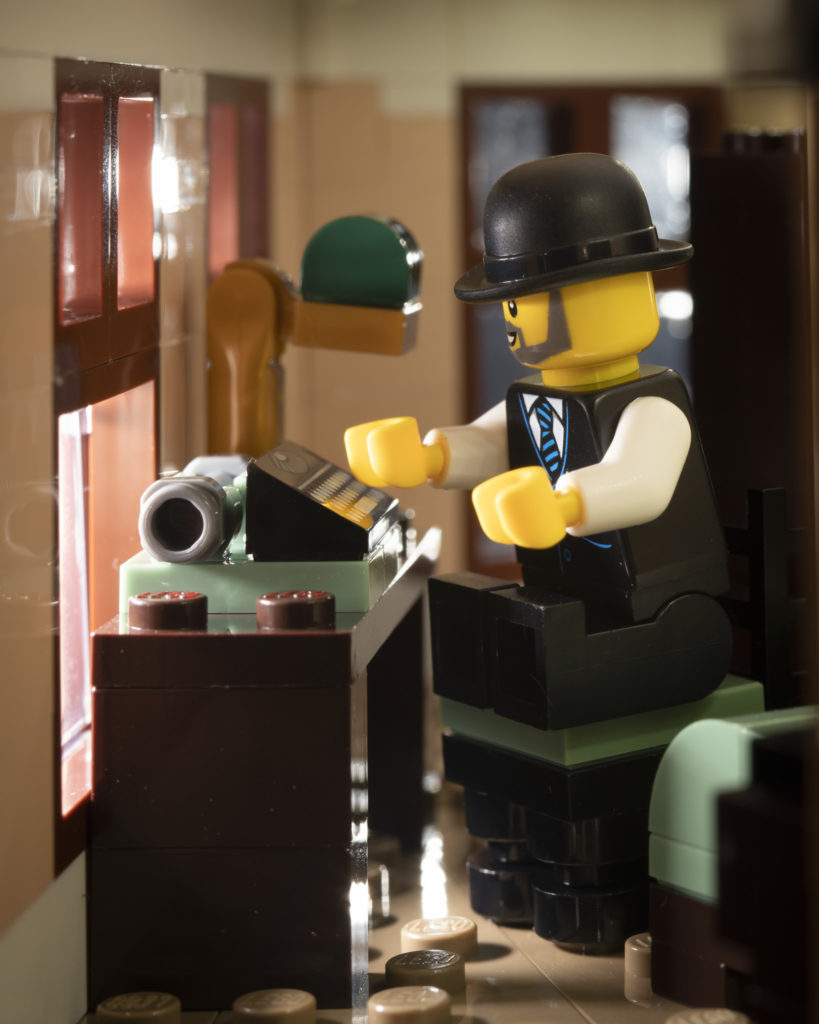
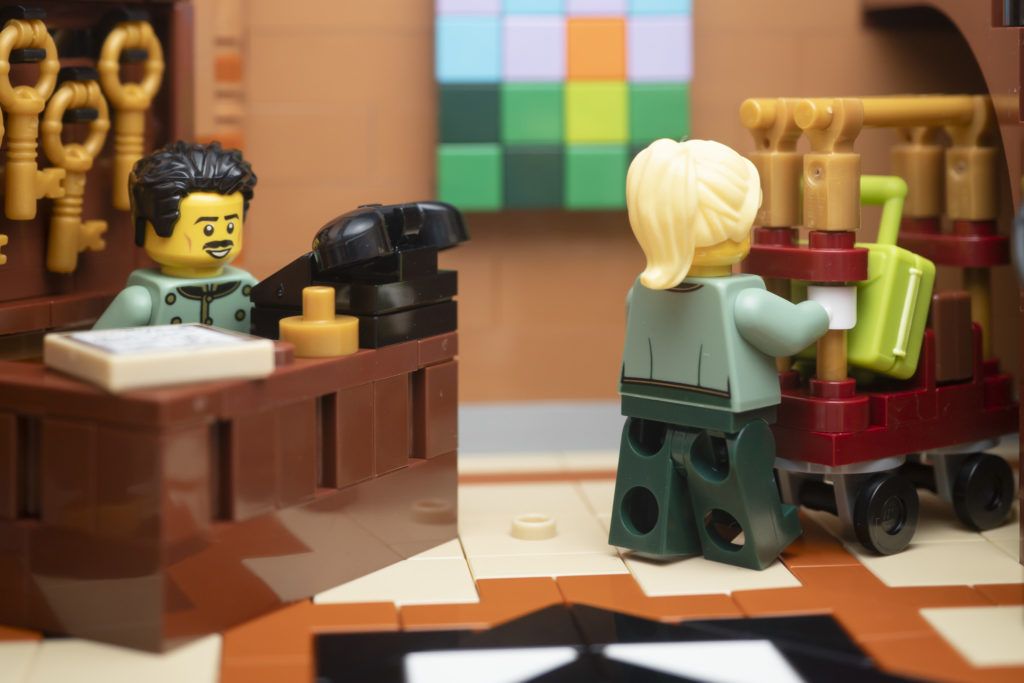
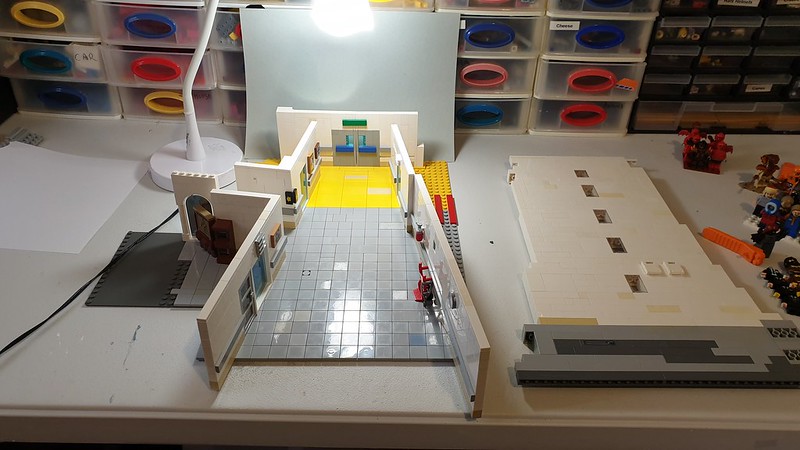
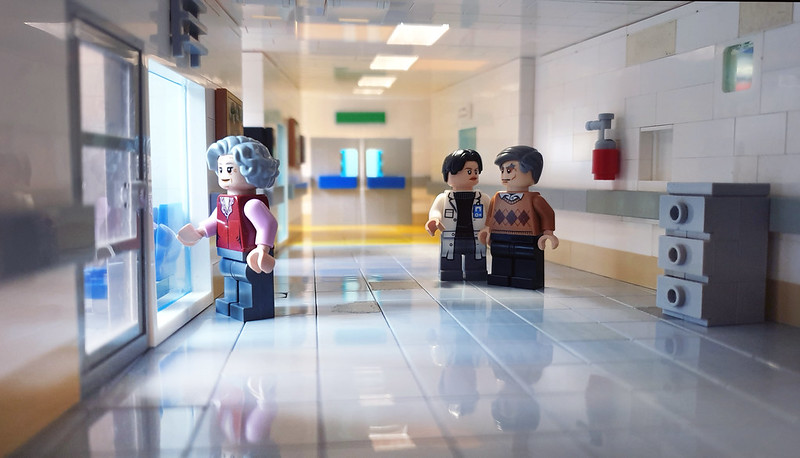
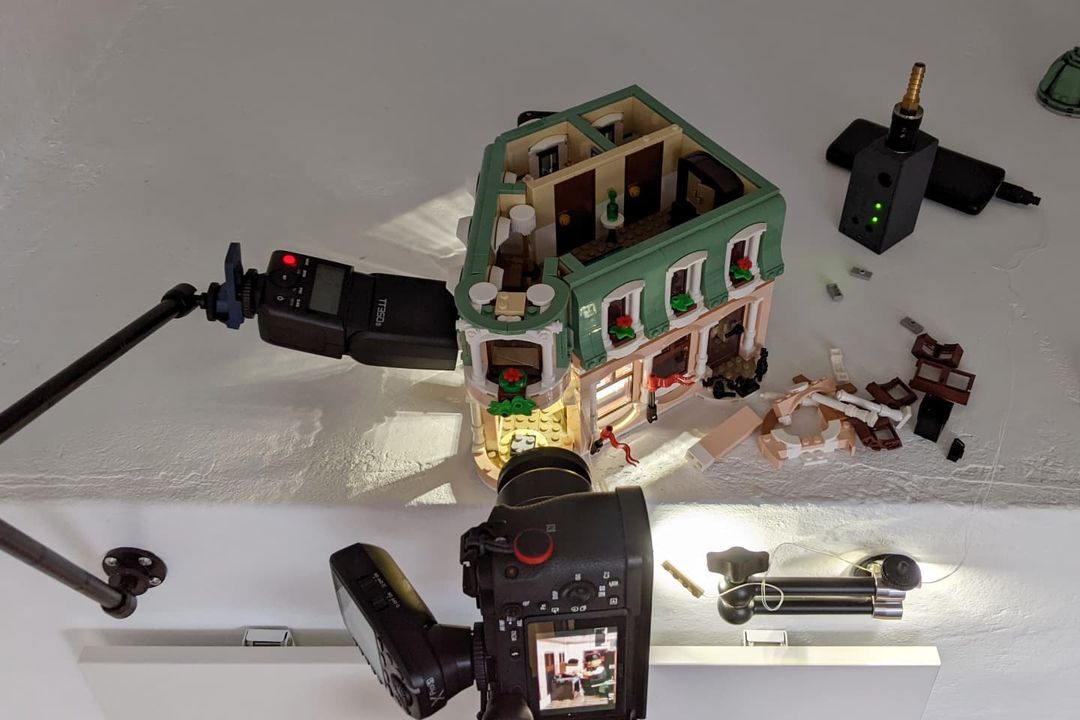
In the behind-the-scenes photos above, I had to take down some walls of the modular Boutique Hotel set in order to shoot the interior. Even with a macro lens, the windows and doors weren’t big enough or conveniently placed to allow for a good composition.
In a MOC, a model you design yourself, you can build for the camera and spare yourself a lot of the headaches that come with shooting an official LEGO set.
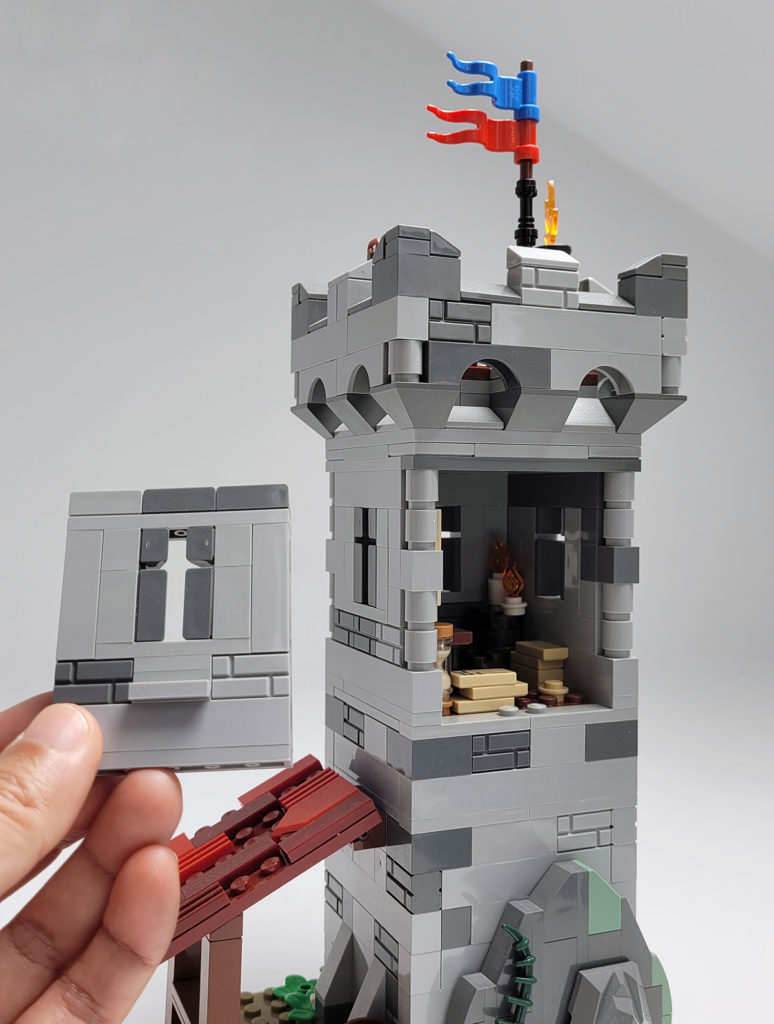
I always try to add as many windows and doors as possible. I also build walls that are easily removable or can swing out of the way on hinges, for example.
This is a MOC by bricks_fan_uy that I modified with a removable wall so that I could access the second floor easily.
Other LEGO photographers like Shannon Sproule build entire sections like walls and floors that aren’t connected at all, but rather pushed together. This offers a lot more shooting flexibility.
Lighting
Lighting is the other big challenge when shooting inside a LEGO set. The openings you might use for shooting through are the same ones you have available for lighting externally.
In general, the more closed the build, the more light you are going to need.
I usually have a light source at different intensity levels positioned outside almost every window, as well as one bigger light source overhead if the model has detachable floors. That’s at least 3 light sources I have in my setups.
By “light sources” I mean a flash, LED panel, flashlight, or what-have-you. What I use as a light source depends on what look I want for the photo and what camera I’m using. When I want dramatic lighting or need a lot of power, I typically reach for my flash. When I want flat lighting or fill, I might reach for the LED panels. If I’m shooting with my phone, I can’t use flash but every other light source is an option.
Sometimes I’ll use tiny wired LED strips specifically made by third parties for lighting LEGO sets, but they’re not my favorite tool to use because the light quality and color aren’t the greatest for photography. They’re great for display though, which is what these wired LED strips are made for.
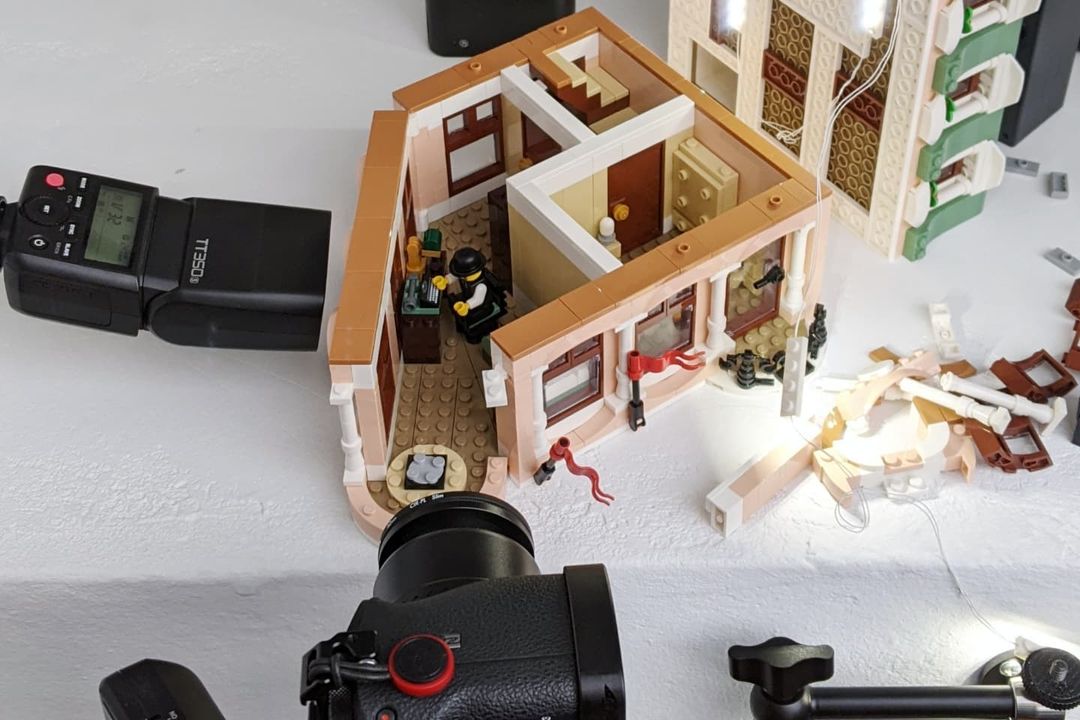
I’ll also use tiny LED point lights as practical lights: light sources that are seen in the frame as opposed to the lights outside the frame. These are very delicate and can break with regular handling though. Expect to break a few immediately since they can also be quite difficult to install in the bricks.
Hiding the wires also takes some effort and in the end, probably Photoshop to remove them digitally.
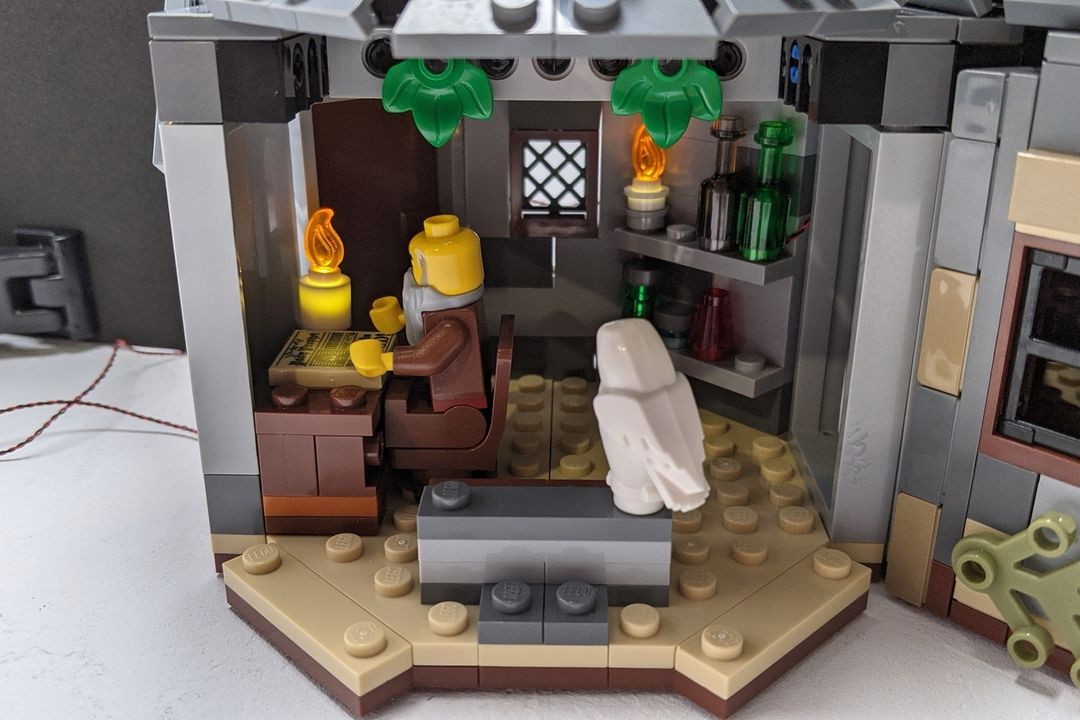
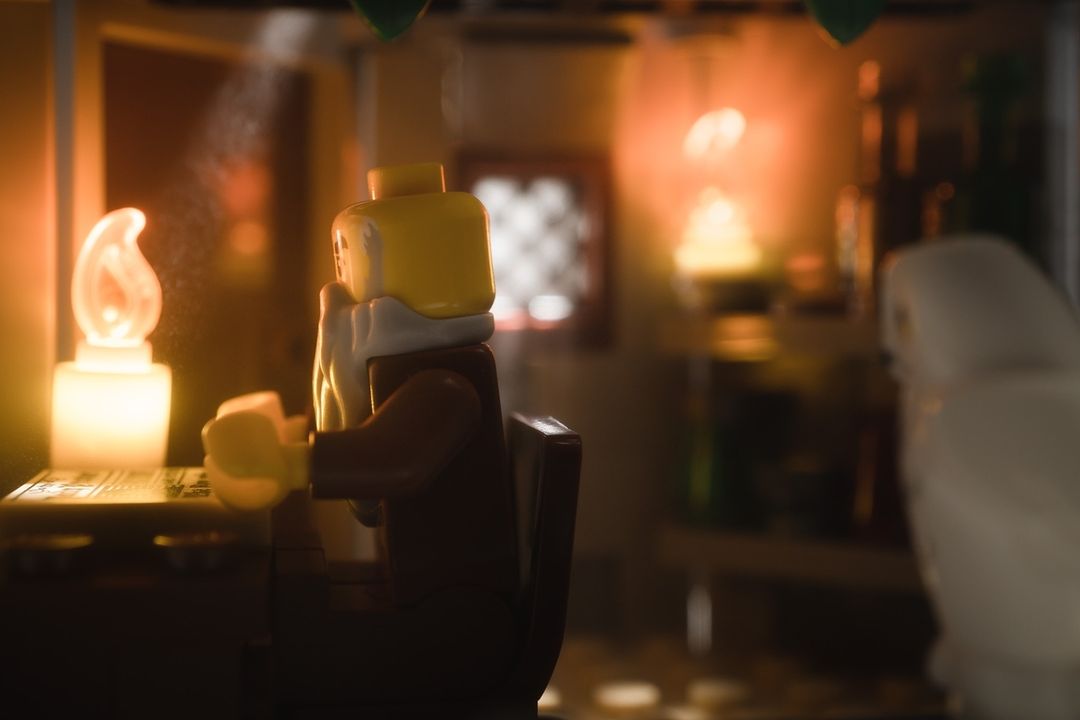
Like the LED strips I mentioned above, these aren’t designed for photographers who reuse these lights all the time. They’re meant to be installed once inside a model and left there for a long time.
If you want to try using LED strips or point lights, I recommend buying at least 3 times as many as you intend to use in your photos.
You can find all these lights on AliExpress, Brickstuff, and white-label resellers (basically companies that put their branding on stuff you can find on AliExpress).
But when you’re just starting out, use whatever light source you have on hand. I’ve used balloon lights, keychain lights, and even the LEGO LightBrick to light interiors.
Key Takeaways
You need a lot of light sources, patience, and most likely a macro lens or near macro lens if you’re shooting with a dedicated camera. A phone camera can work very well in a tight brick-built environment because it can get close, has a wide-angle lens, and can get more of the scene in focus.
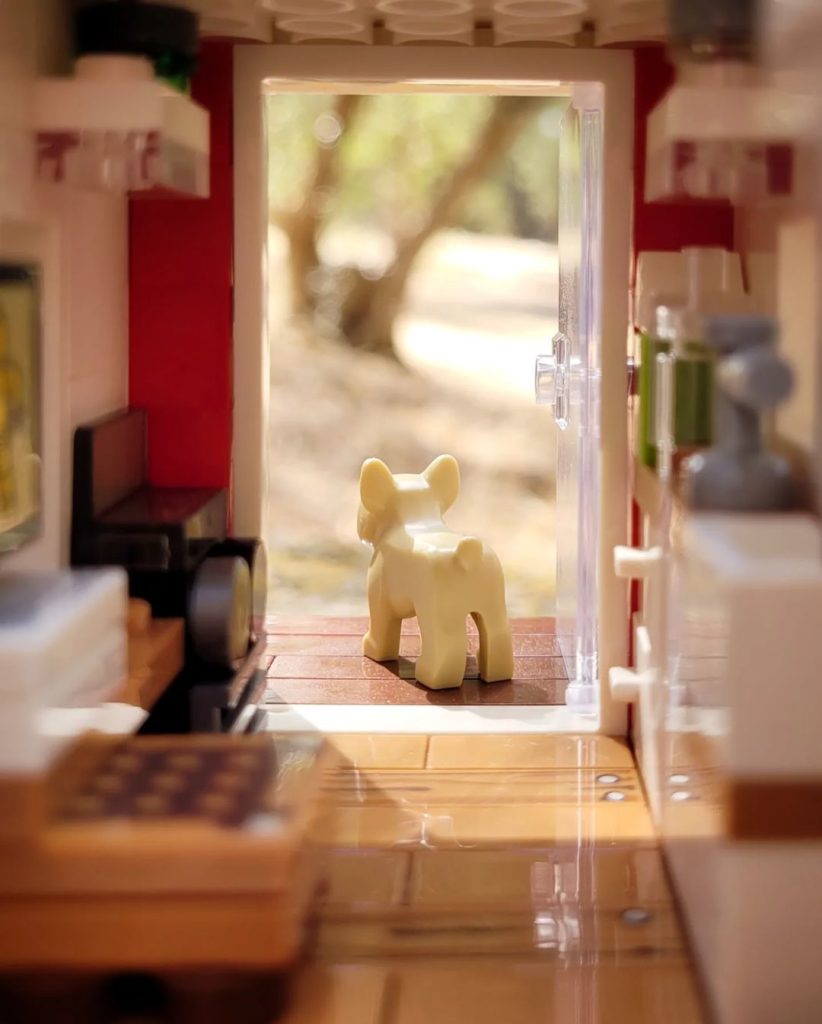
An official LEGO model, especially the modular type buildings, is the most challenging to shoot so I don’t recommend diving into interior shots using those. It can be very frustrating for those just starting out. Instead, I recommend building a few loose sections like walls and floors, then pushing them together like on a movie set.
Build your scene while looking through the LCD or phone screen so you have a clear understanding of the size of the model you need for that camera angle as well as where you are going to place your lights.
As I’ve mentioned “movie set”, it’s a good idea to check out brickfilm communities to pick up set building tips. Not all of the tips will apply to photography, but there are some good ideas there.

