
Phone cameras can capture some great images, but with a few tips from LEGO photographers tongwars and edgy_mando, those images could be next-level!
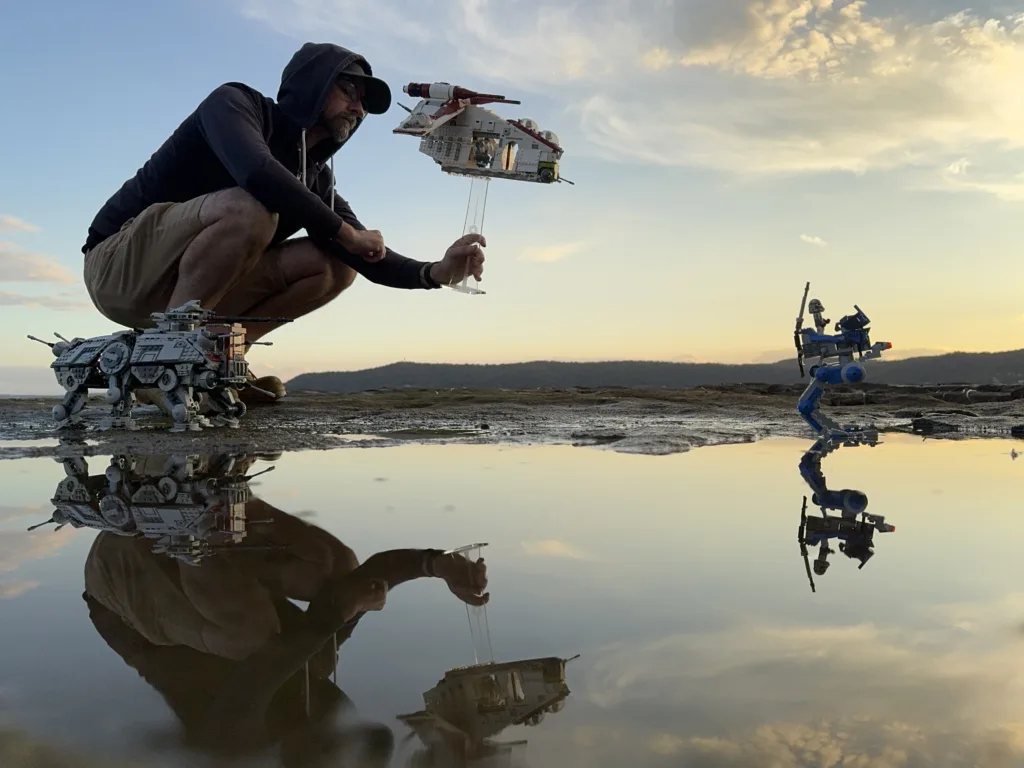
Tongwars is well-known in the community for creating stunning Star Wars images in beautiful environments, whether outdoors in nature or indoors with dioramas, using an iPhone 15 Pro Max.
Edgy_mando’s work runs the gamut of LEGO themes, all taken with his Xiaomi MI Note 10 using natural and brick-built elements in his indoor setups.


In this article, both of these LEGO photographers will share insights about finding the right scale, building dioramas, adding texture for depth, using optical zoom, and editing to create their LEGO photos.
Mind the scale
Tongwars considers scale to be the most important “rule” of LEGO photography:
“All objects within the frame, no matter their placement must be scaled appropriately or the toys-to-life illusion is broken. This applies to both hand-built indoor dioramas and outdoor natural environments. There is no limit to the type or variety of objects that can be used, as long as it is within scale.”

That’s a great tip to lead with since this is something many beginners get wrong.
For LEGO minifig photography, I like to place those subjects in sand, gravel, dirt, and moss because they match the 1:42 scale quite well. It adds realism to the photo when everything is in the same proportion.
Conversely, if realism isn’t what you’re looking for but something more fantasy instead like Toy Story, then leaves, grass, weeds, and other larger foliage and terrain work well.
Box in the scene
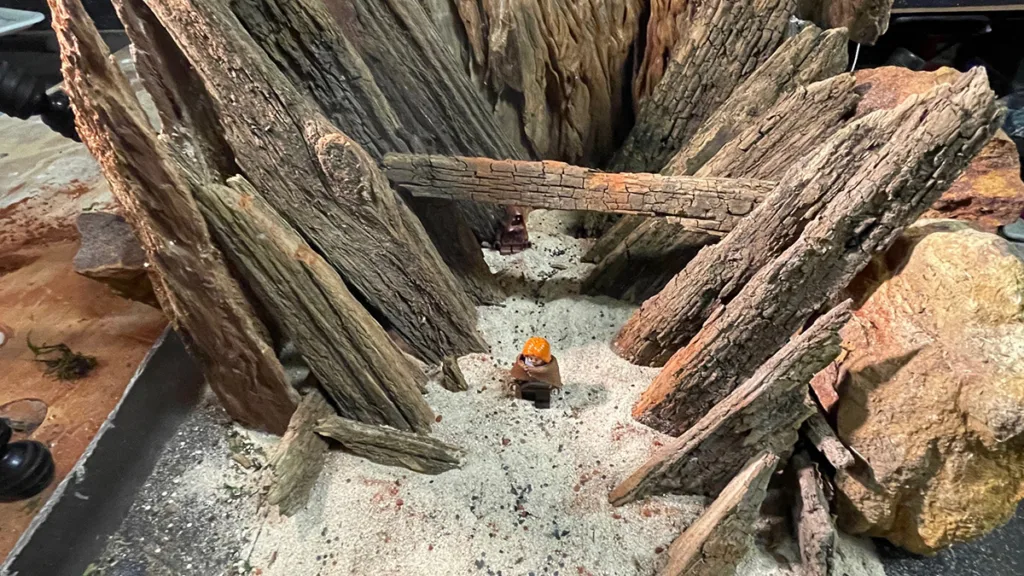
Dioramas are a great way to create an environment for LEGO photography, whether brick-built, store-bought, or crafted from common materials.
Tongwars used rotten fence palings and some sand arranged in a tray to build a diorama for his Star Wars worlds in the photos above, but has another valuable tip to share that might have been missed:
“When creating a diorama, I like to try and ‘box in’ my builds to give them a defined enclosure. This helps create a framed or bordered look for the final image. The size of the frame is determined by the piece that inspired the diorama initially.”

Creating walls on the sides like tongwars does reins in the wide field of view of a phone camera. If you’re struggling with filling up the background, box in your frame with materials or brick-built walls.
He mentioned he’s developed a keen interest in pet enclosure ornaments which provide varied environmental settings at the right scale. Check out pet shops for diorama stuff!
Add texture and variety


Different textures and layers of material can add a lot of visual interest to a photo and create depth, and tongwars leans into that when creating his dioramas and finding locations.
Depth of field in phone photography is typically deep–everything is in focus from front to back–which can look flat. But by adding objects in the foreground, midground, and background, you can create a more 3D look in a 2D format.
Using textures such as grainy, rough, bumpy, smooth, slick, and so on is another great way to create some depth.
“Depth is key. Texture and depth can be subtle, but it still needs to be there,” says tongwars.
Go hands-free
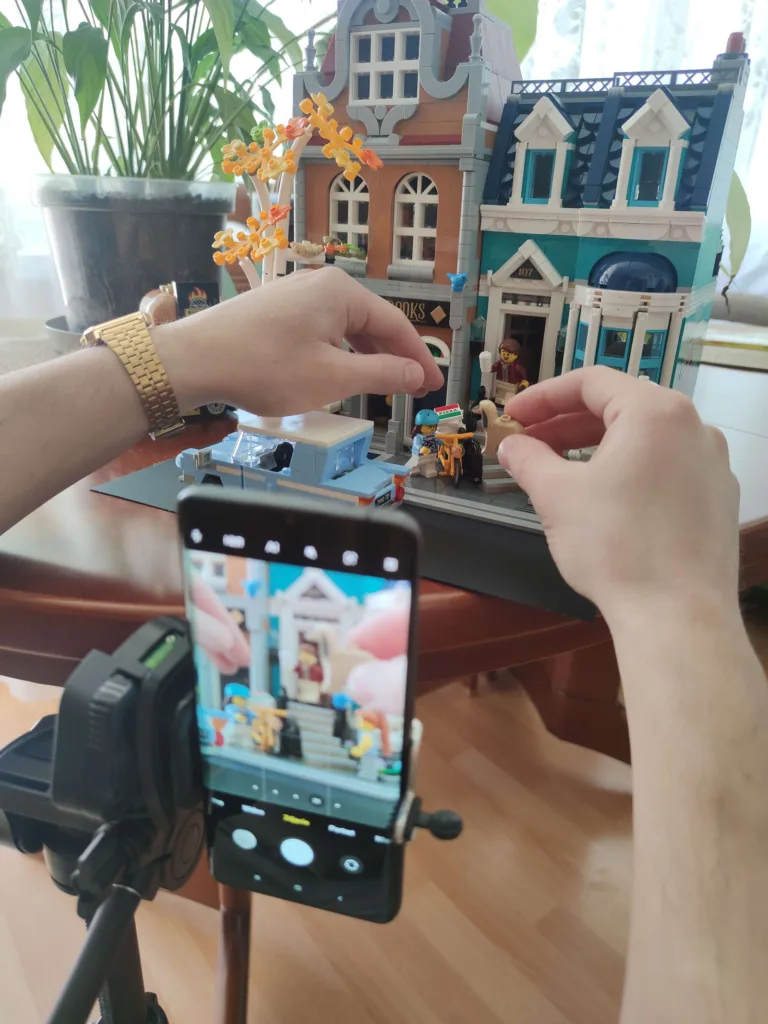
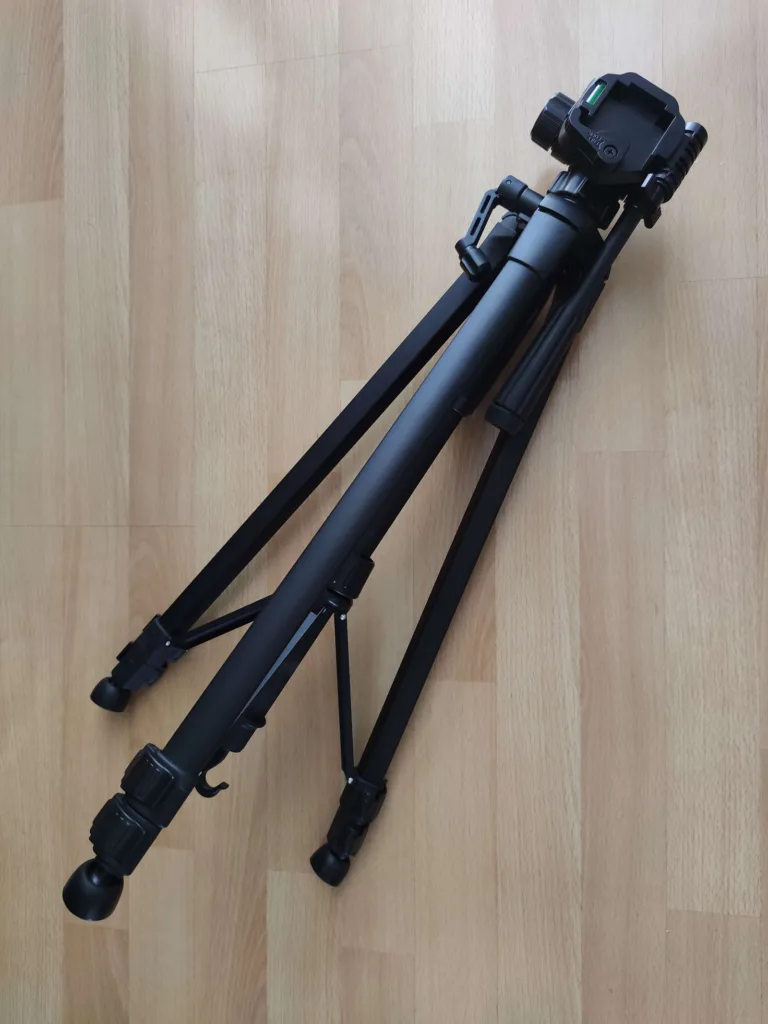
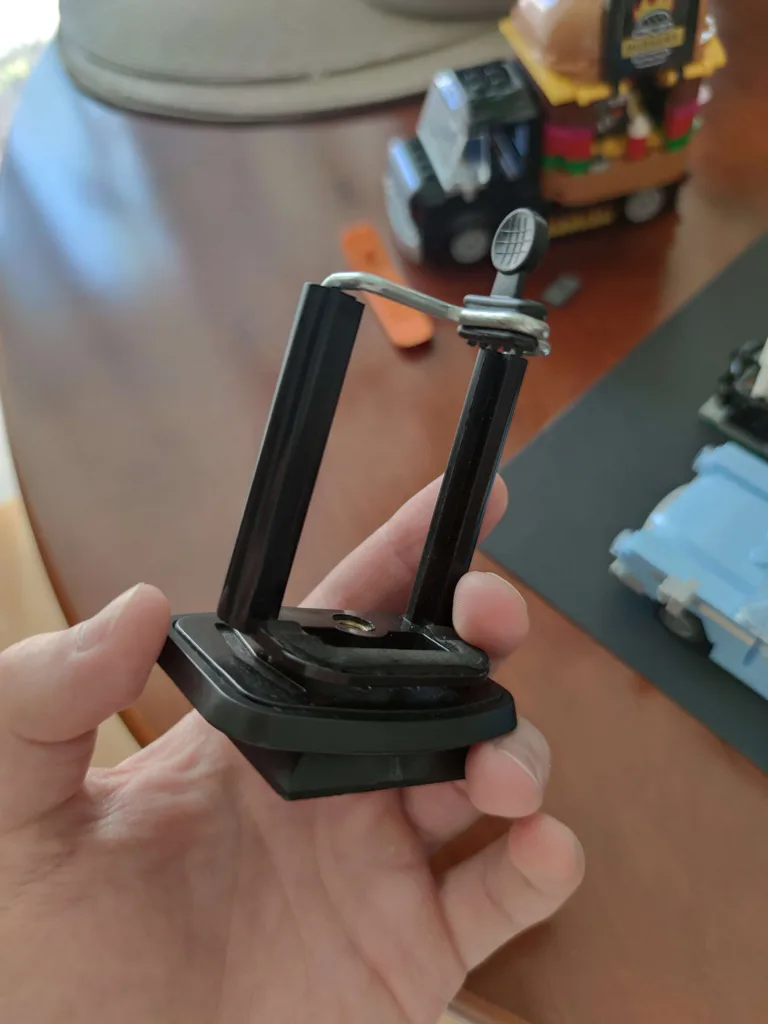
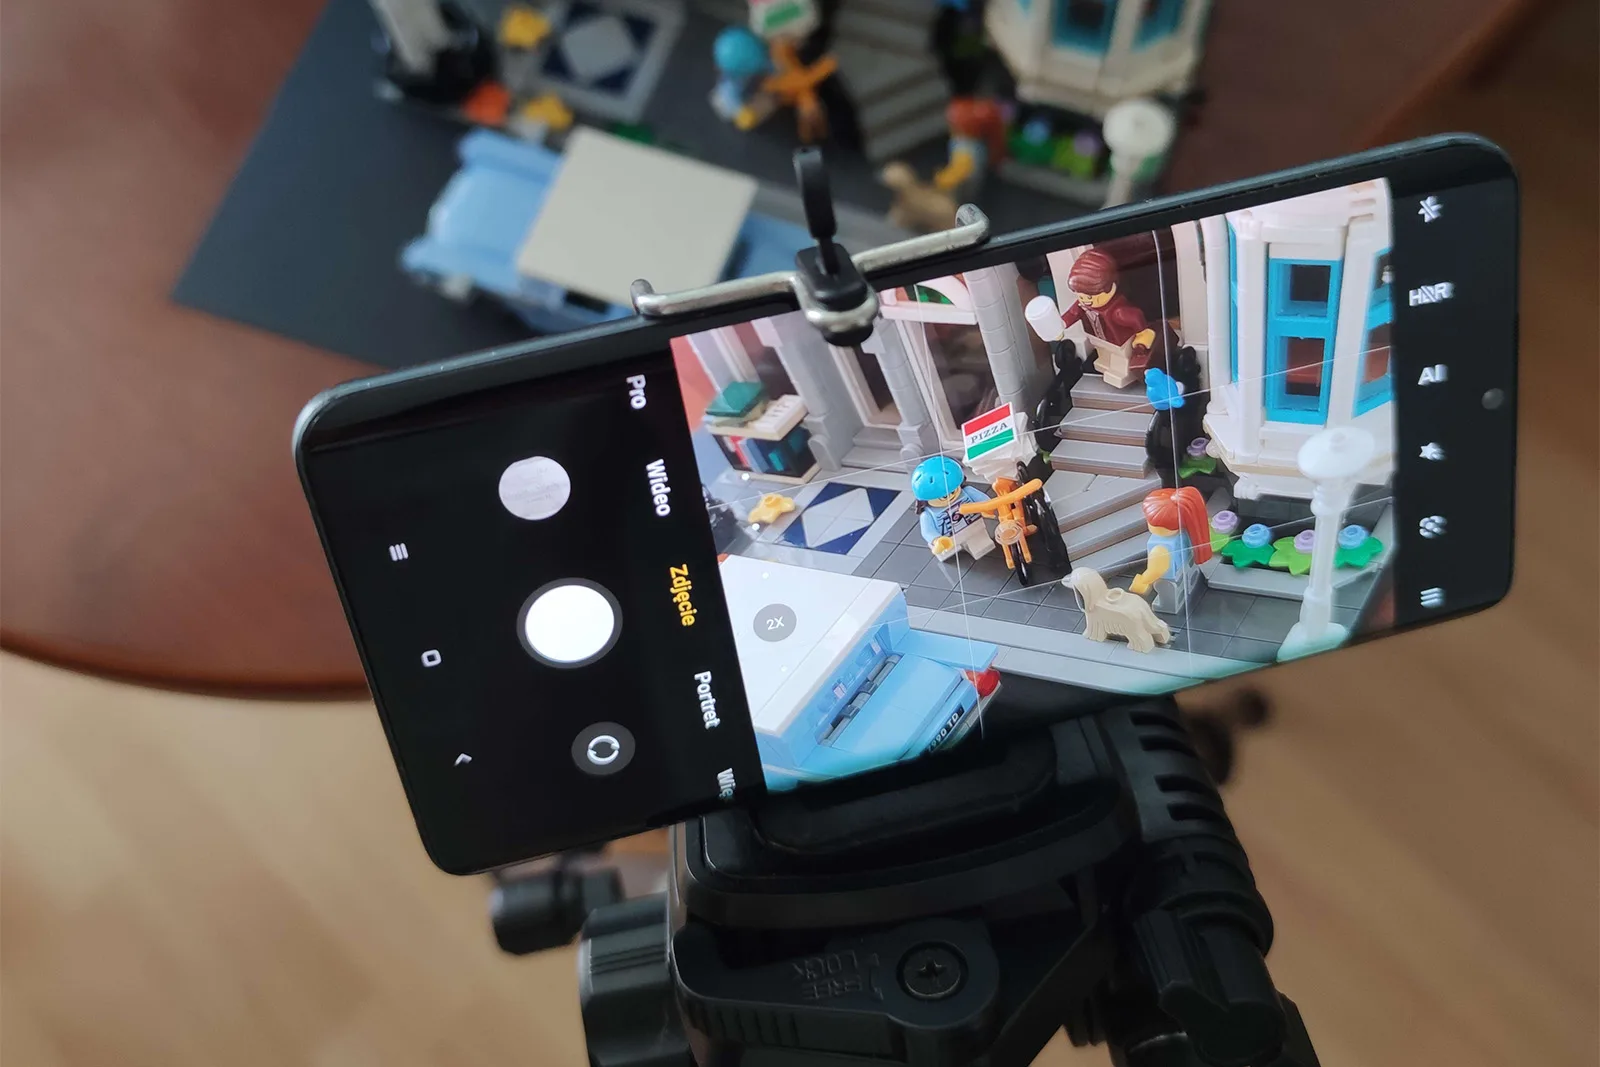
Edgy_mando sets his phone up on a tripod with a phone adapter so he can compose more easily. Once he’s got the framing right, he can start arranging the elements without having to reframe later.
“Most of my photos are taken at home on a table. The tripod allows me to see the screen better. Also, I avoid blur in photos caused by shaking the phone,” he notes.
He also uses the tripod to approach his setup from high-angles which allows him to create a completely different atmosphere.

Use optical zoom
Edgy_mando’s Xiaomi MI Note 10 touts a camera with optical zoom–a feature you don’t find on every phone though–which he uses to focus better on the main subject without sacrificing quality.
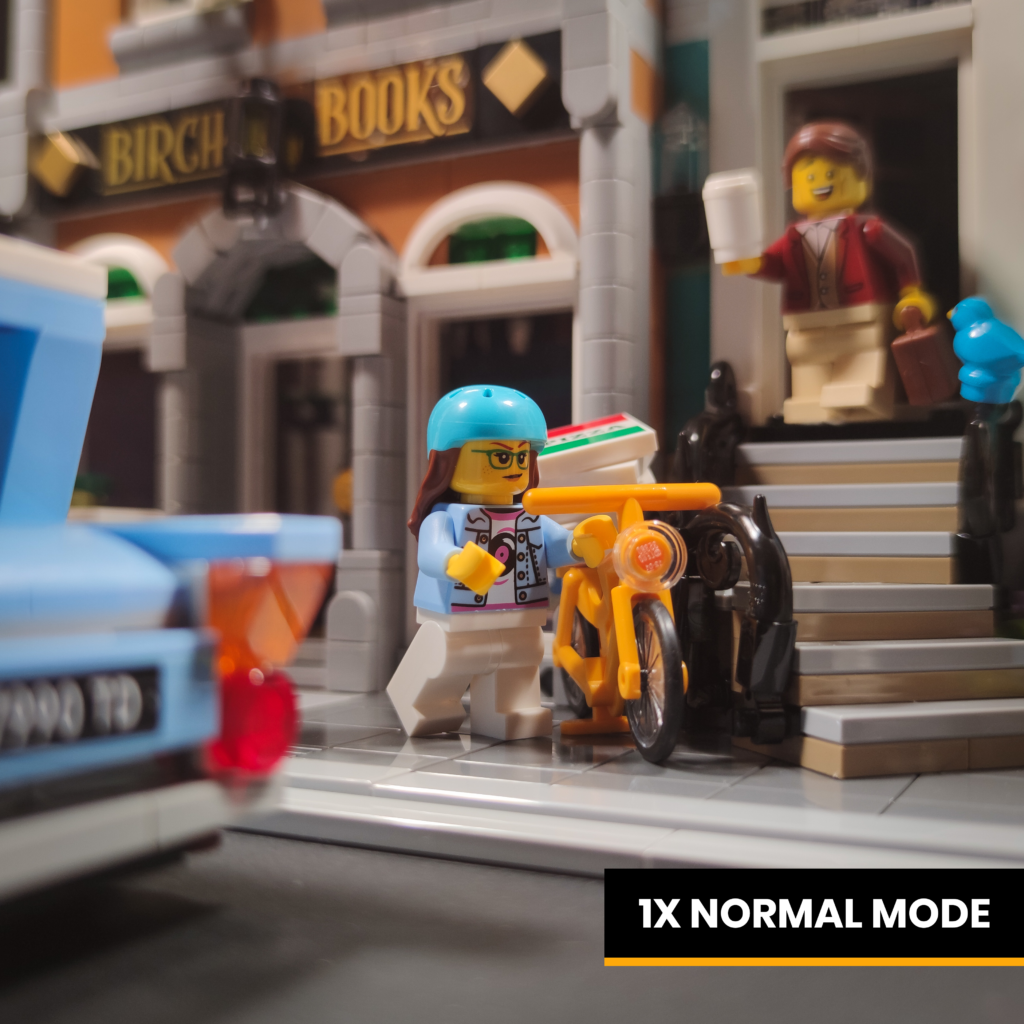
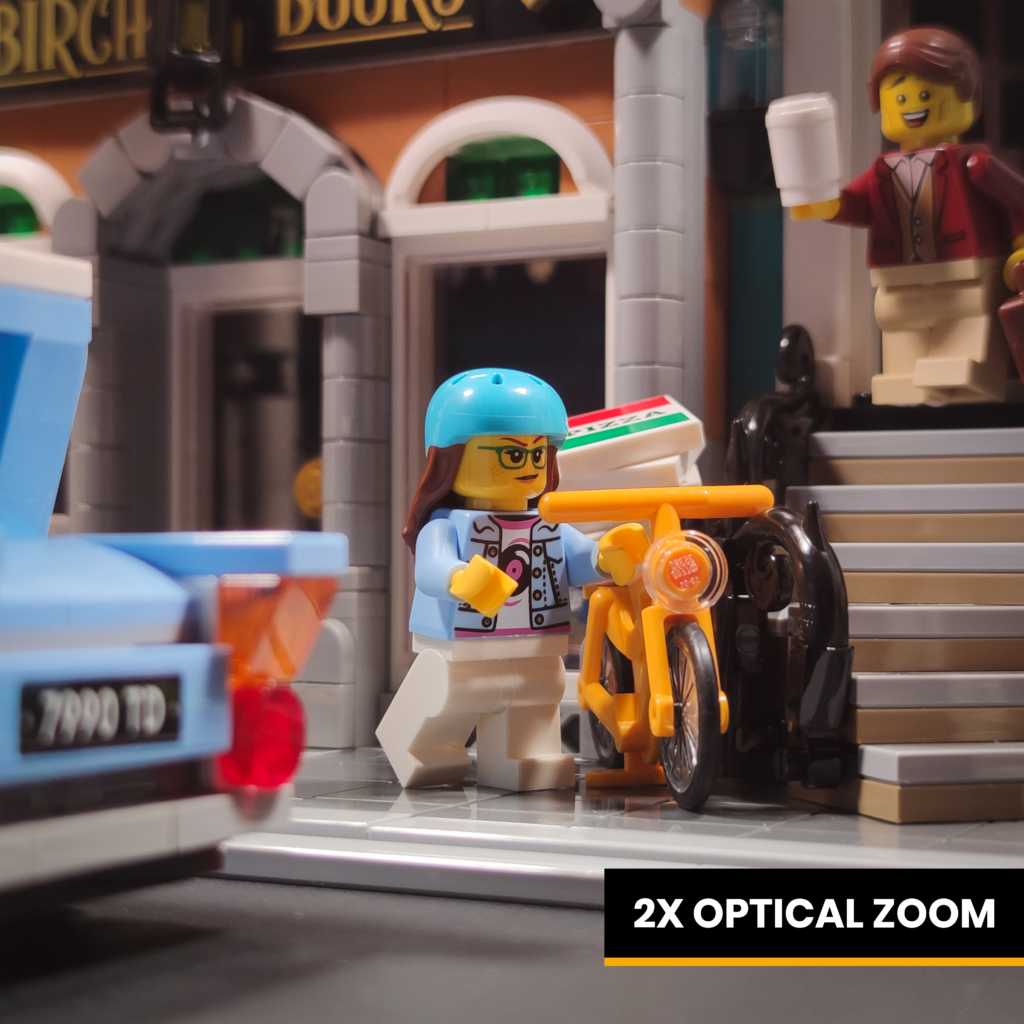
The 2x optical zoom allows for a more natural shot without geometric distortions and with more natural proportions, he says. “It doesn’t make the unnatural effect of a wide angle. The background blur also looks better.”

If your phone doesn’t have optical zoom, you might consider adding a macro lens attachment to get that background blur and narrower field of view. Apexel, Kase, Moment, and Sirui make great macro lenses for phones.
Edit with free mobile apps

Phones are great for LEGO photography because you can go through the entire workflow with one device.
“Editing is an important element of my photos. For this, I use the free Adobe Lightroom app, which I highly recommend. Sometimes it’s worth taking care of better colors, enhancing shadows and lights, or improving contrast. Such small changes make the photo more attractive,” says edgy_mando.


Focus manually
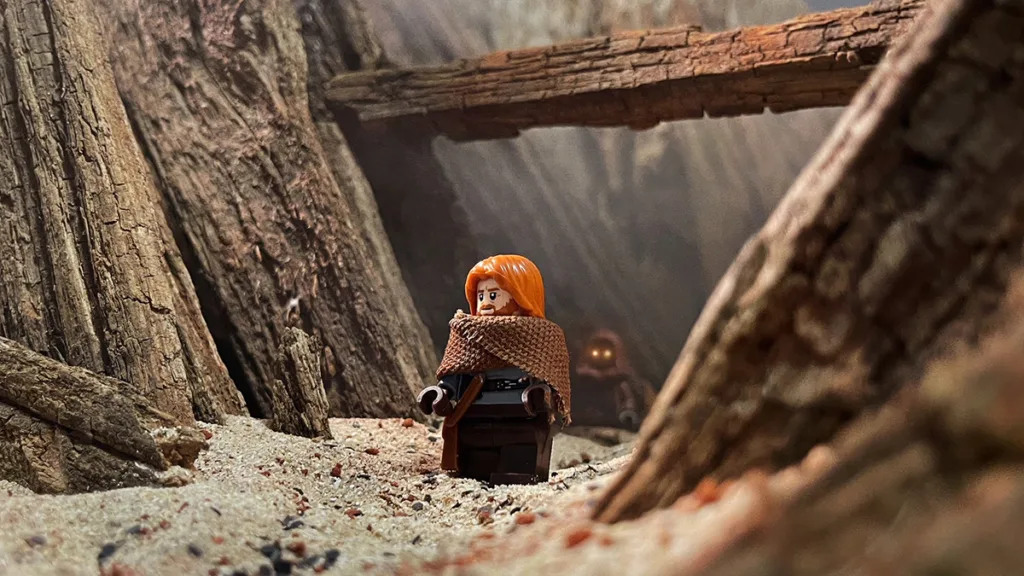
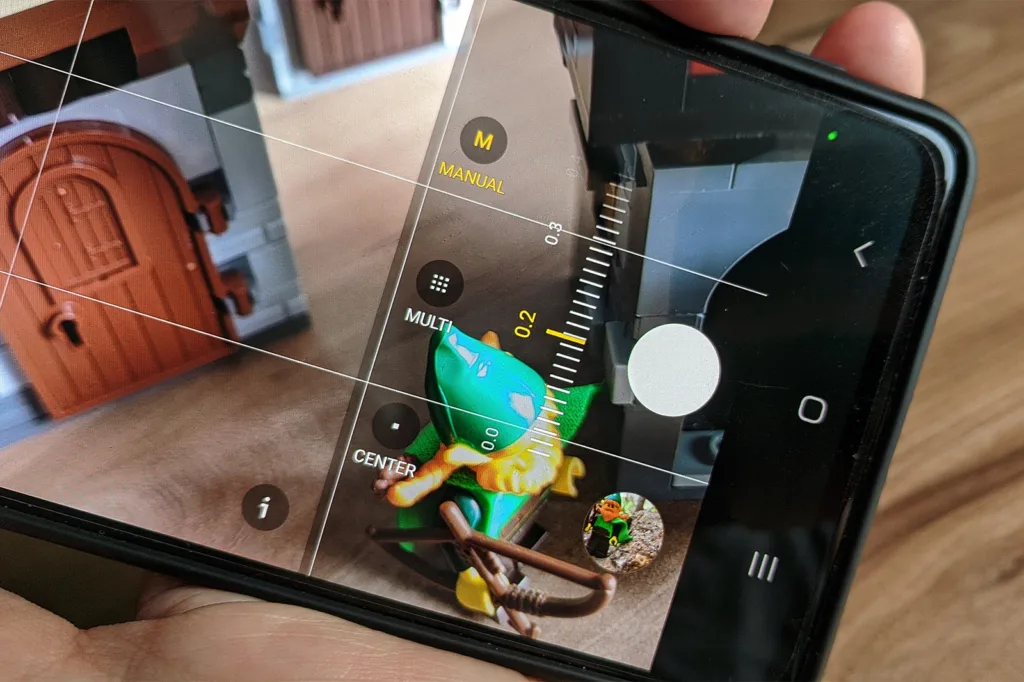
One tip I’ve shared before is to use manual focus for precise focusing. This is super useful when you have a foreground element or something else that’s closer to the lens than your subject. AF struggles in these situations.

In the photo above, it would have been impossible to get the minifig in focus through that door if I just used tap-to-focus. The AF would just focus on the door itself or a water droplet. Without being able to precisely focus, I would have had to bin the concept or change it significantly.
To get manual focus, I switched to the Pro mode on my stock camera app where I could just swipe my finger left or right to dial in exactly the distance I needed.
If your camera app doesn’t have a Pro mode, download the free Lightroom Mobile app for iOS or Android. The Lightroom camera has a lot of pro controls including manual focus. Working with these controls unlocks a lot more creative possibilities than you would have with just composition and AF.
Apply the tips and shoot more
Now that you’ve got some great insights from two of the top phone photographers in the LEGO community, practice, practice, practice! You’ll see an improvement in your photos quickly if you apply what you’ve learned and do it often.
Follow tongwars and edgy_mando on Instagram for more stunning LEGO photography.
Thanks so much for the trick about using MF in pro mode on your phone through Lightroom!
I prefer using MF on my Sony camera, so it’s wonderful to know I can dial it in on my phone as well.
Shout out to Tongwars and Edgy_Mando for their great work and wonderful tips.
MF is the only way I focus for macro work and lots of my lenses are MF only so I love being able to dial it in on my phone as well.
Great article. Any other suggestions for app based editing software other than Lightroom?
Snapseed used to be my go-to until they changed the workflow and I have to now open Snapseed and select a photo vs select a photo and open in Snapseed. I just do everything in LR now though.