
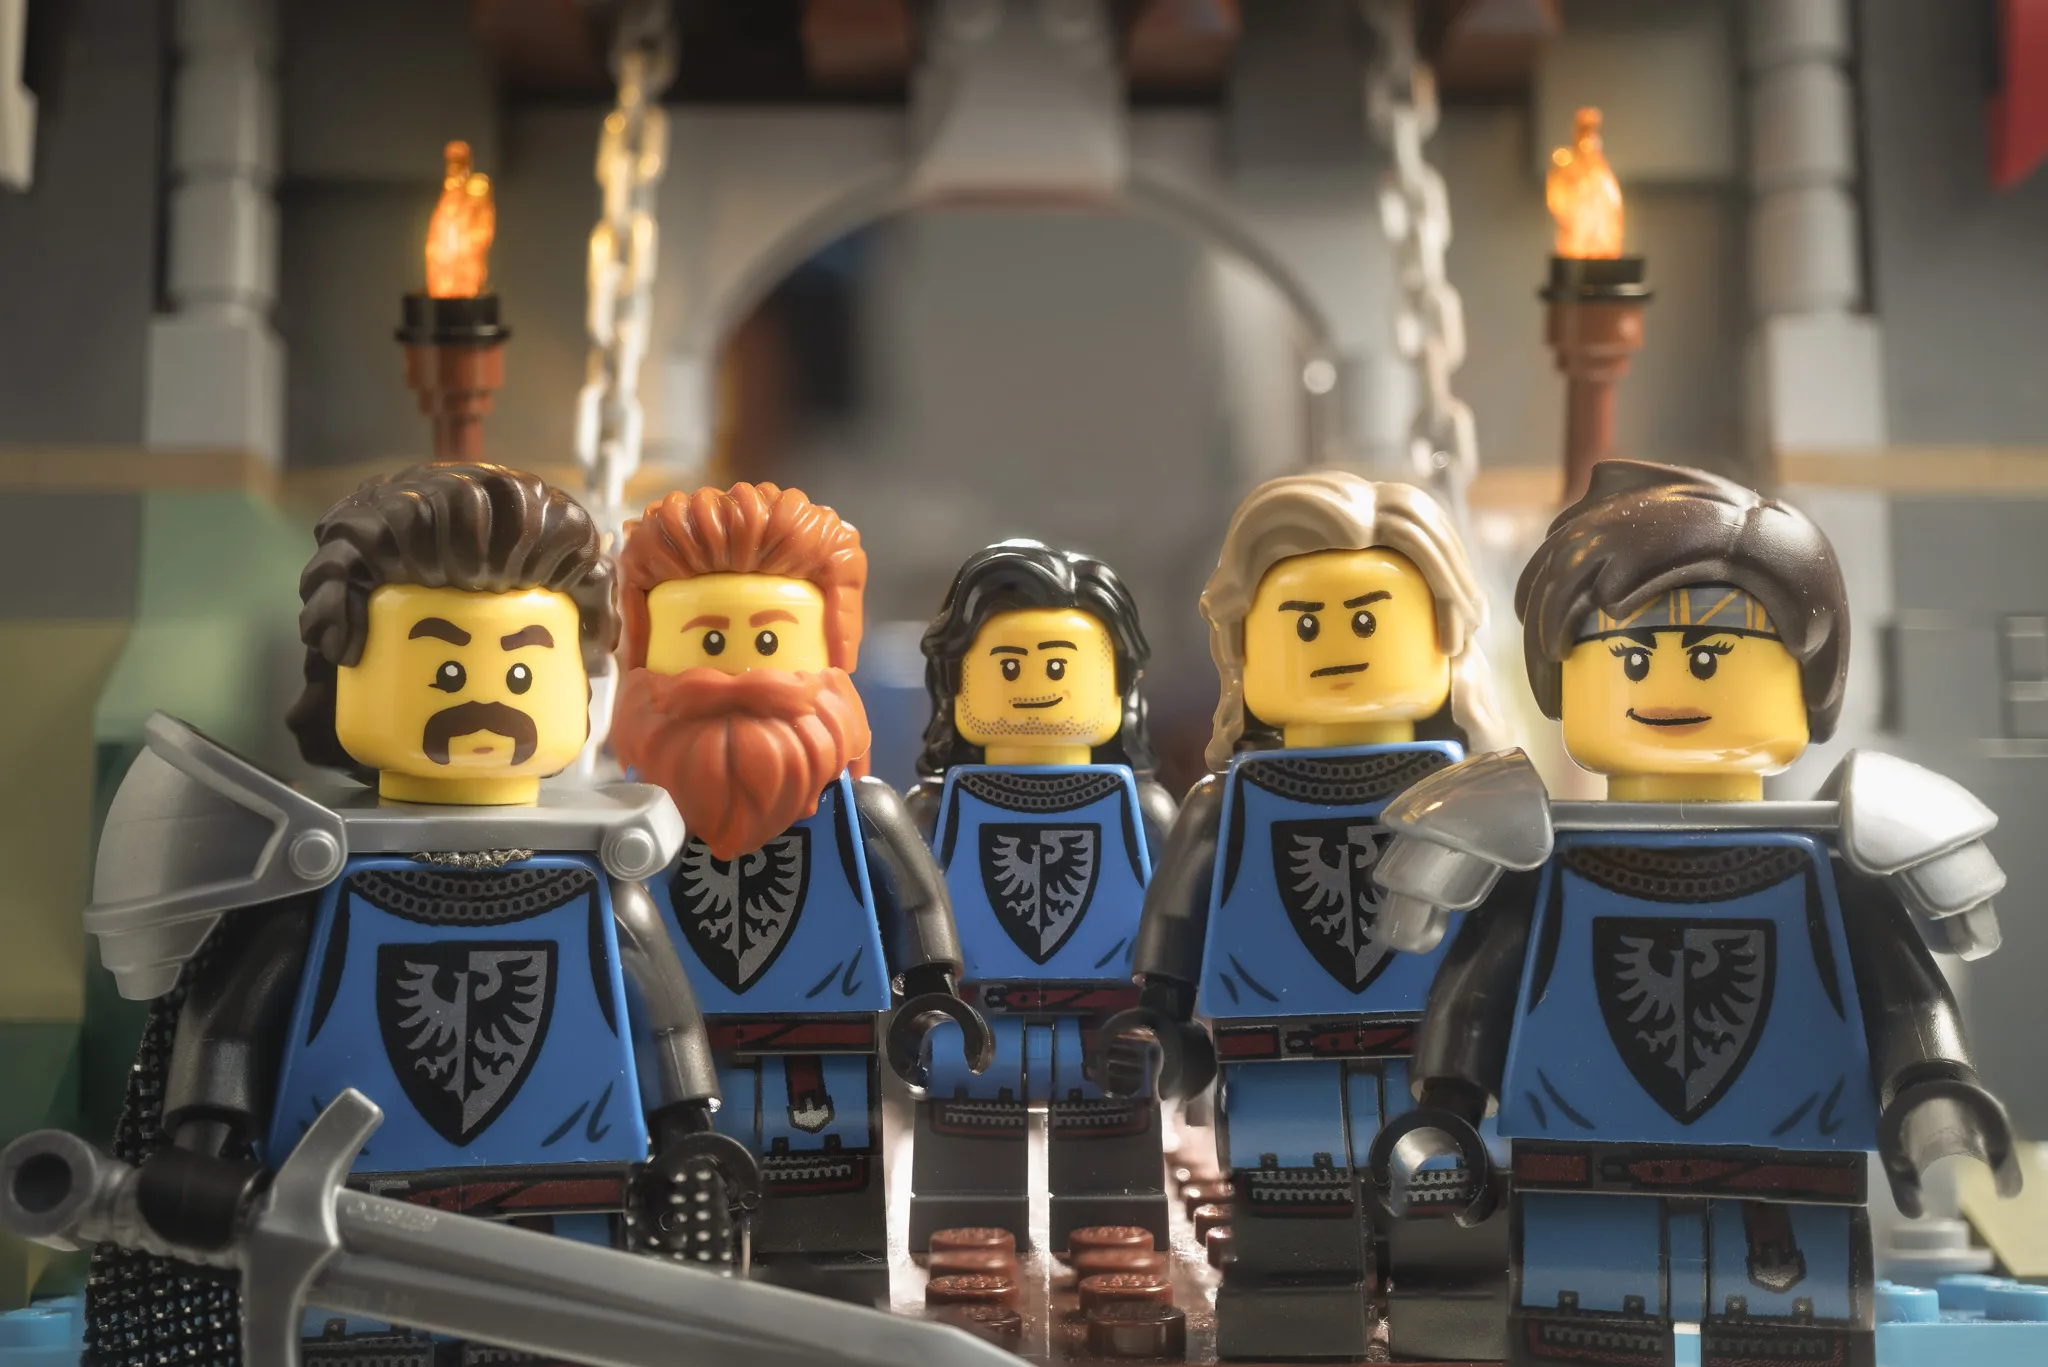
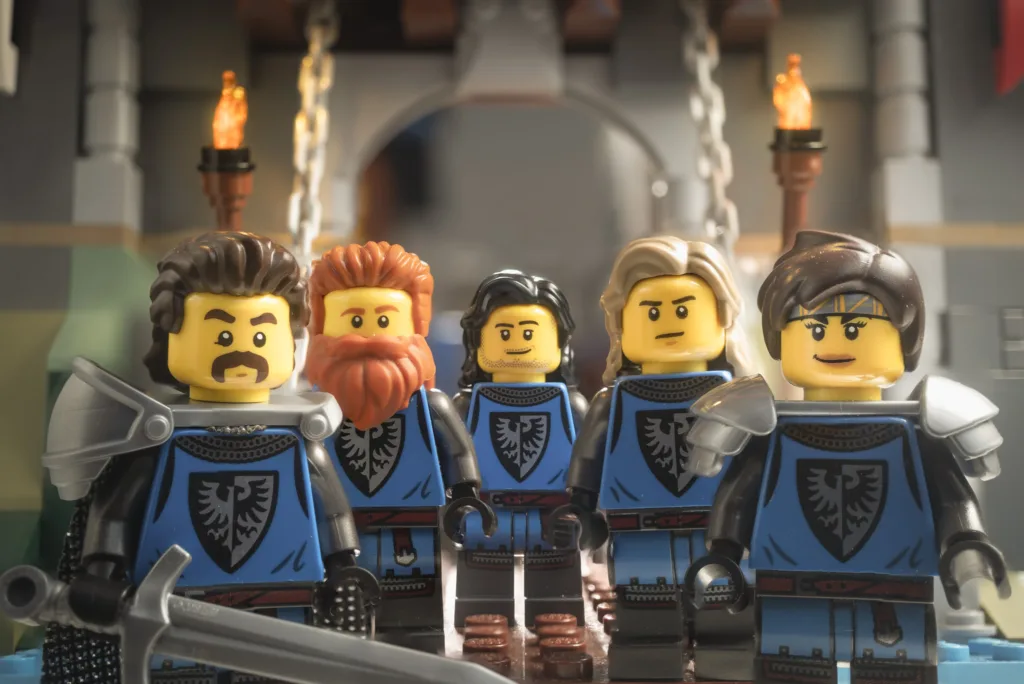
Ever set up an epic scene of a group of perfectly posed minifigs, only to end up with just one of them in focus? Heard.
Group shots are a pain to photograph, and that’s why you see fewer photos with multiple minifigs. Not only do you have to get a handful of tiny figures standing close together without knocking the others over, you immediately hit the technical problem of getting them all sharp.
When your figures sit at different distances from the camera, one is usually in focus and the rest are soft. The closer you shoot, the worse it gets.
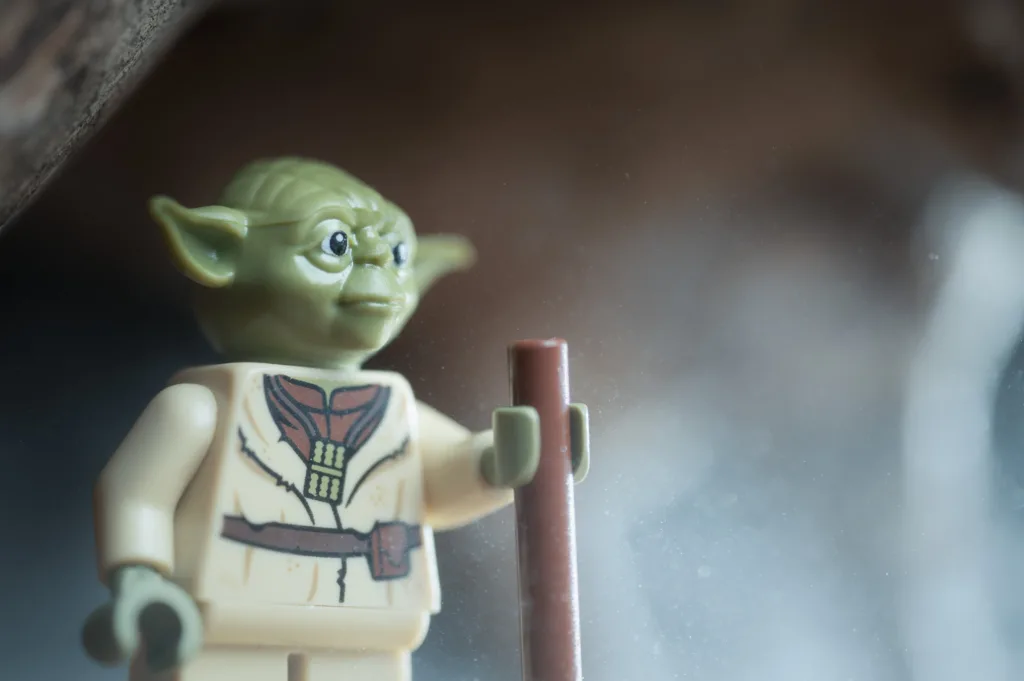
And it’s not just a problem with group shots. A two-shot might have just one minifig in focus. Even a close-up of a single minifig can be tricky: you get the face print sharp while the rest of the head falls out of focus.
Still, group shots are worth the effort. More minifigs mean more room for storytelling, whether that’s a party of adventurers, a crowded market, or a bunch of Black Falcons headed to the front lines. A single minifig can carry a story, but a cast gives you more to work with.
I’ve found a few ways to get everyone in focus, depending on the shot I’m after.
Option 1: Close down your aperture
The simplest solution is to use a smaller aperture (a higher f-number). This increases your depth of field, meaning more of your scene will be in focus.
The downside is that you also bring more of the background into focus. If you like separating your minifigs from the background with shallow depth of field, stopping down can work against you. You might end up with sharp figures but a distracting background.
You can compensate by increasing the distance between your minifigures and the background. That helps keep the background nicely out of focus even when you’re using a smaller aperture. The problem is that, depending on your setup, this might mean moving the entire scene, finding a location with more space, and setting everything up again.
There’s another trade-off. At very small apertures, such as f/16 or f/22, diffraction starts to reduce image sharpness. And even at these settings, you might not get every figure in focus.
If you don’t need a particularly out-of-focus background and can get every character sharp without sacrificing too much image quality, this is the easiest option. No extra equipment or editing required.
Option 2: Move the camera back
Another option is to increase the distance between your camera and your minifigs. This gives you more depth of field, so more of the scene stays in focus. You can then crop the image in post-processing to get closer to your original composition.
There are a few things to consider:
- You lose some control over your composition. You might have framed everything exactly how you wanted, but moving the camera even a few millimeters back results in less sky and more ground.
- You can’t always move back. If you’re working in a tight space or holding lights or wires with your hands, moving the camera farther away might not be practical.
- The background changes, too. Moving back increases your depth of field, so more of the background can appear sharp too.
If you have the space and still can manage any lighting or wires, this is another straightforward solution. You get more depth of field without having to change your aperture or combine multiple images.
Option 3: Focus stacking
This is what I use when I want every figure sharp while keeping the background out of focus.
Focus stacking involves taking multiple photos, changing the focus point between each shot, and combining the images in editing.
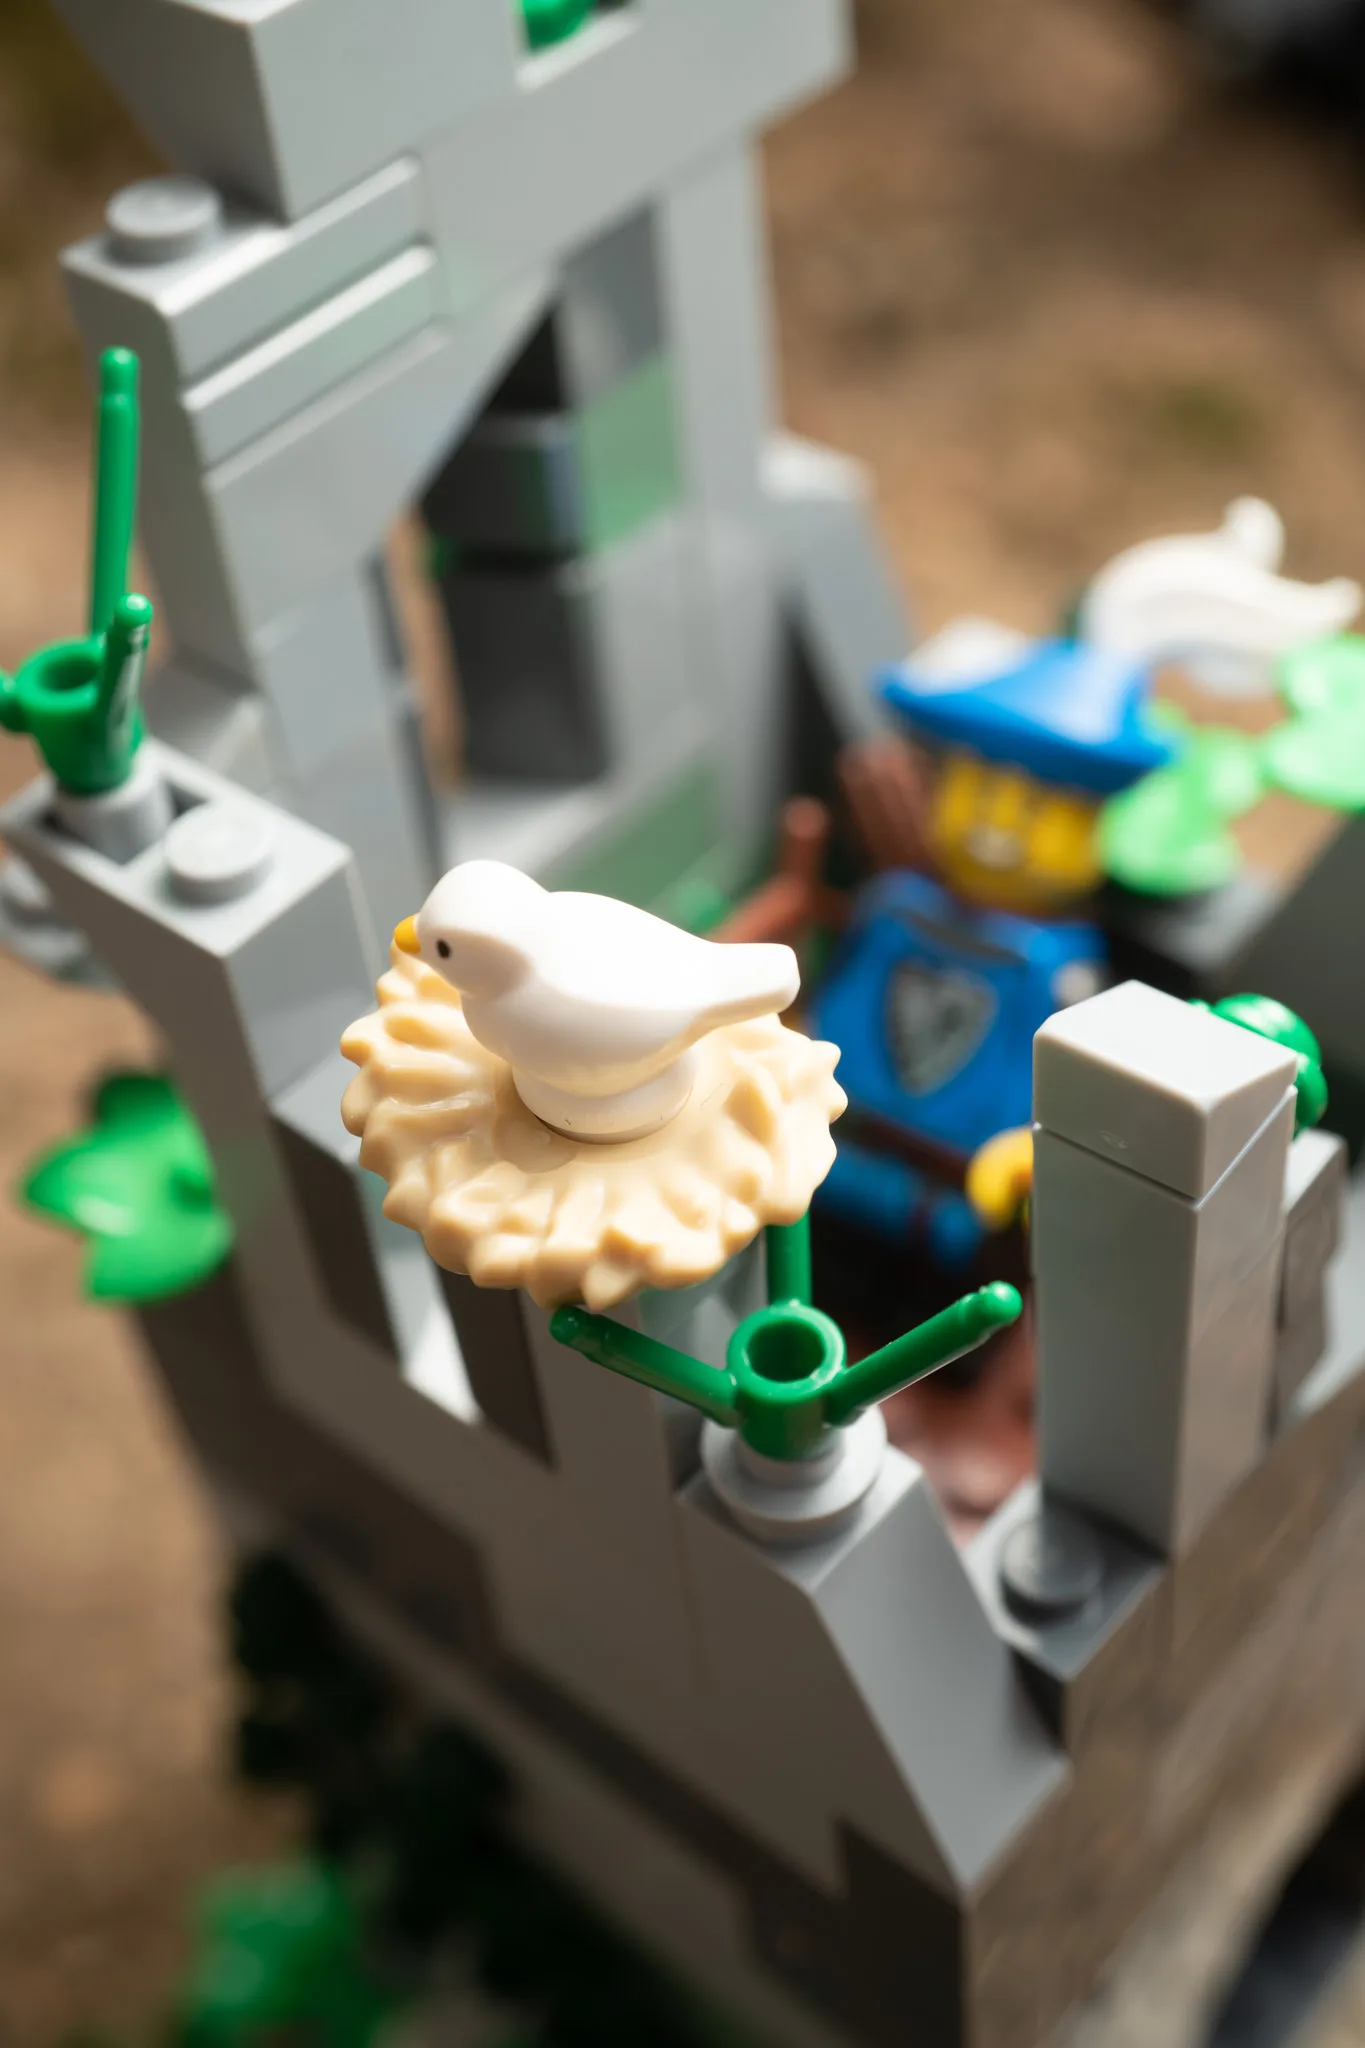
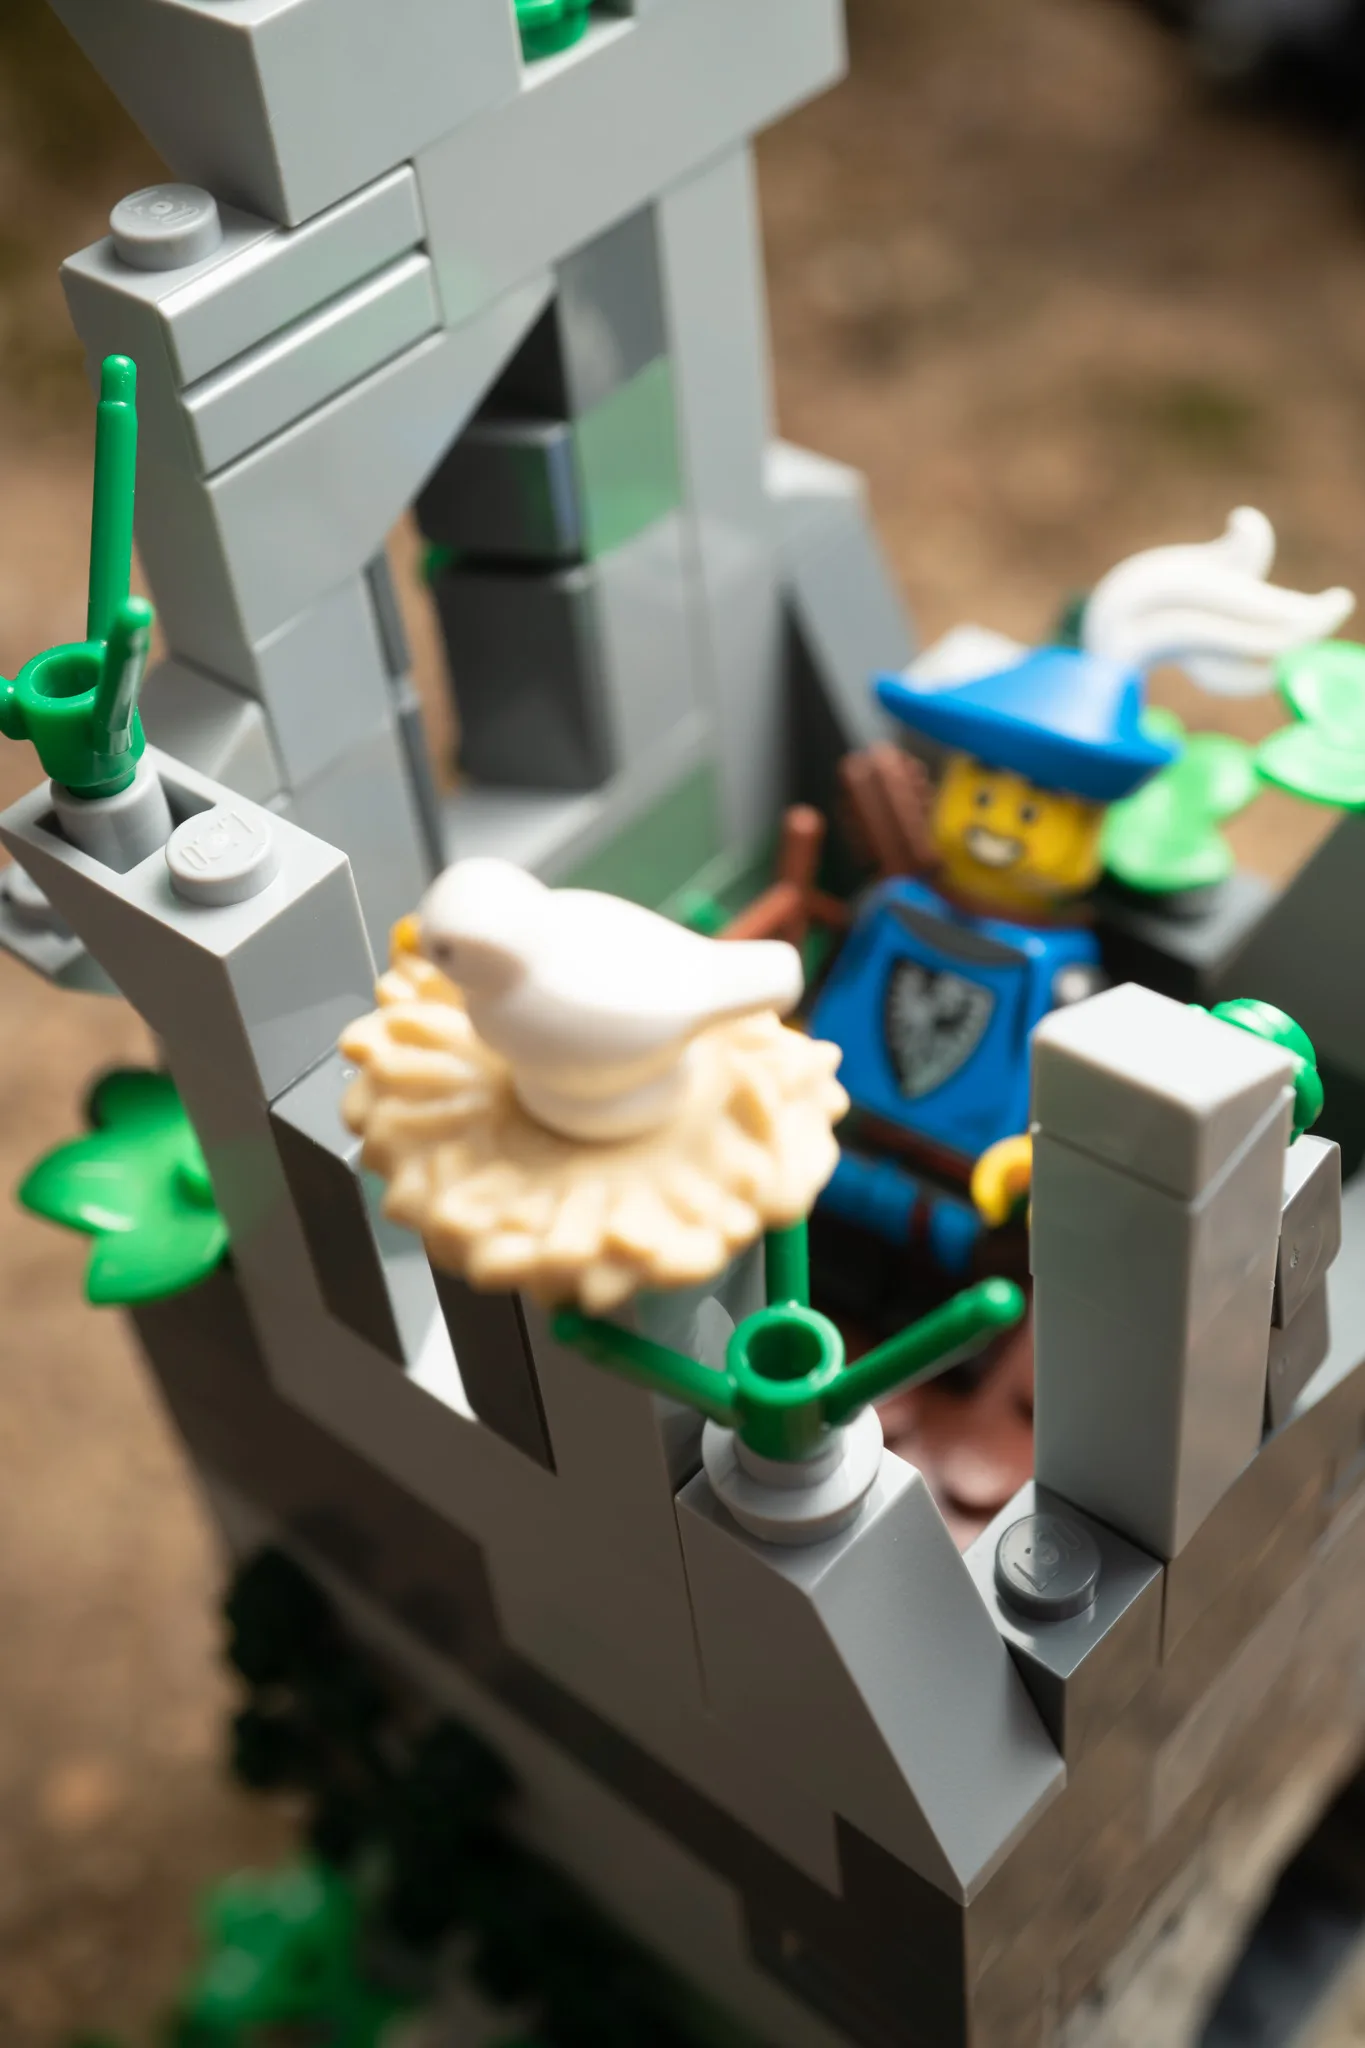
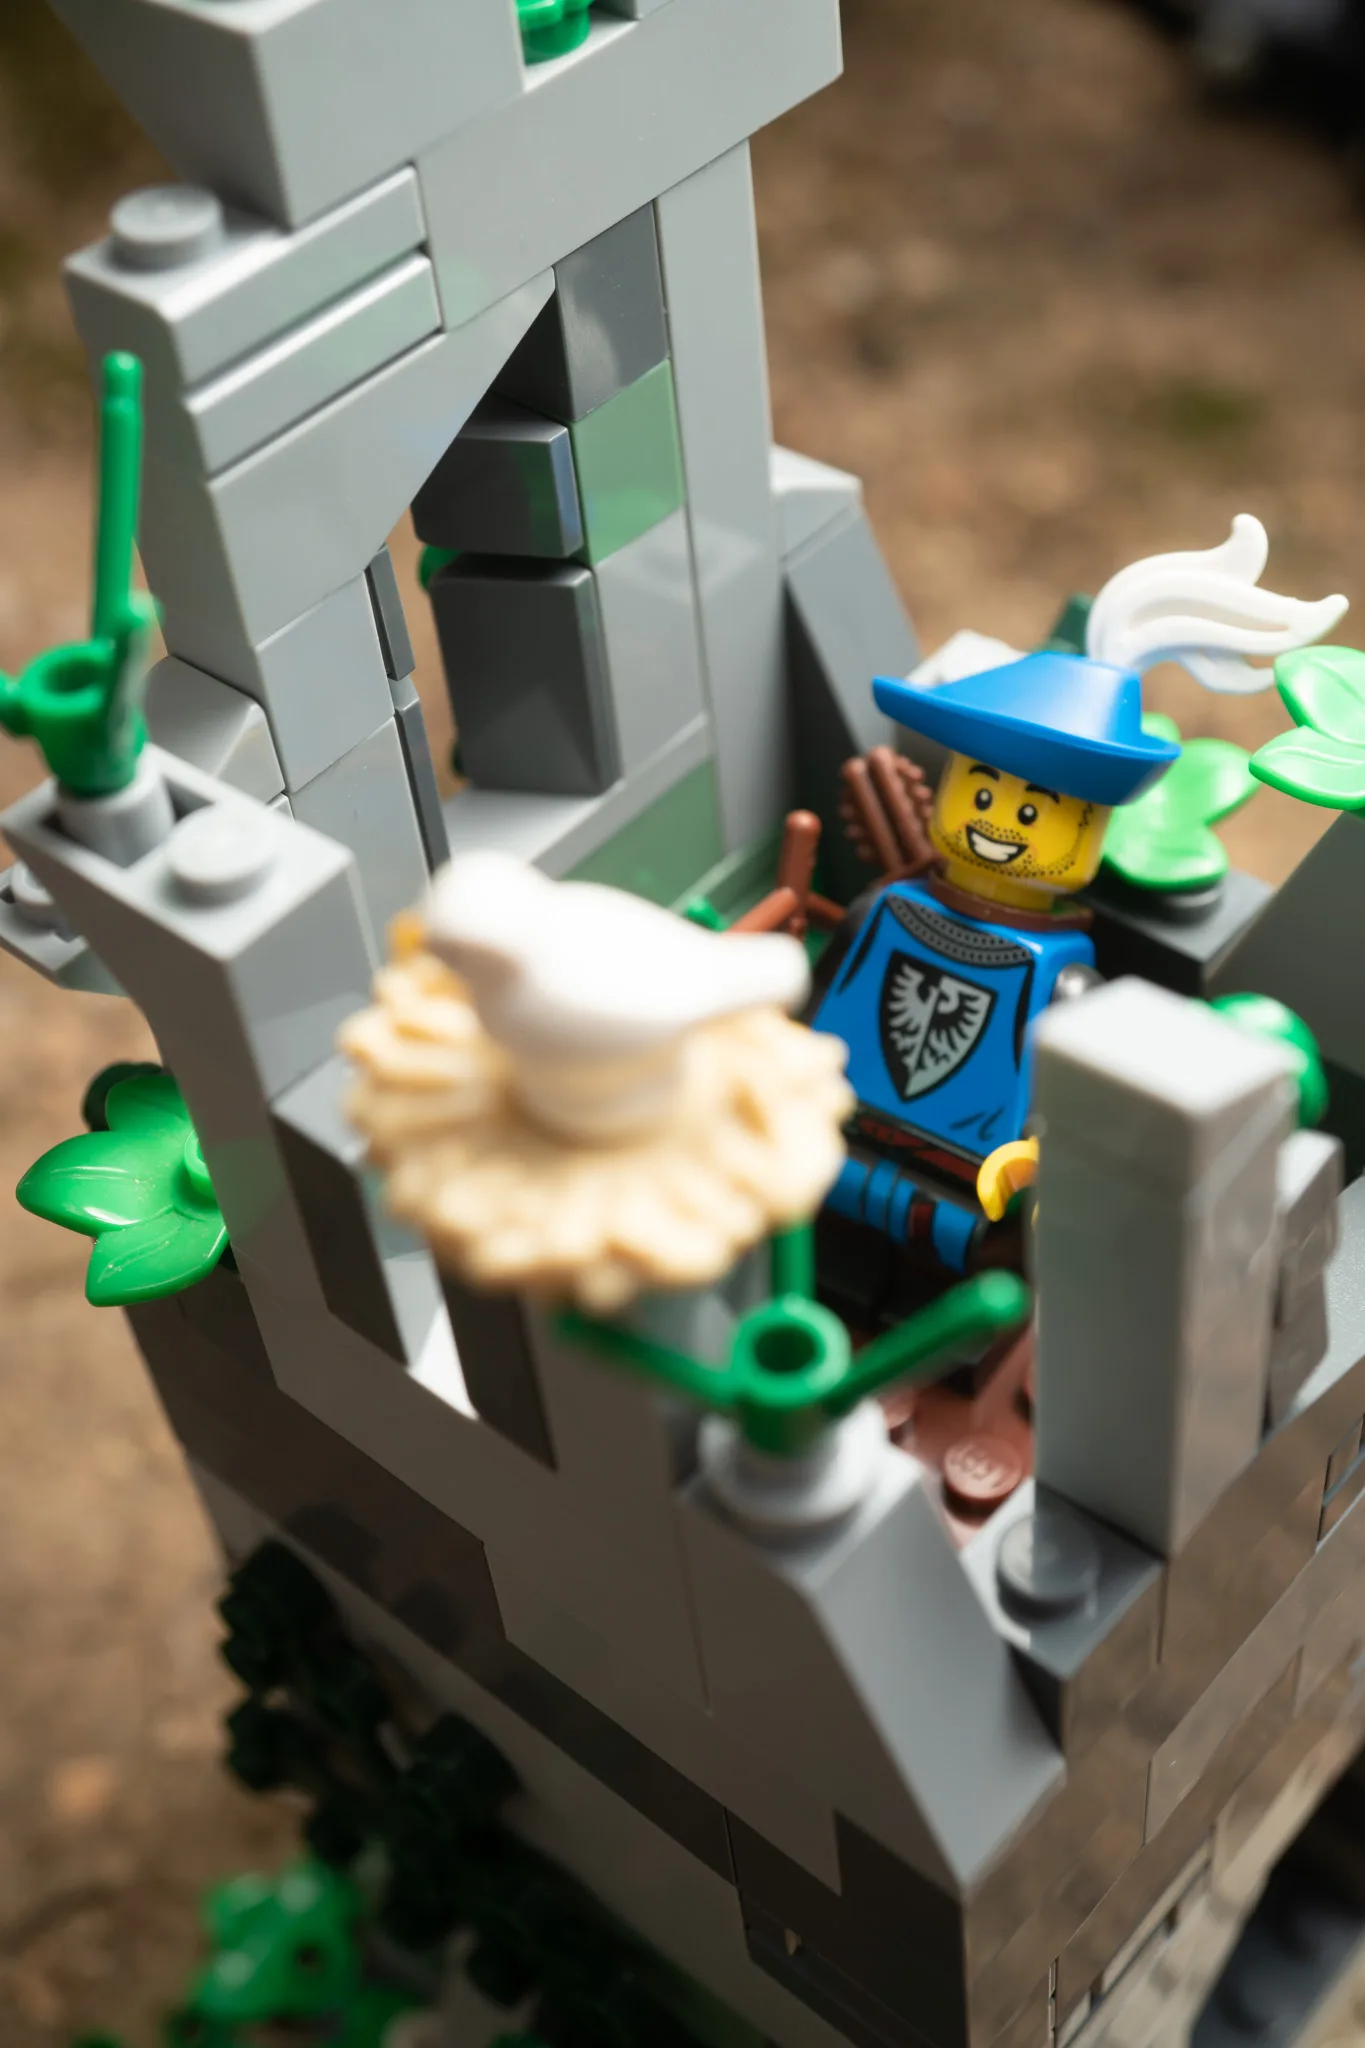
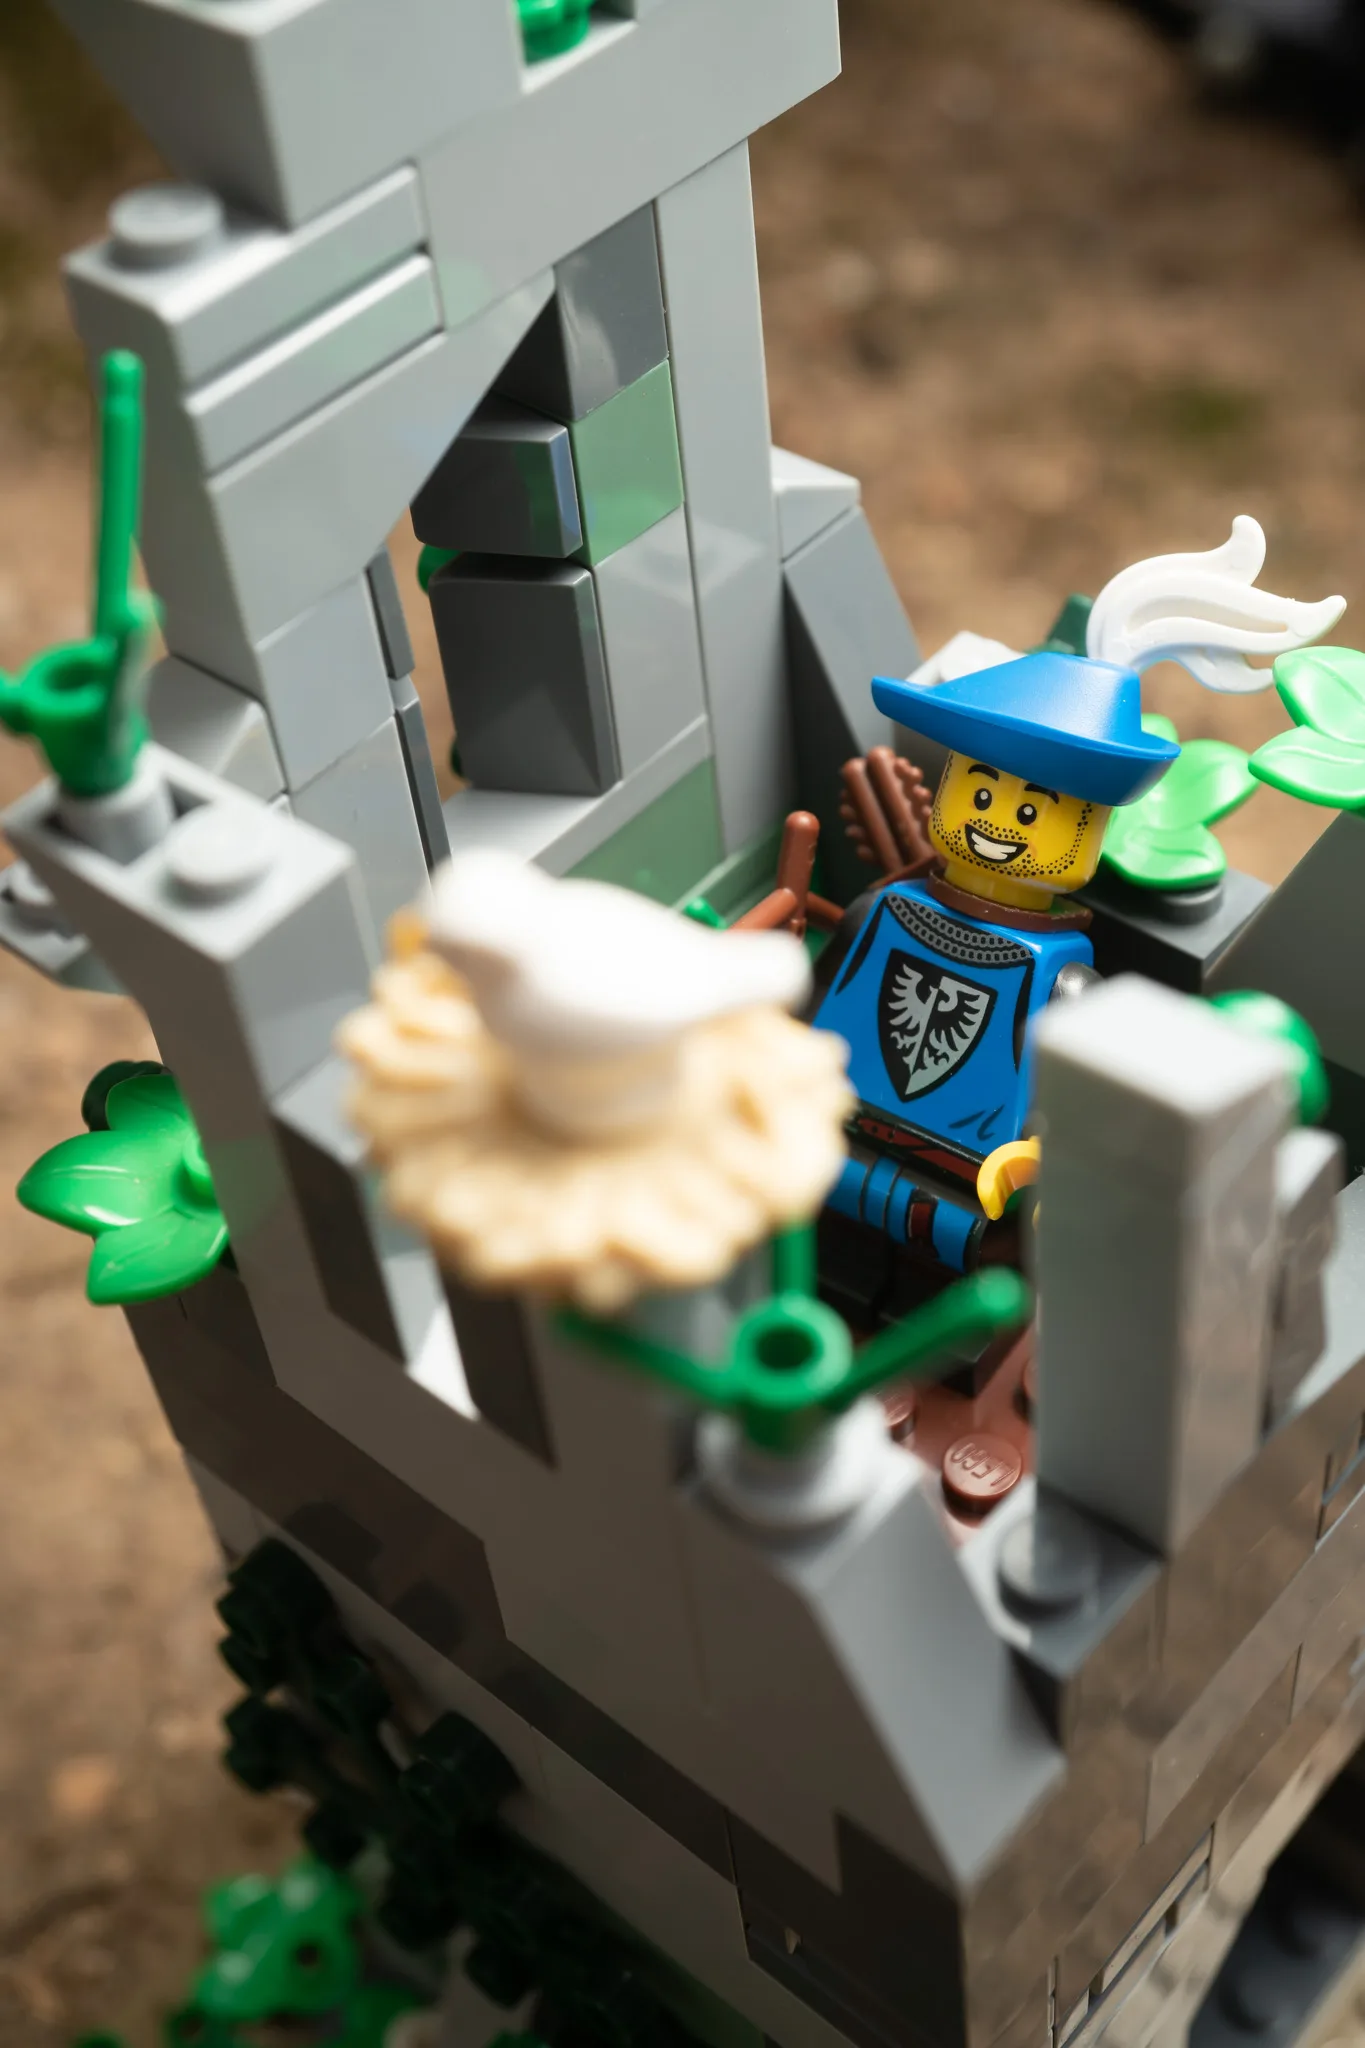
Each photo captures a different part of the scene in focus. The software then combines the sharp areas into one image. The editing is a simple auto-alignment and auto-blending in Photoshop, nothing you have to do manually.
The result is a photo where your subject is sharp from front to back, even if they’re positioned at different distances from the camera. Meanwhile, you can keep your aperture wide enough to maintain that shallow depth of field in the background.
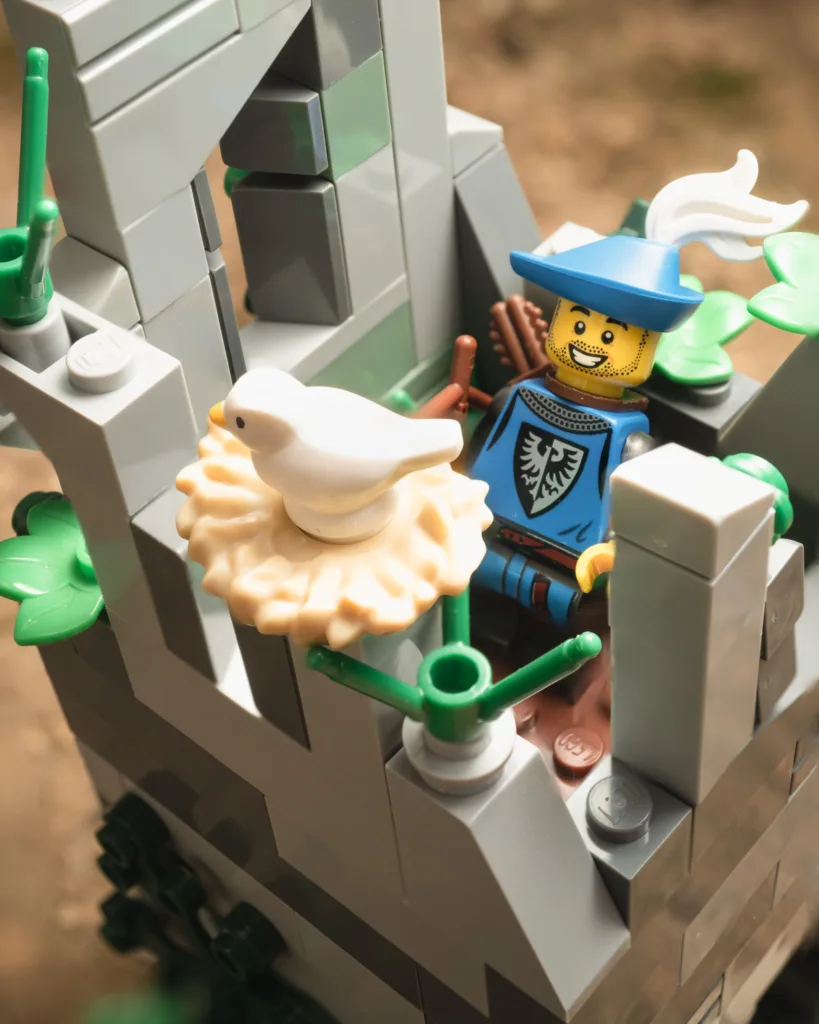
That’s the main advantage over simply stopping down your aperture or moving the camera back. You can get the depth of field you need on your subjects without giving up as much control over the background.
The trade-off is that you need to take multiple photos and use post-processing software like Photoshop (paid), Helicon Focus (paid), Open Galileo (free) or Shine Stacker (free). Using atmospheric effects or any other movement would make a stack more difficult to edit, too.
In the photos below, I used two shots in my focus stack. Focusing on the swordmaster made the little knight behind him appear out of focus, even at f/8 and with the camera moved back further than I usually have it.
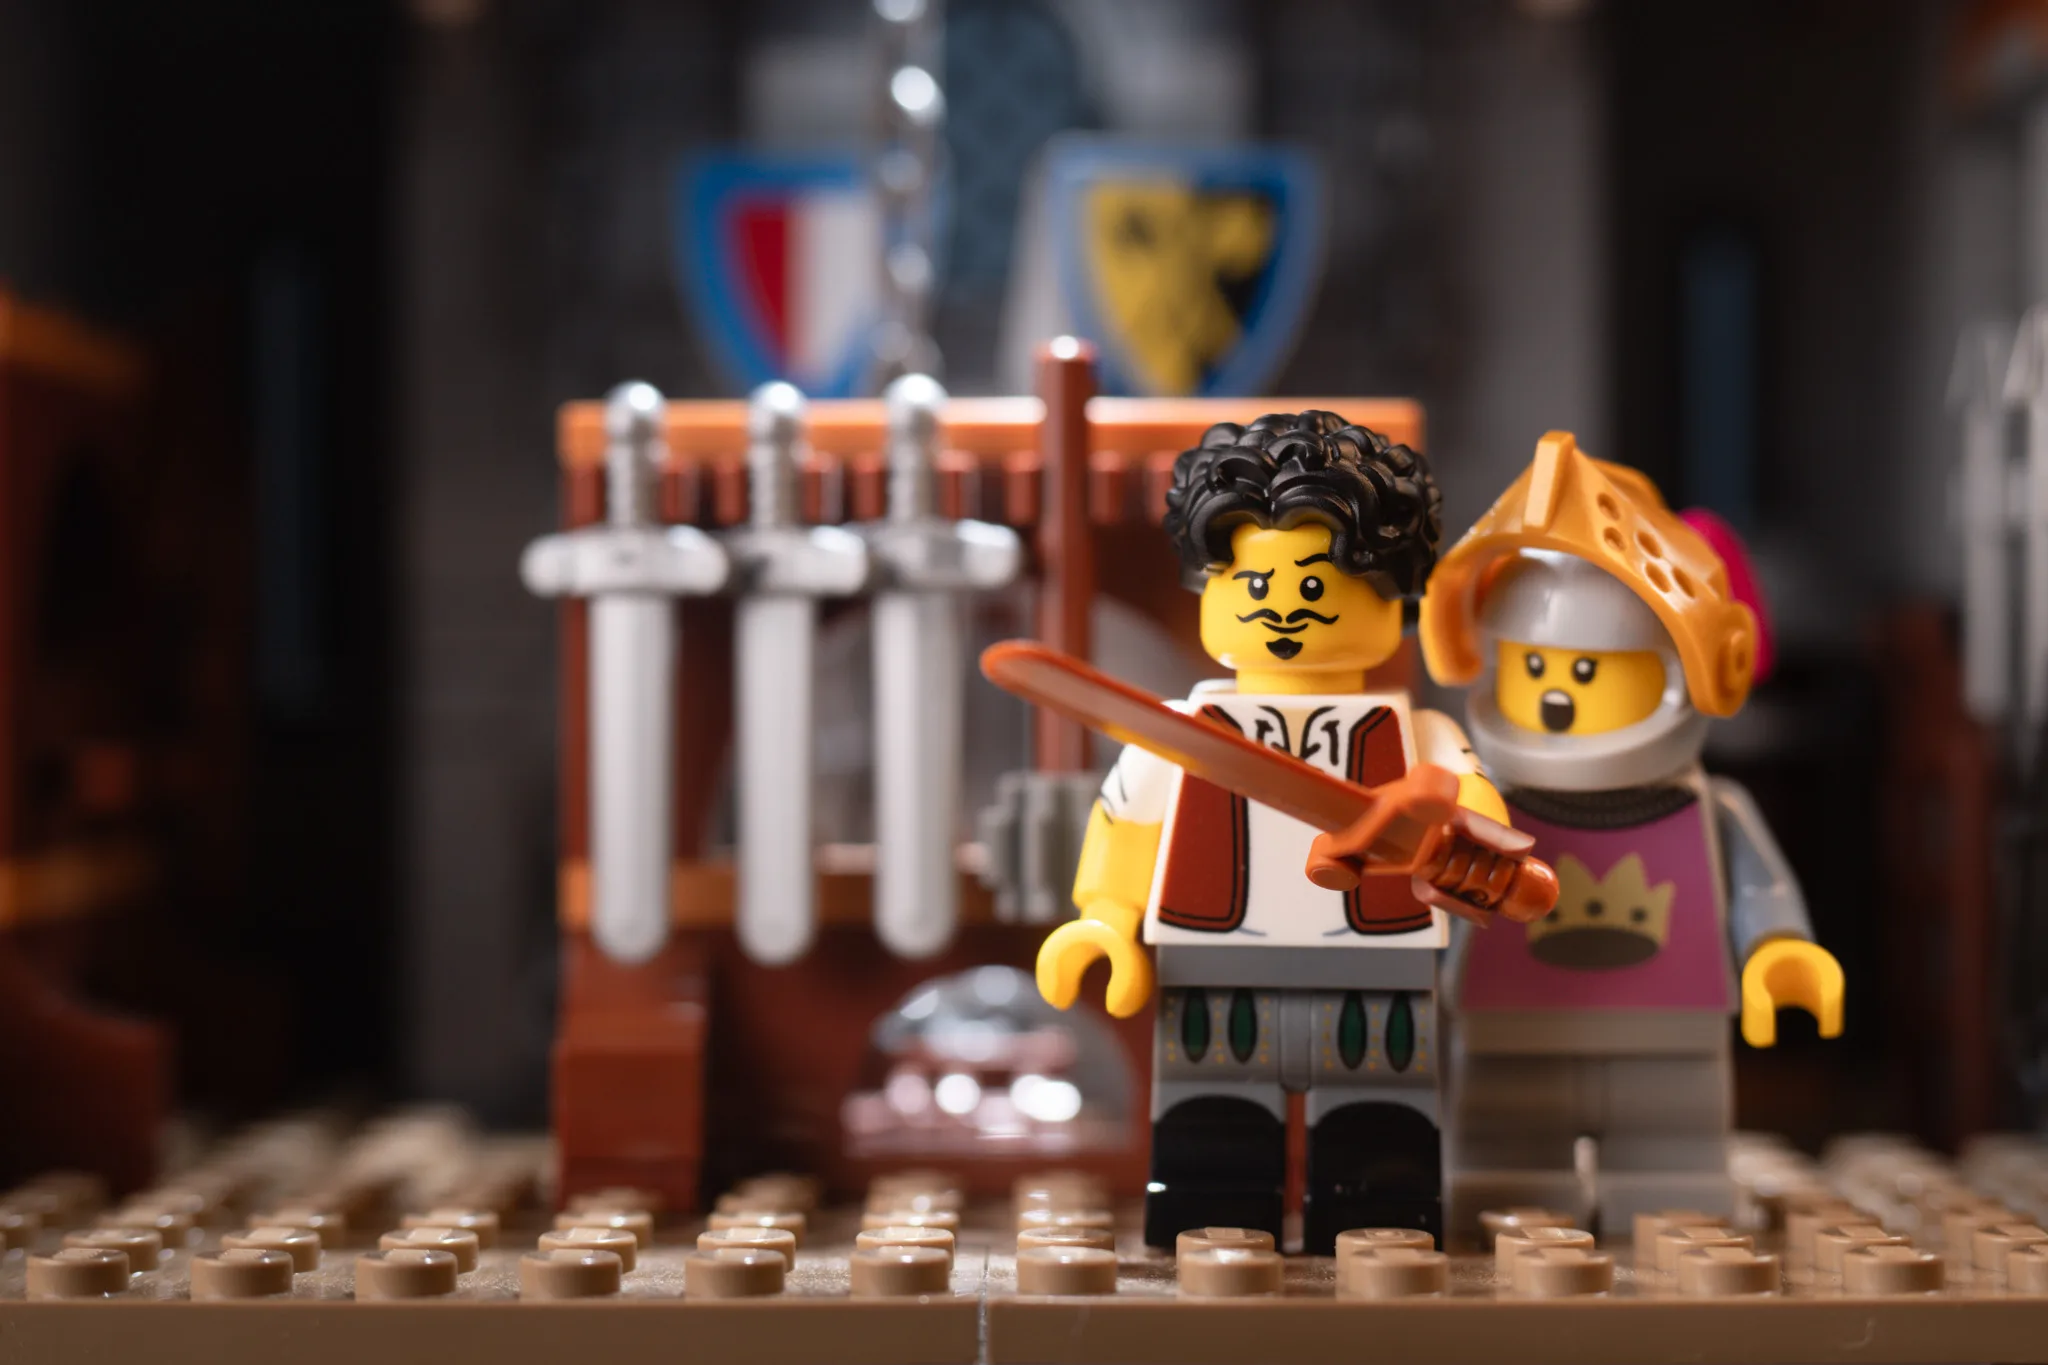
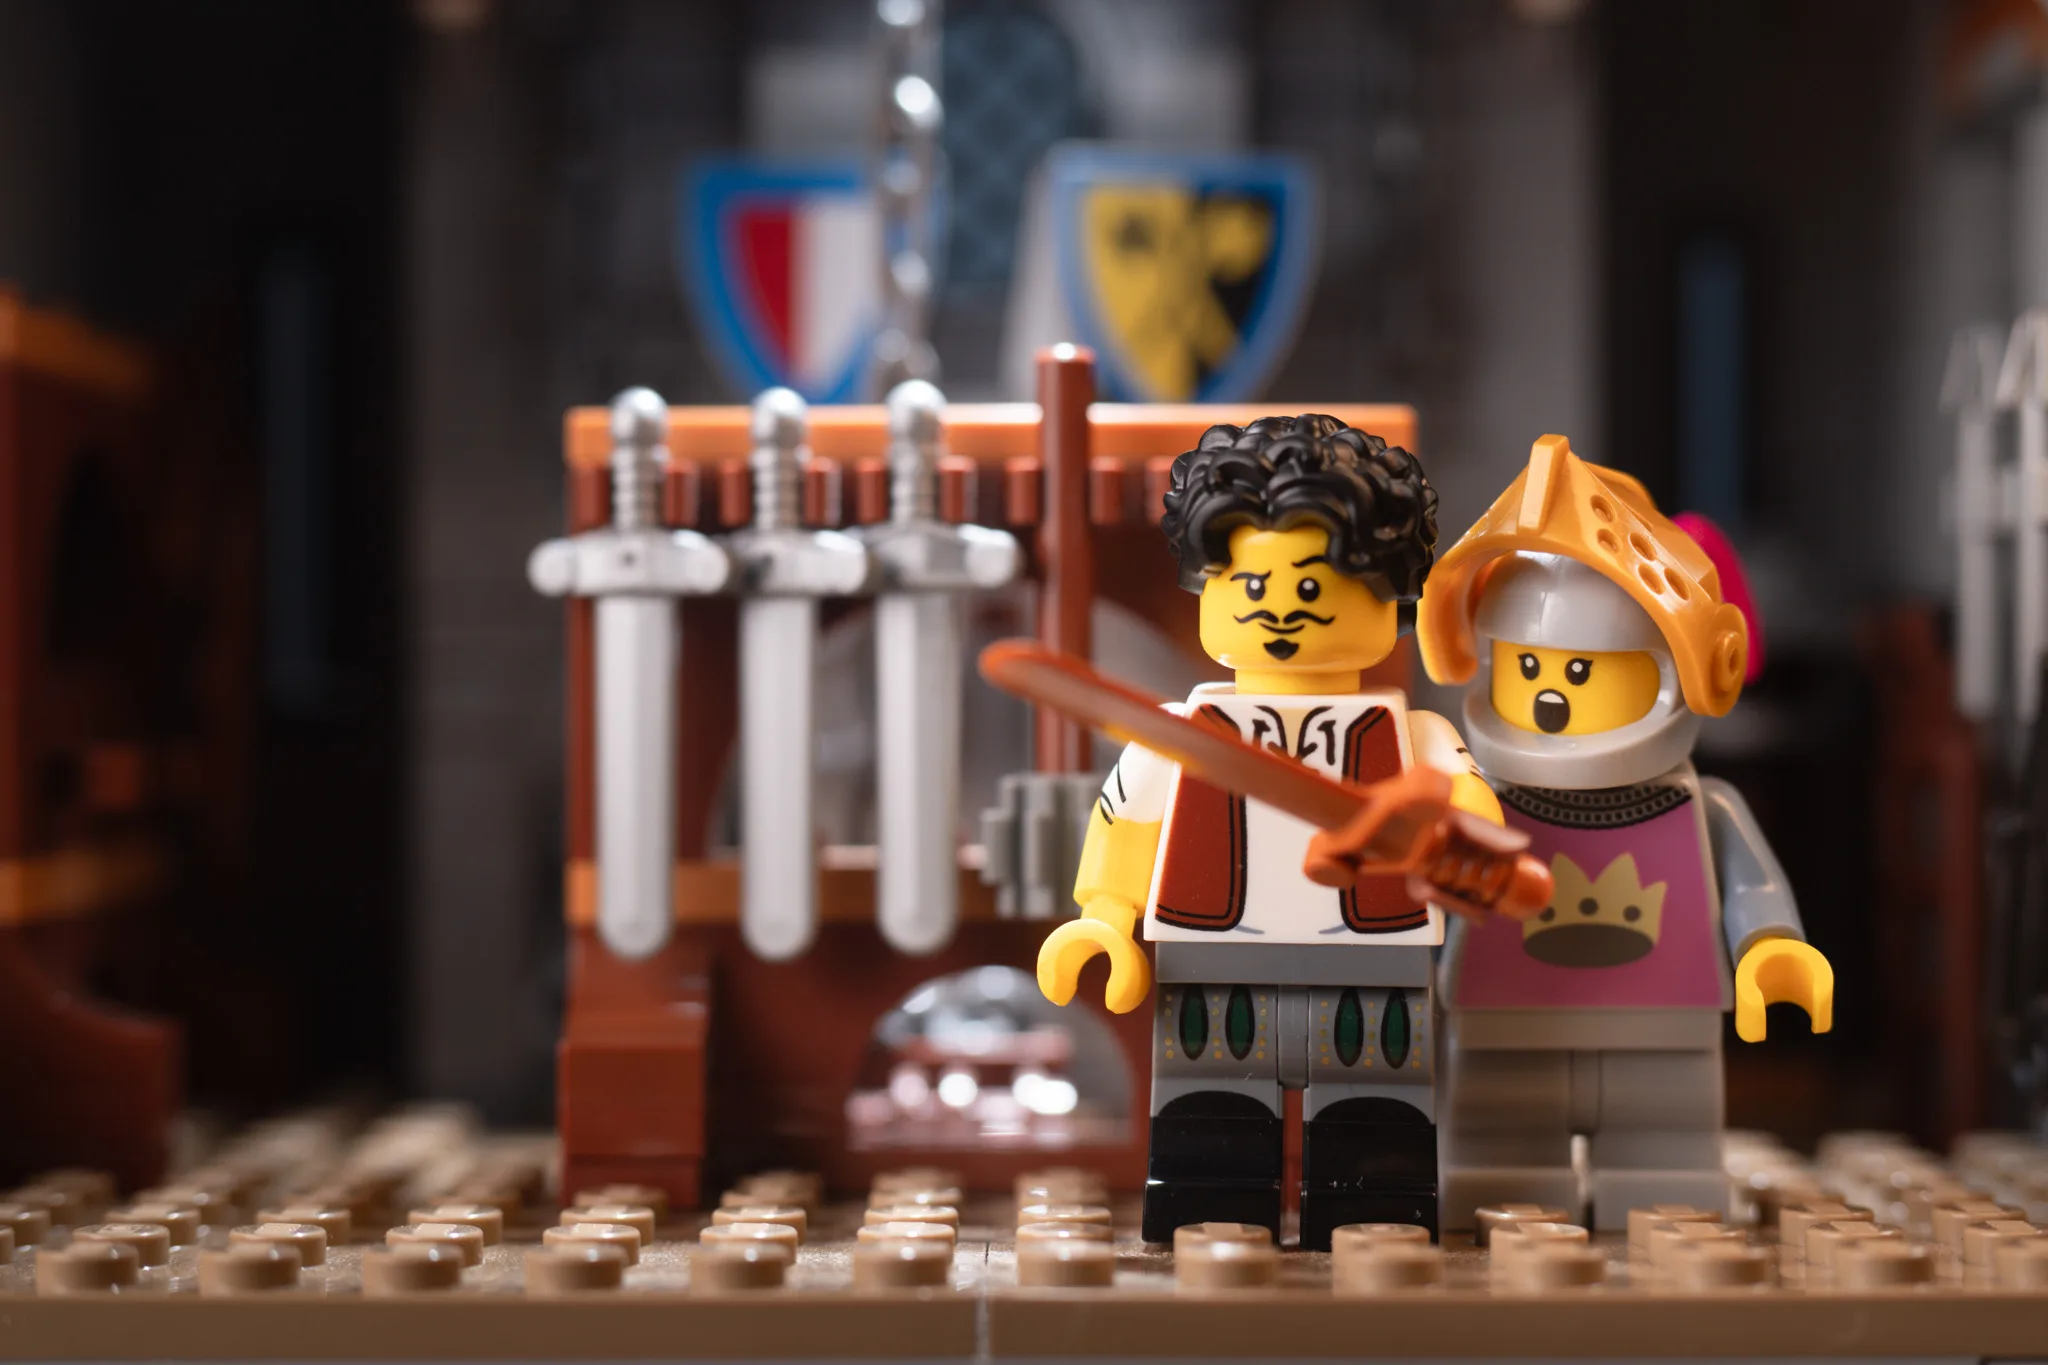
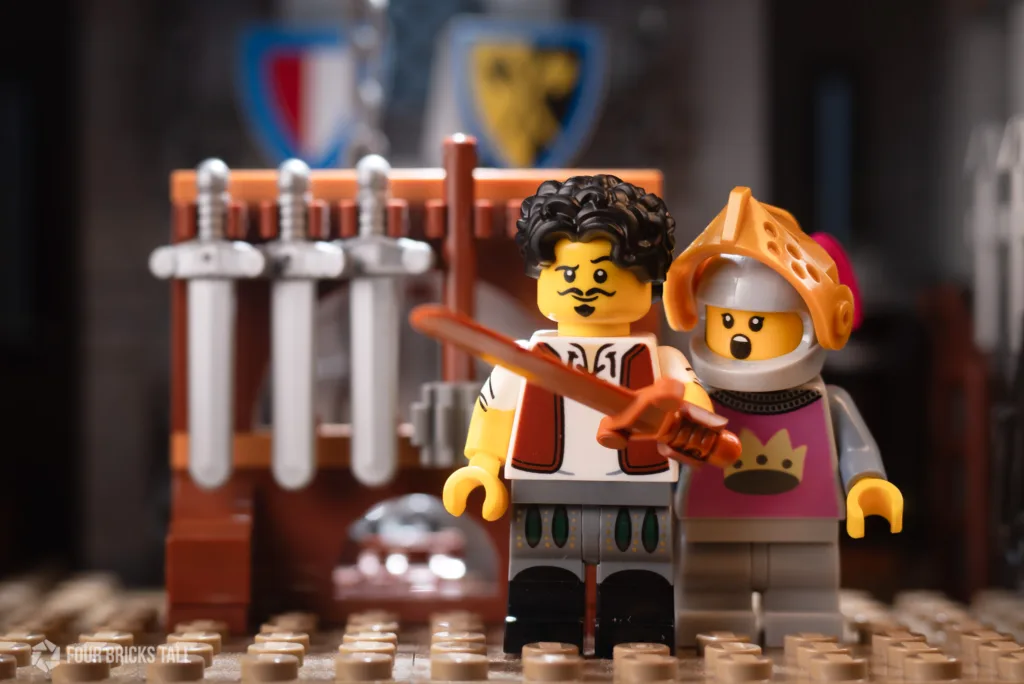
Blending the two in Photoshop made both subjects appear sharp while preserving the depth of field I had already chosen. I gave myself room to crop in the original two photos.
There are two ways to approach focus stacking.
You can turn the focus ring between shots (make sure you’re using manual focus), or you can use a macro rail to move the camera instead.
Turning the focus ring is the simpler option because you don’t need any extra equipment. The downside is focus breathing. As you change focus, the lens can change the apparent magnification of the scene, making subjects look slightly larger or smaller between frames. This can make the images harder to align and blend in post-processing.
A macro rail offers another approach. You keep the lens manually focused at a fixed distance and physically move the camera closer to or farther from the subject between shots by turning a crank. This avoids changing the lens’s focus setting, although the software will still need to align the images.
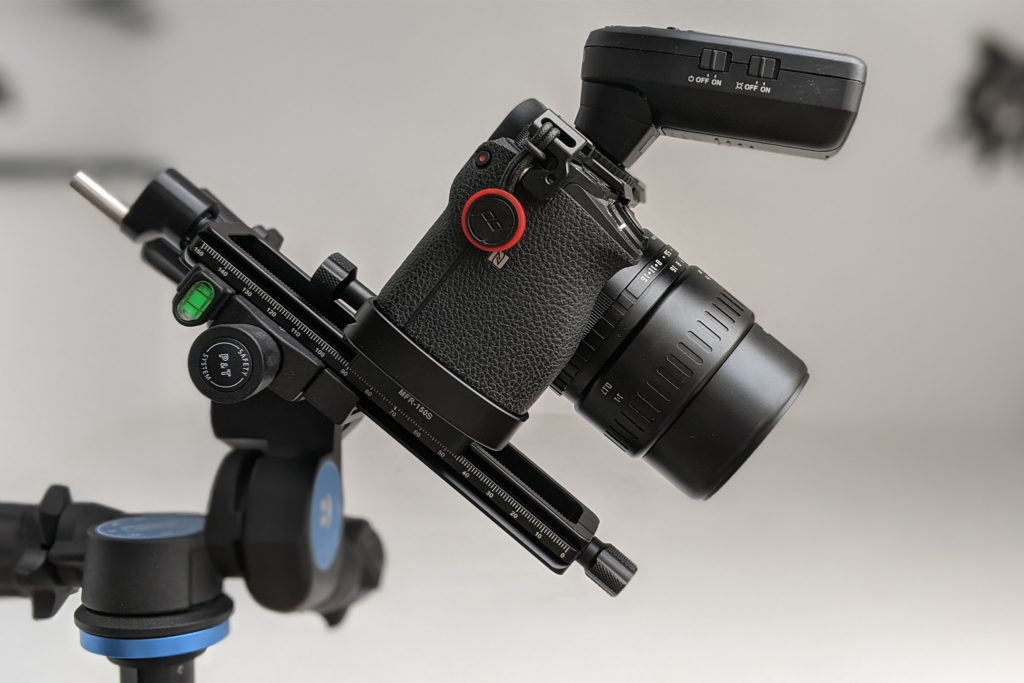
I prefer to keep my setup simple when outdoors, so I don’t use a macro rail for that situation. In my little studio nook, I have a macro rail already mounted as part of my regular setup, which I use mostly to move my camera closer or further without having to adjust my tripod. I’ll use it for focus stacking if I need to do more than 3 shots, but fewer than that, I just turn the focus ring.
A couple of other things I’ve learned along the way:
- Keep your camera stable. You need to be able to align the frames when combining them, so I try to avoid moving the camera between shots. This doesn’t necessarily mean carrying a full tripod everywhere. A low-profile pocket tripod or even a beanbag works for me outdoors.
- Think about your final crop before you start. I use the frame focused on the closest figure as my reference when composing the shot because I know where I’ll be cropping in post. I usually give myself a few millimeters on all sides for the crop. You could start with the furthest subject instead, but either way, it’s worth thinking about your final composition before taking all those frames.
Option 4: Tilt your lens
A tilt lens, or a regular lens on a tilt adapter, extends your apparent depth of field by changing the plane of focus.
A normal lens focuses on a flat plane that runs straight across the frame, parallel to the sensor. Swing or tilt the lens and that plane angles instead, then the depth of field can cover a minifig in front and another farther back at the same time.
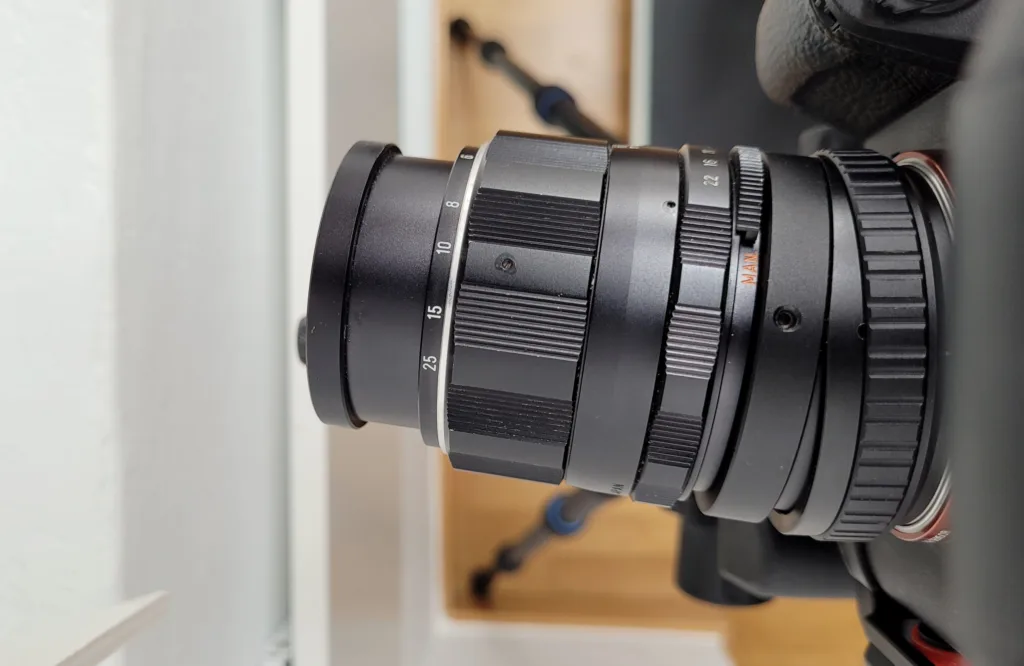
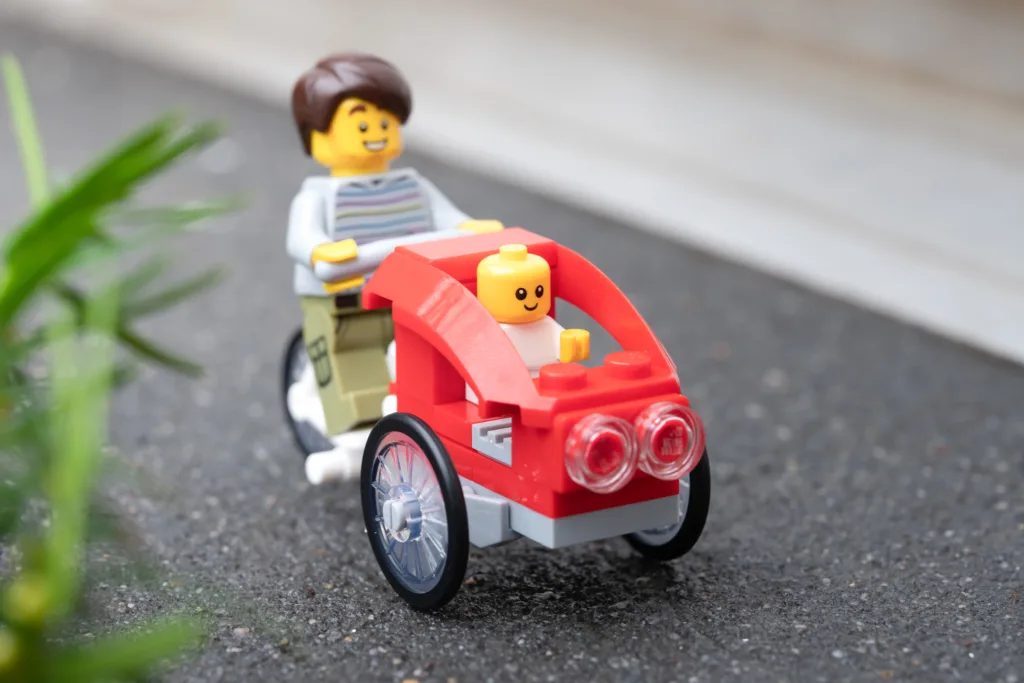
By using a tilt lens, I could get a shot like the one below without having to stop down, change arrangement of the subjects, or move the buildings in the back further back. And I could still use atmospheric effects without having to think about how it would focus stack in the software after.
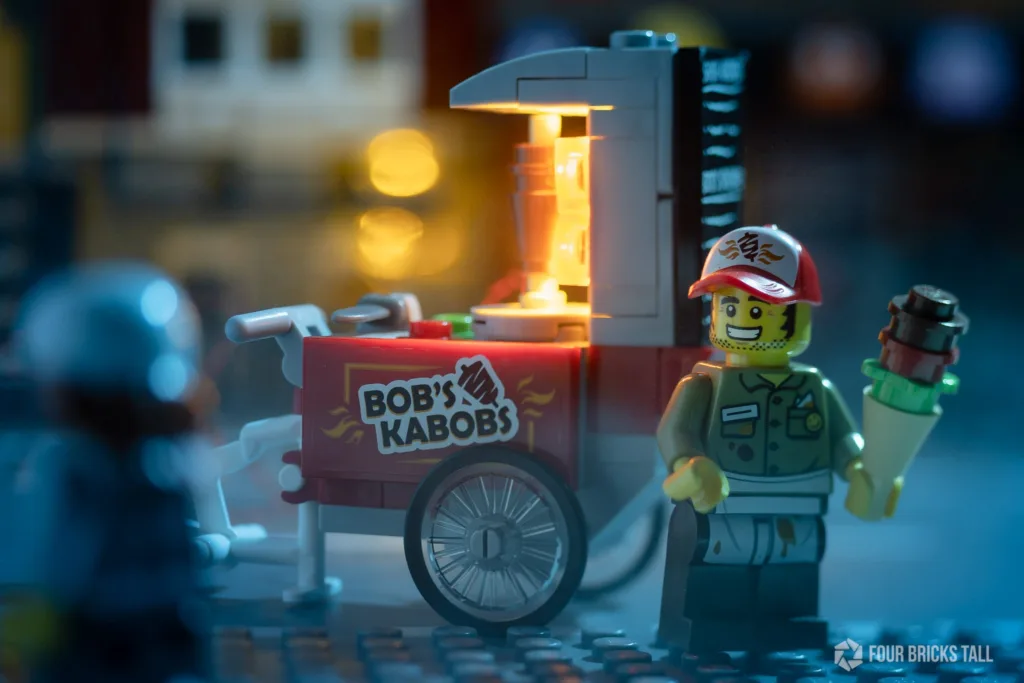
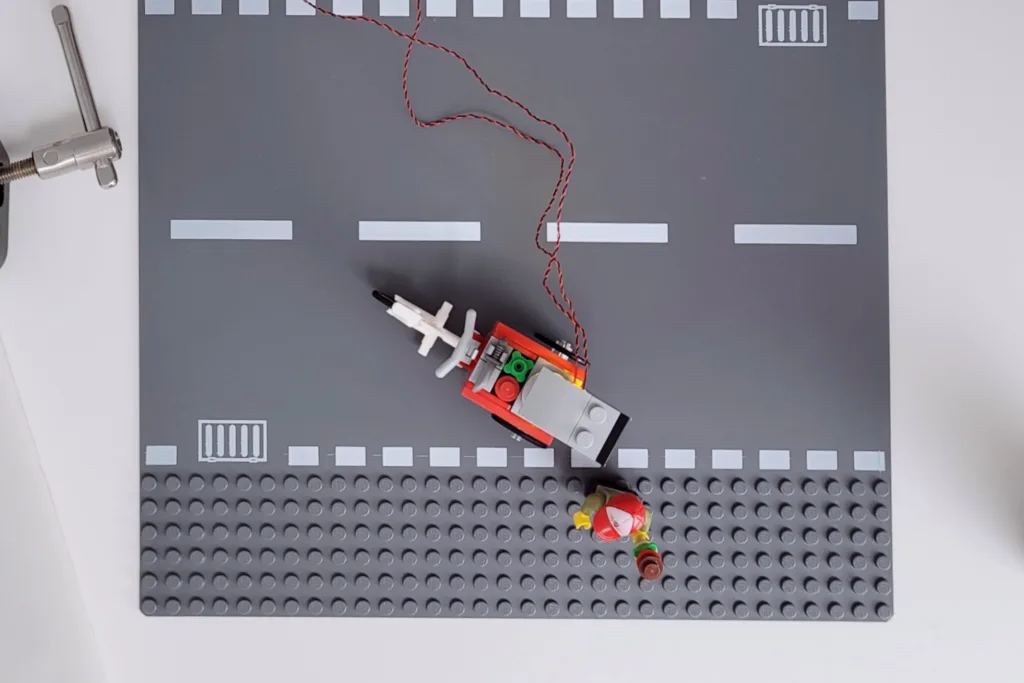
See how the kabob trike is behind the minifig and that both are diagonally aligned? The tilt allowed me to get both in focus in one shot. Without tilting, I’d only get either the minifig or the trike sharp with my macro lens, even at a smaller aperture.
There are a couple of catches:
- It works best when your minifigs sit on a diagonal. That’s fine for two or three minifigures, but past that, a diagonal line of minifigs starts to look like a weird composition. So this is a small-group trick, not a crowd solution.
- You need a vintage lens to adapt or have to buy a specialty lens. Those $30 tilt adapters can mount an M42 lens to your mirrorless camera, but you can’t convert a modern lens to a tilt lens with it. If you don’t have a vintage lens, Astrhori makes a budget-friendly macro tilt lens for mirrorless bodies. I haven’t tried it yet though.
What you get in return is a lot of what the other options cost you. You don’t stop down, so you keep your light and your shallow background. You don’t back up and crop, so you keep your composition and stay close to your set. You don’t stack, so there’s no extra time in post.
Here’s a video I made years ago that shows how the tilt adapter works:
Which method do I use?
It depends on the shot. If I can get everything sharp with a smaller aperture and still get the background I want, I’ll do that. If I have room to move the camera back and won’t fall off a ledge, that’s another option worth trying.
When I want my minifigs sharp while keeping the background out of focus, I use focus stacking. It’s also useful for close-ups since I can get both the face in focus and keep the hard edges of the minifig’s head sharp too.
But when I want to use atmospheric effects or movement on top of that, I’ll tilt my lens.
None of these approaches is necessarily better in every situation. They just solve the same problem in different ways, with different trade-offs. If you’re running out of daylight, you might need to keep the aperture as wide as possible and focus stack. Or if it’s especially bright outside, you might need to stop down anyway.
Next time you’re setting up two or more minifigs for a group shot, try using one of these four techniques to get them all in focus. Just be prepared to spend a while getting them to stand up, and possibly starting over when one falls into the others.
That’s part of the hobby, really.