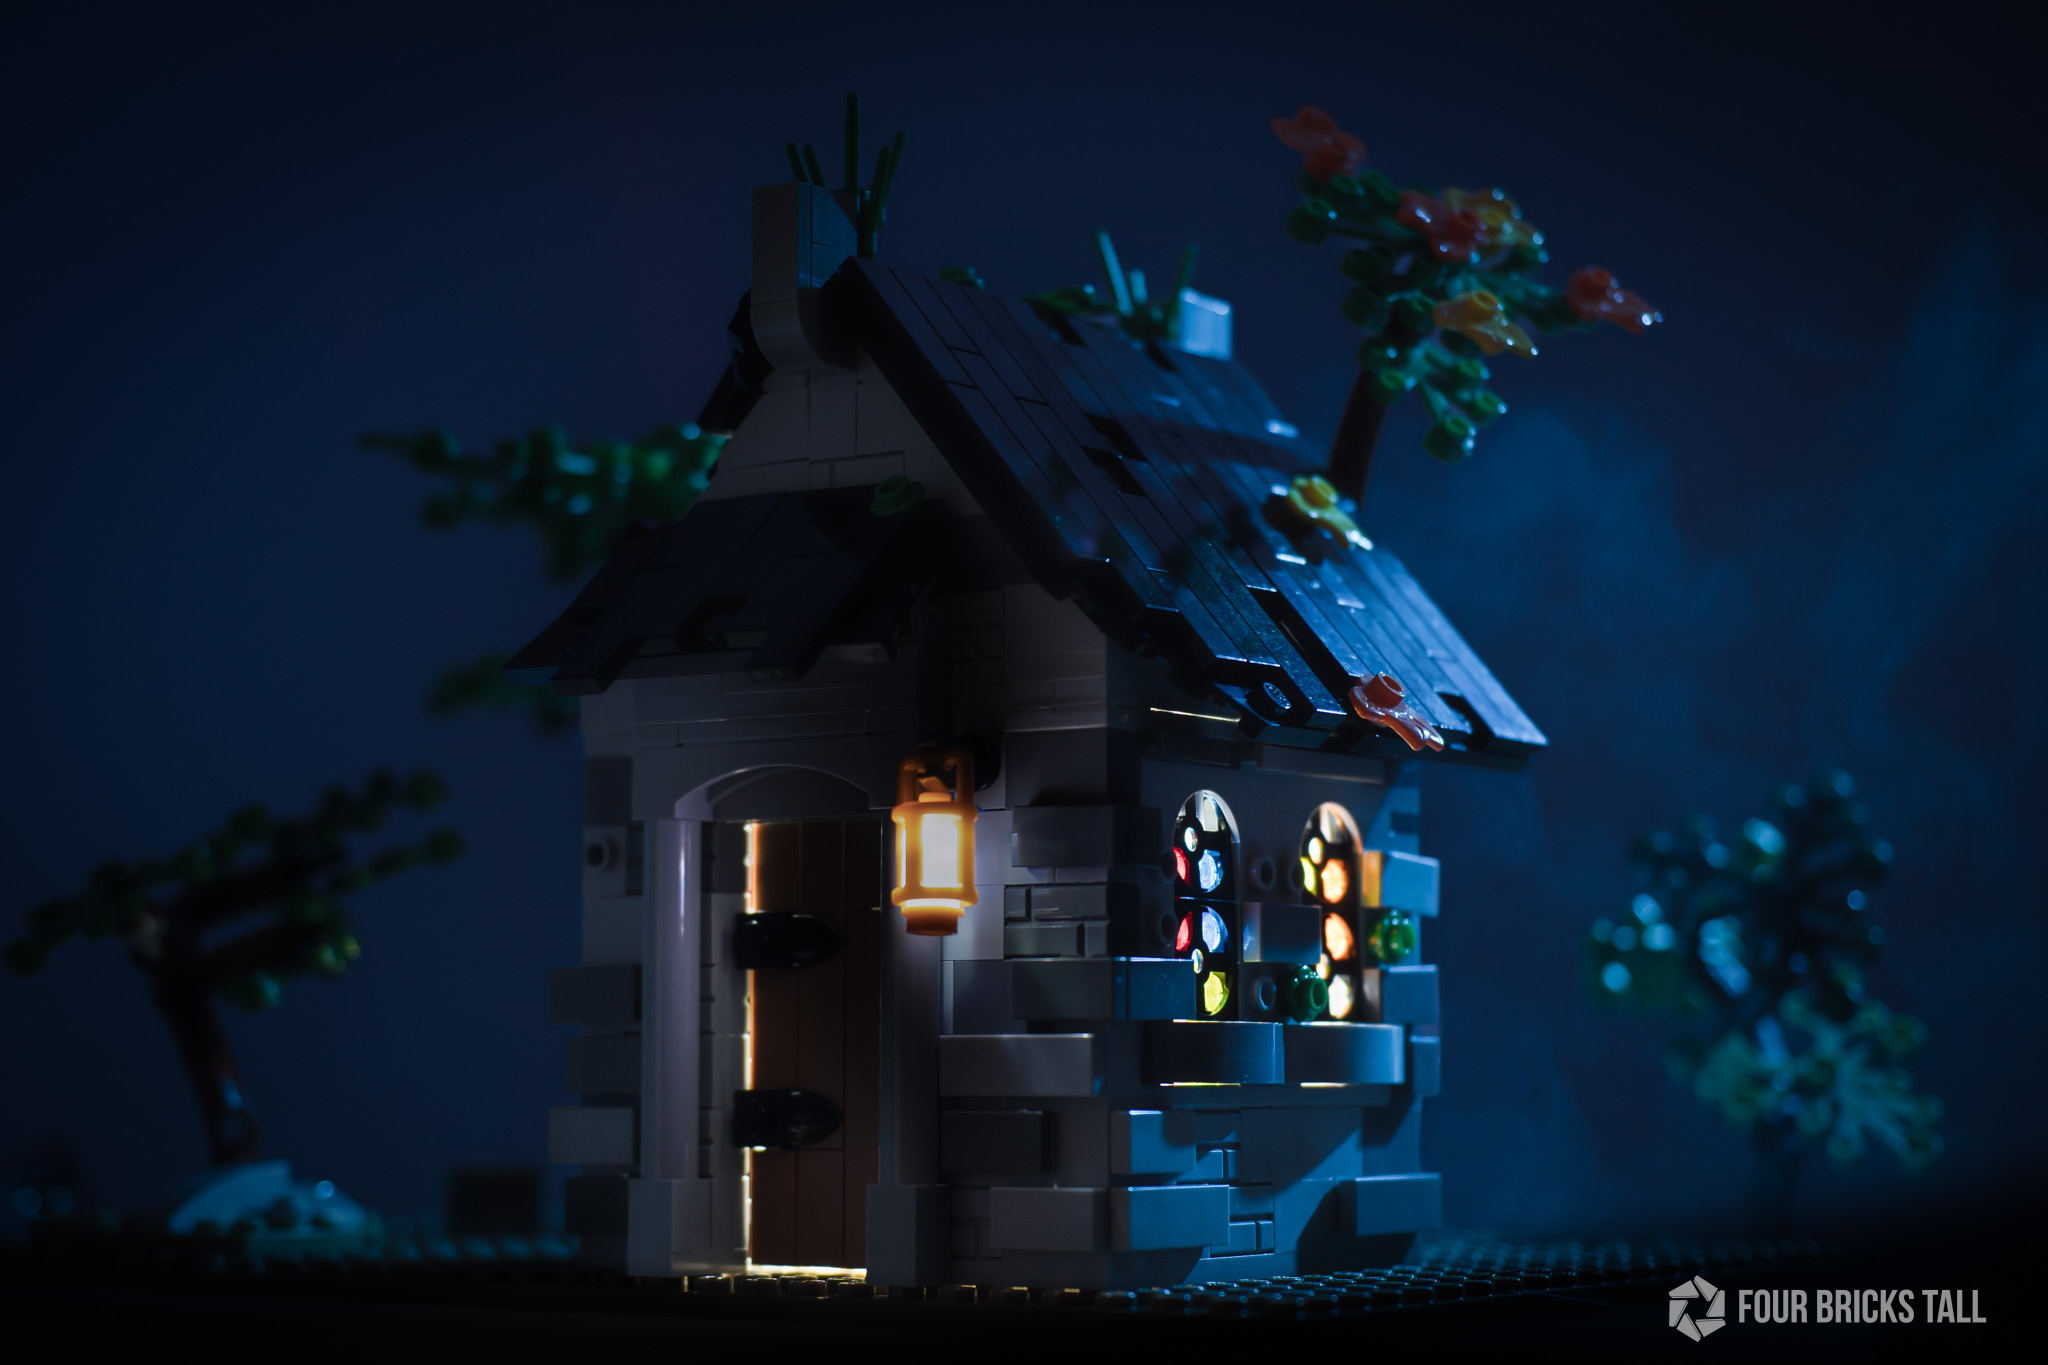
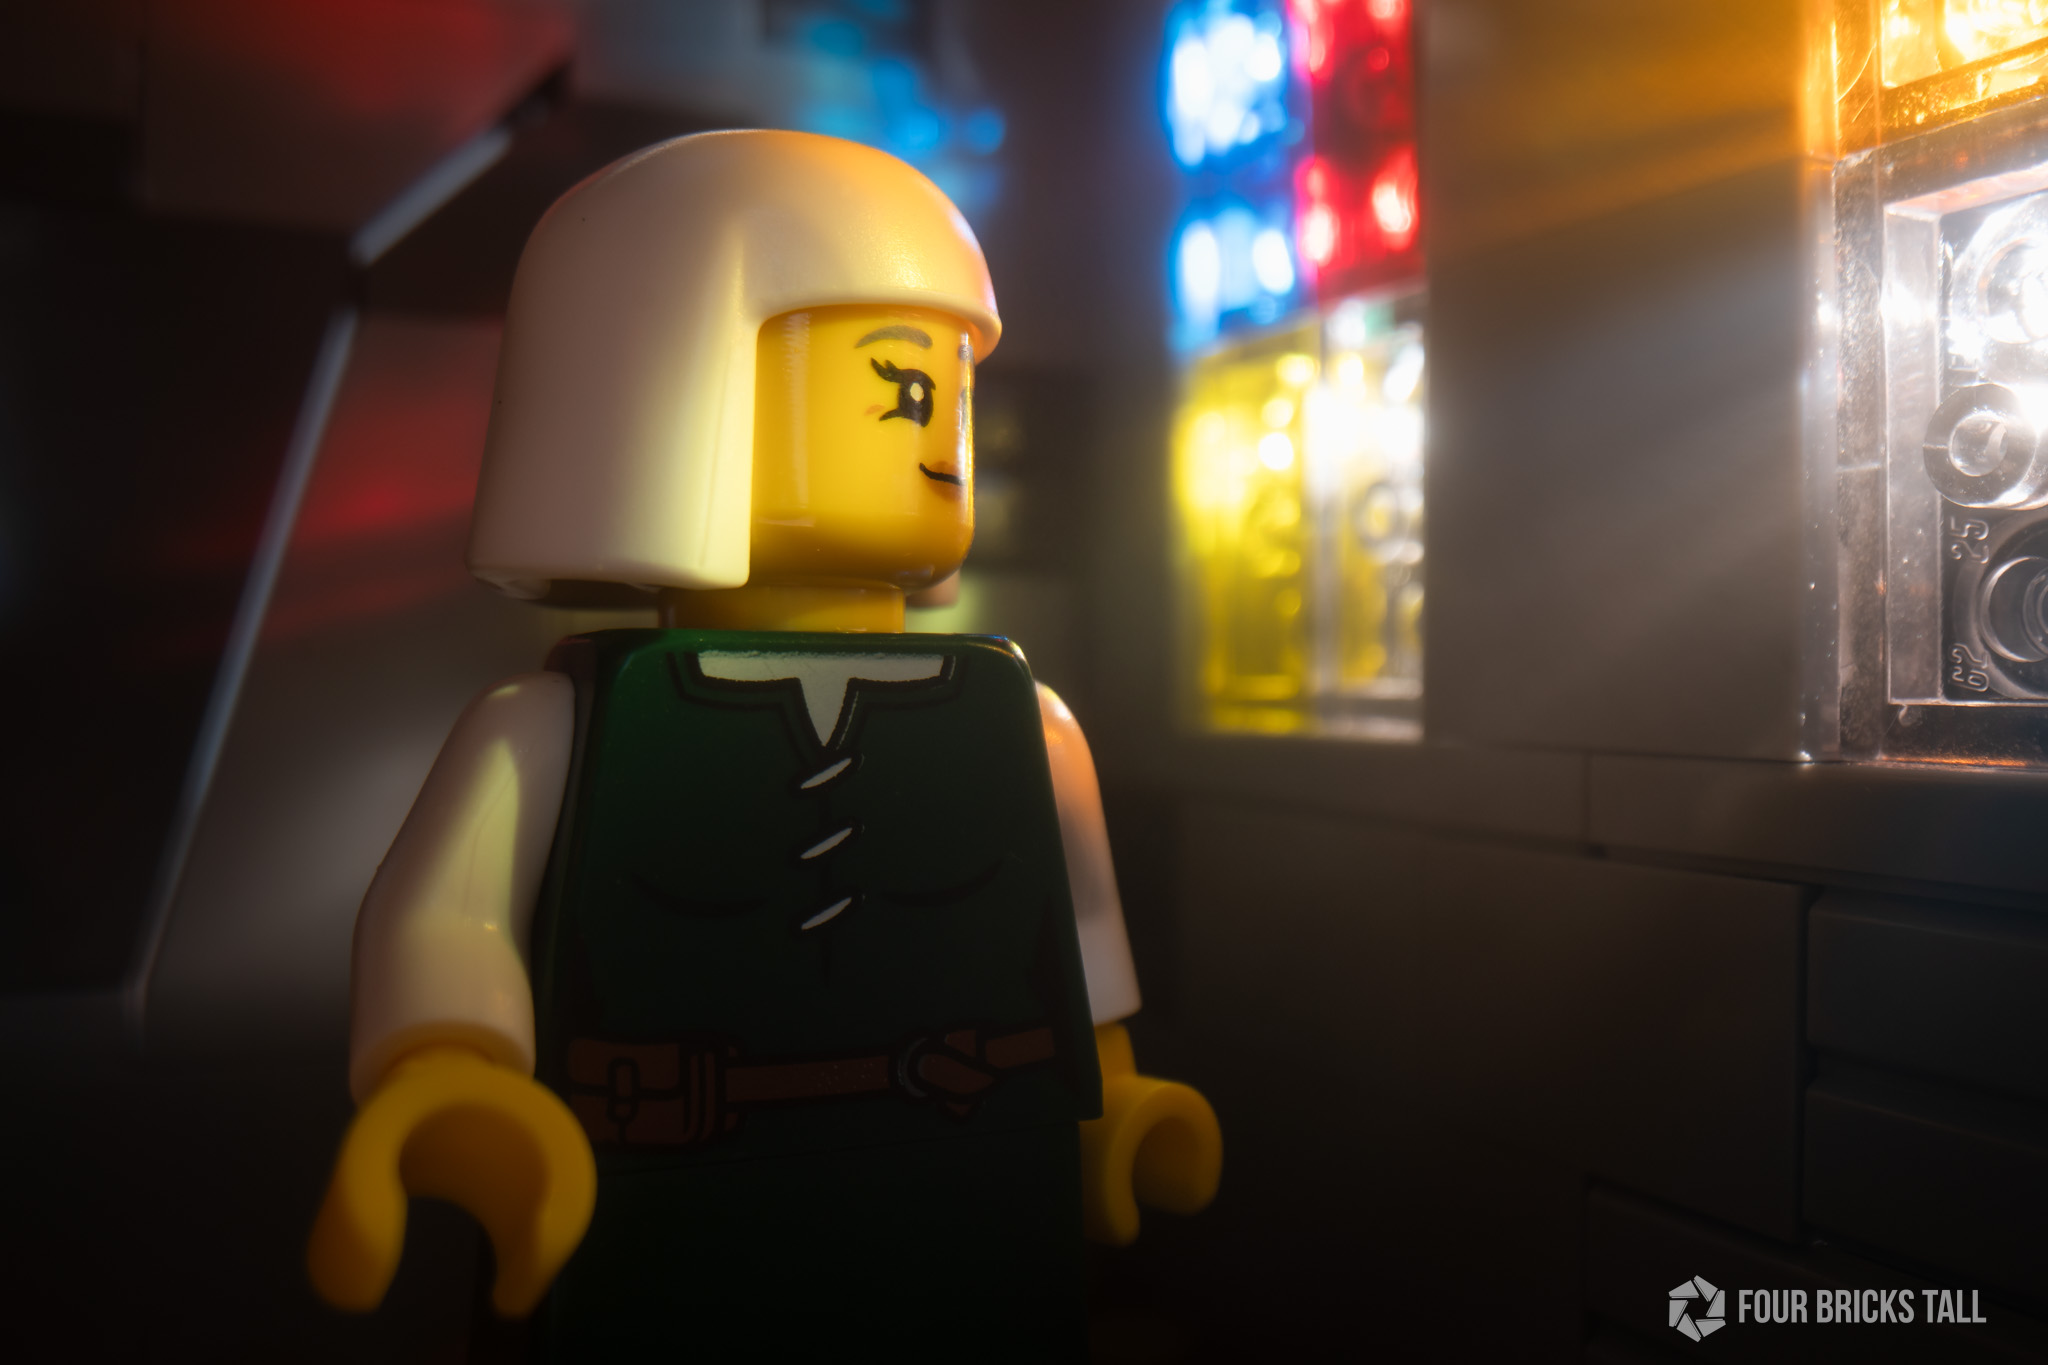
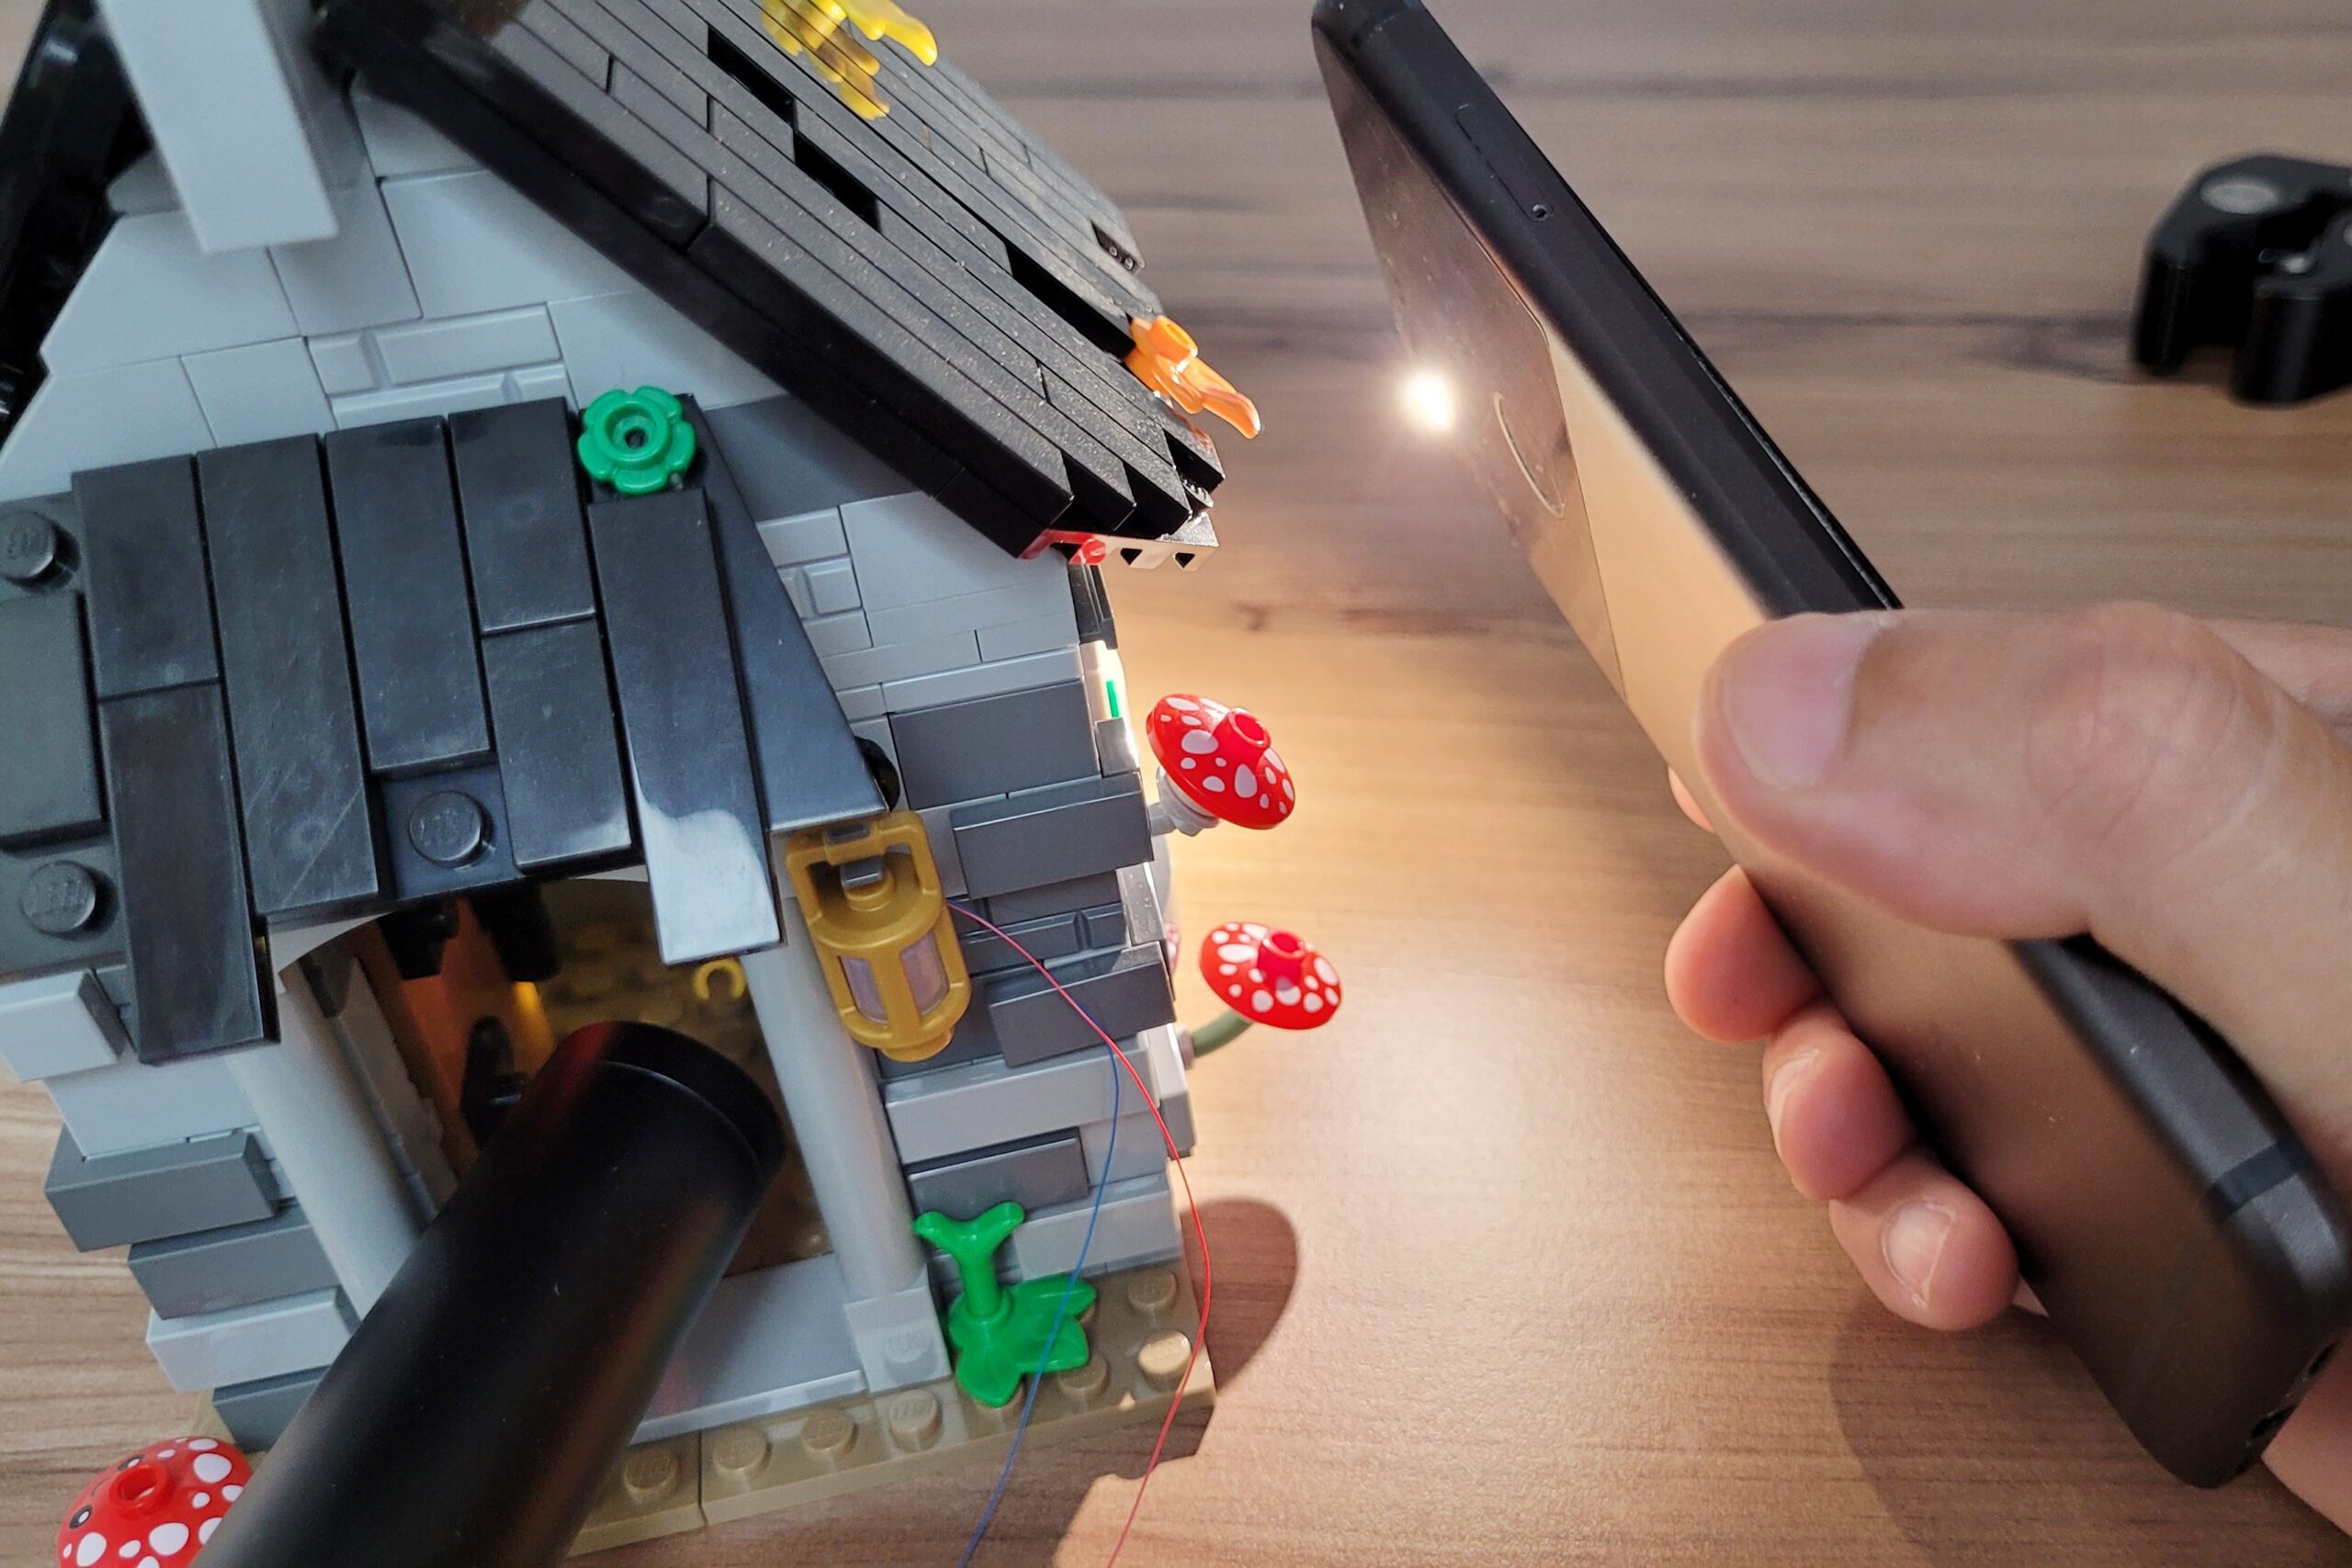
Sometimes I just need a small harsh light source when I’m shooting LEGO models and the easiest one to find is the one on my phone. For this photo, I used an old phone I had lying around and pointed the rear LED light through the furthest stained glass window to cast color on the wall for some visual interest.
Here’s what it looked like inside the LEGO model when I held the flashlight right outside the window angled toward the back:
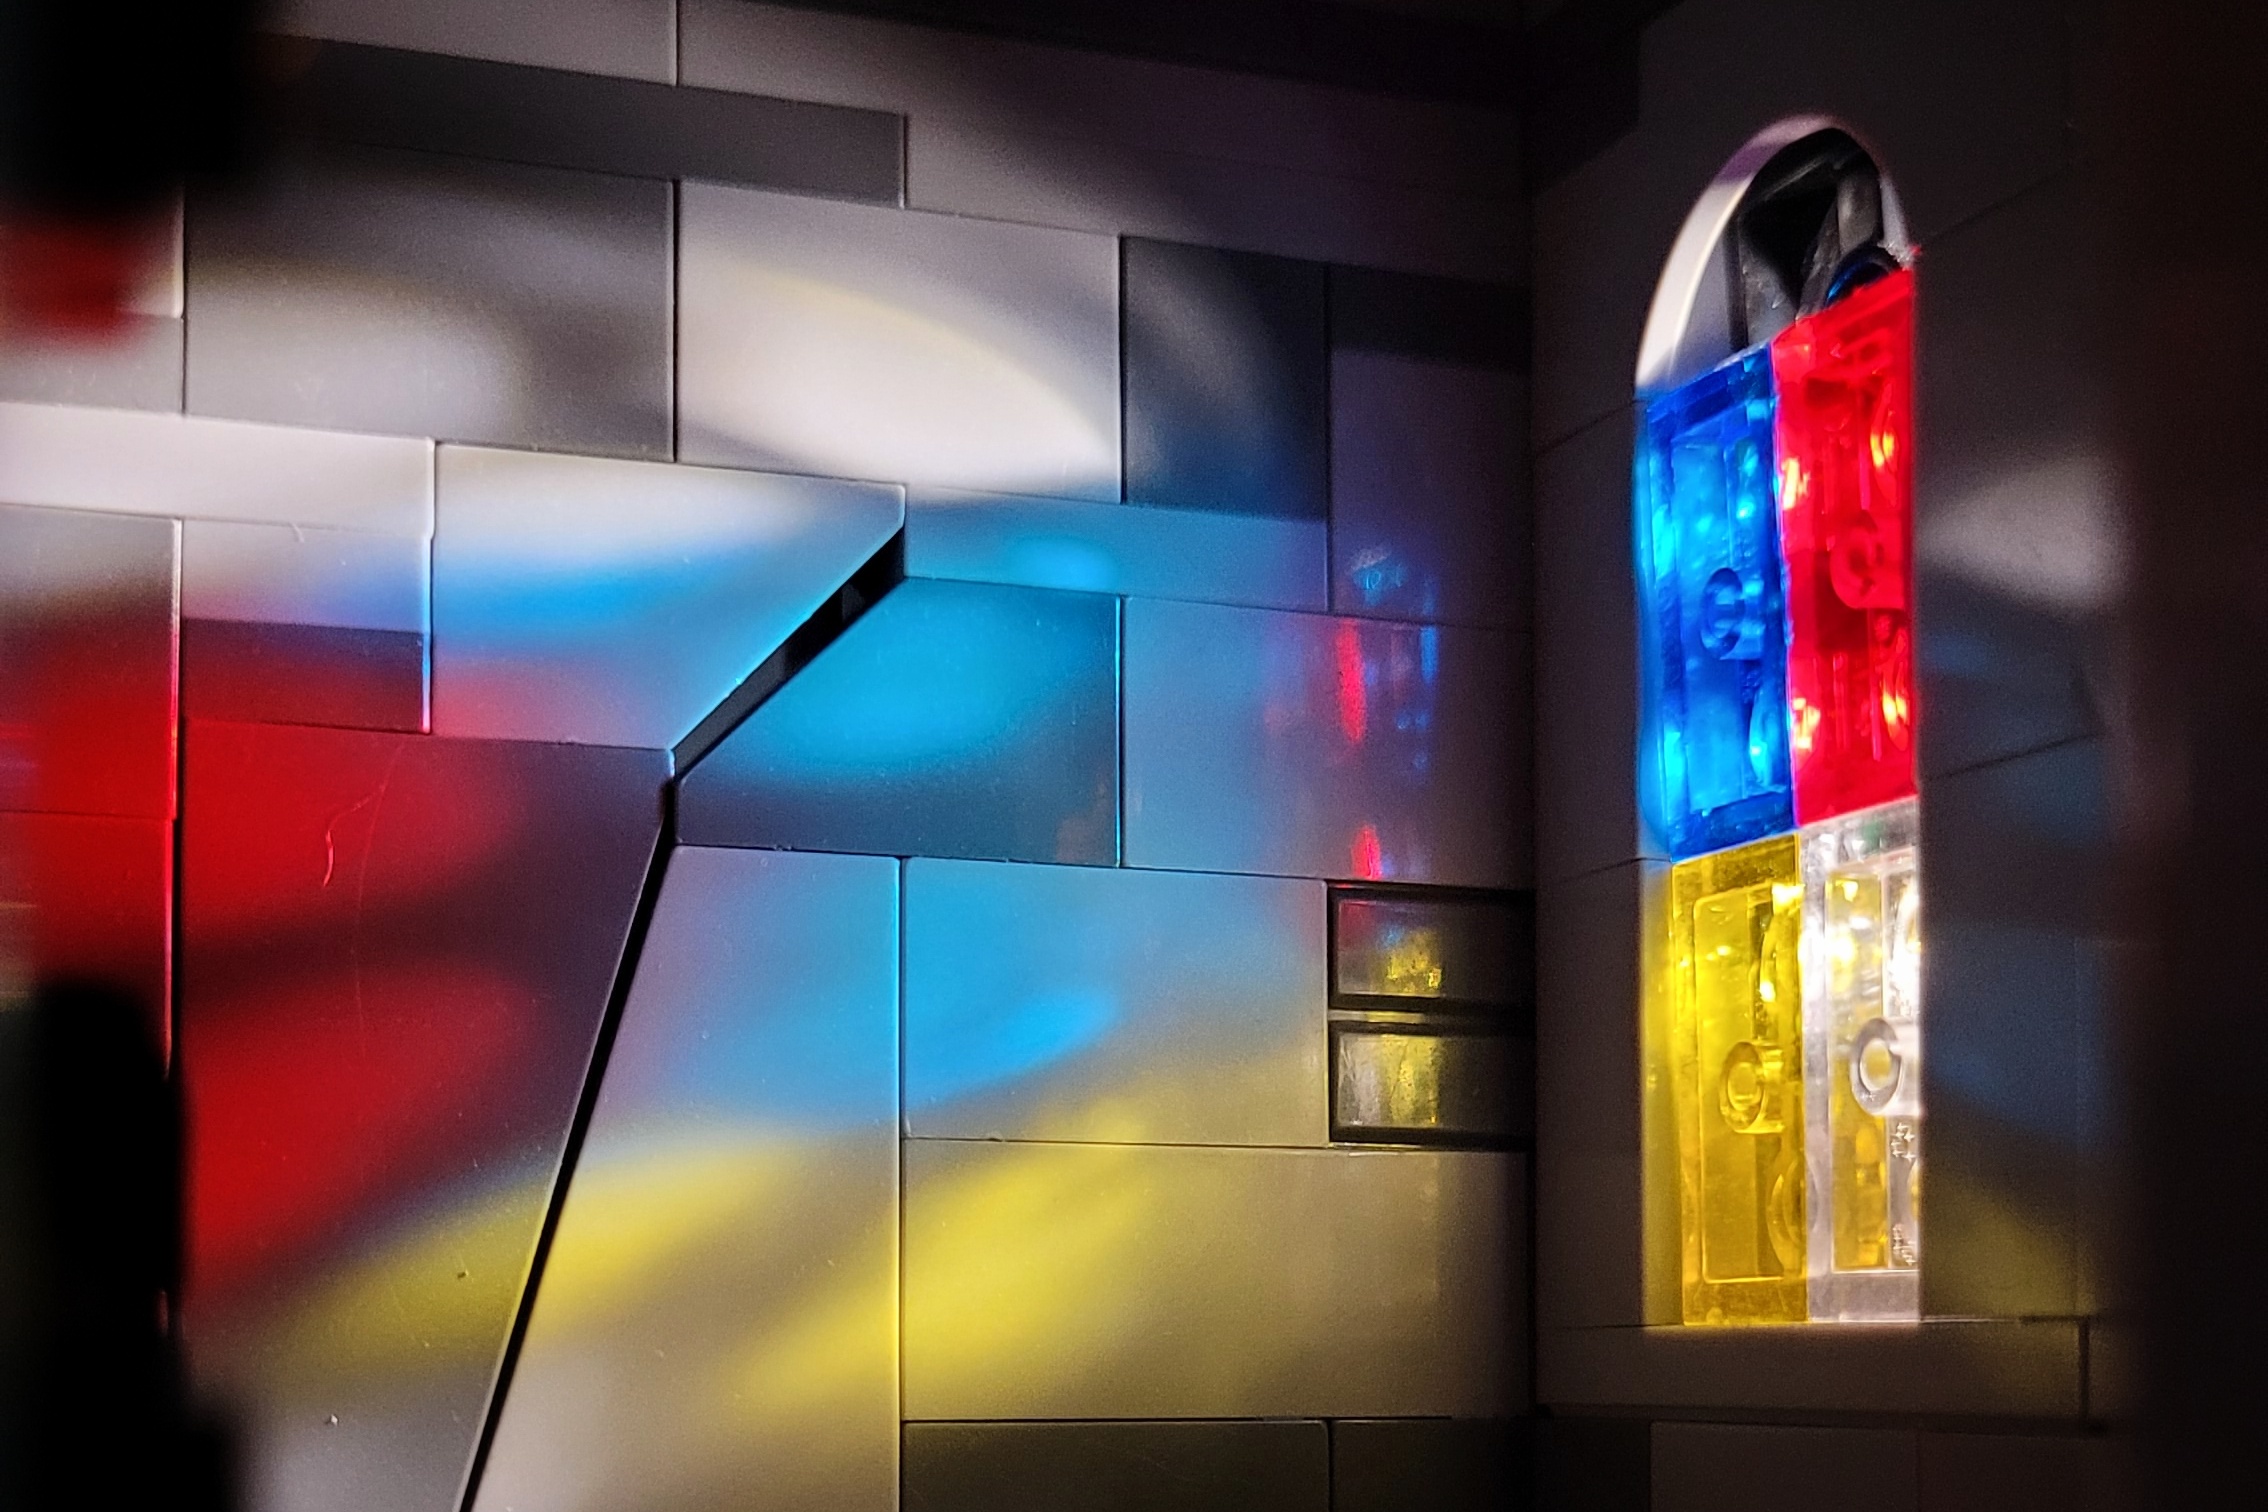
Dramatic, but a little too extreme for how I set up my shot. My concept was to have a minifig in the photo looking at the other stained glass window, so I had to angle the camera more to the right, cutting off the area where the red light was landing.
But since I wanted some of that red light behind the minifigure, I also adjusted the angle of the flashlight inward.
I put my phone in a clamp because I was too lazy to get another Joby tripod. I just turned the phone over so that the flashlight was on the top rather than the bottom, and then loosened the clamp a little bit so that the phone slightly leaned forward.
Doing that made the flashlight match the direction of light of the key light more closely.
Speaking of which, my key light was the Lume Cube. The key light is the light that lights your subject and here I had it shining through the window and onto her face at a higher angle.
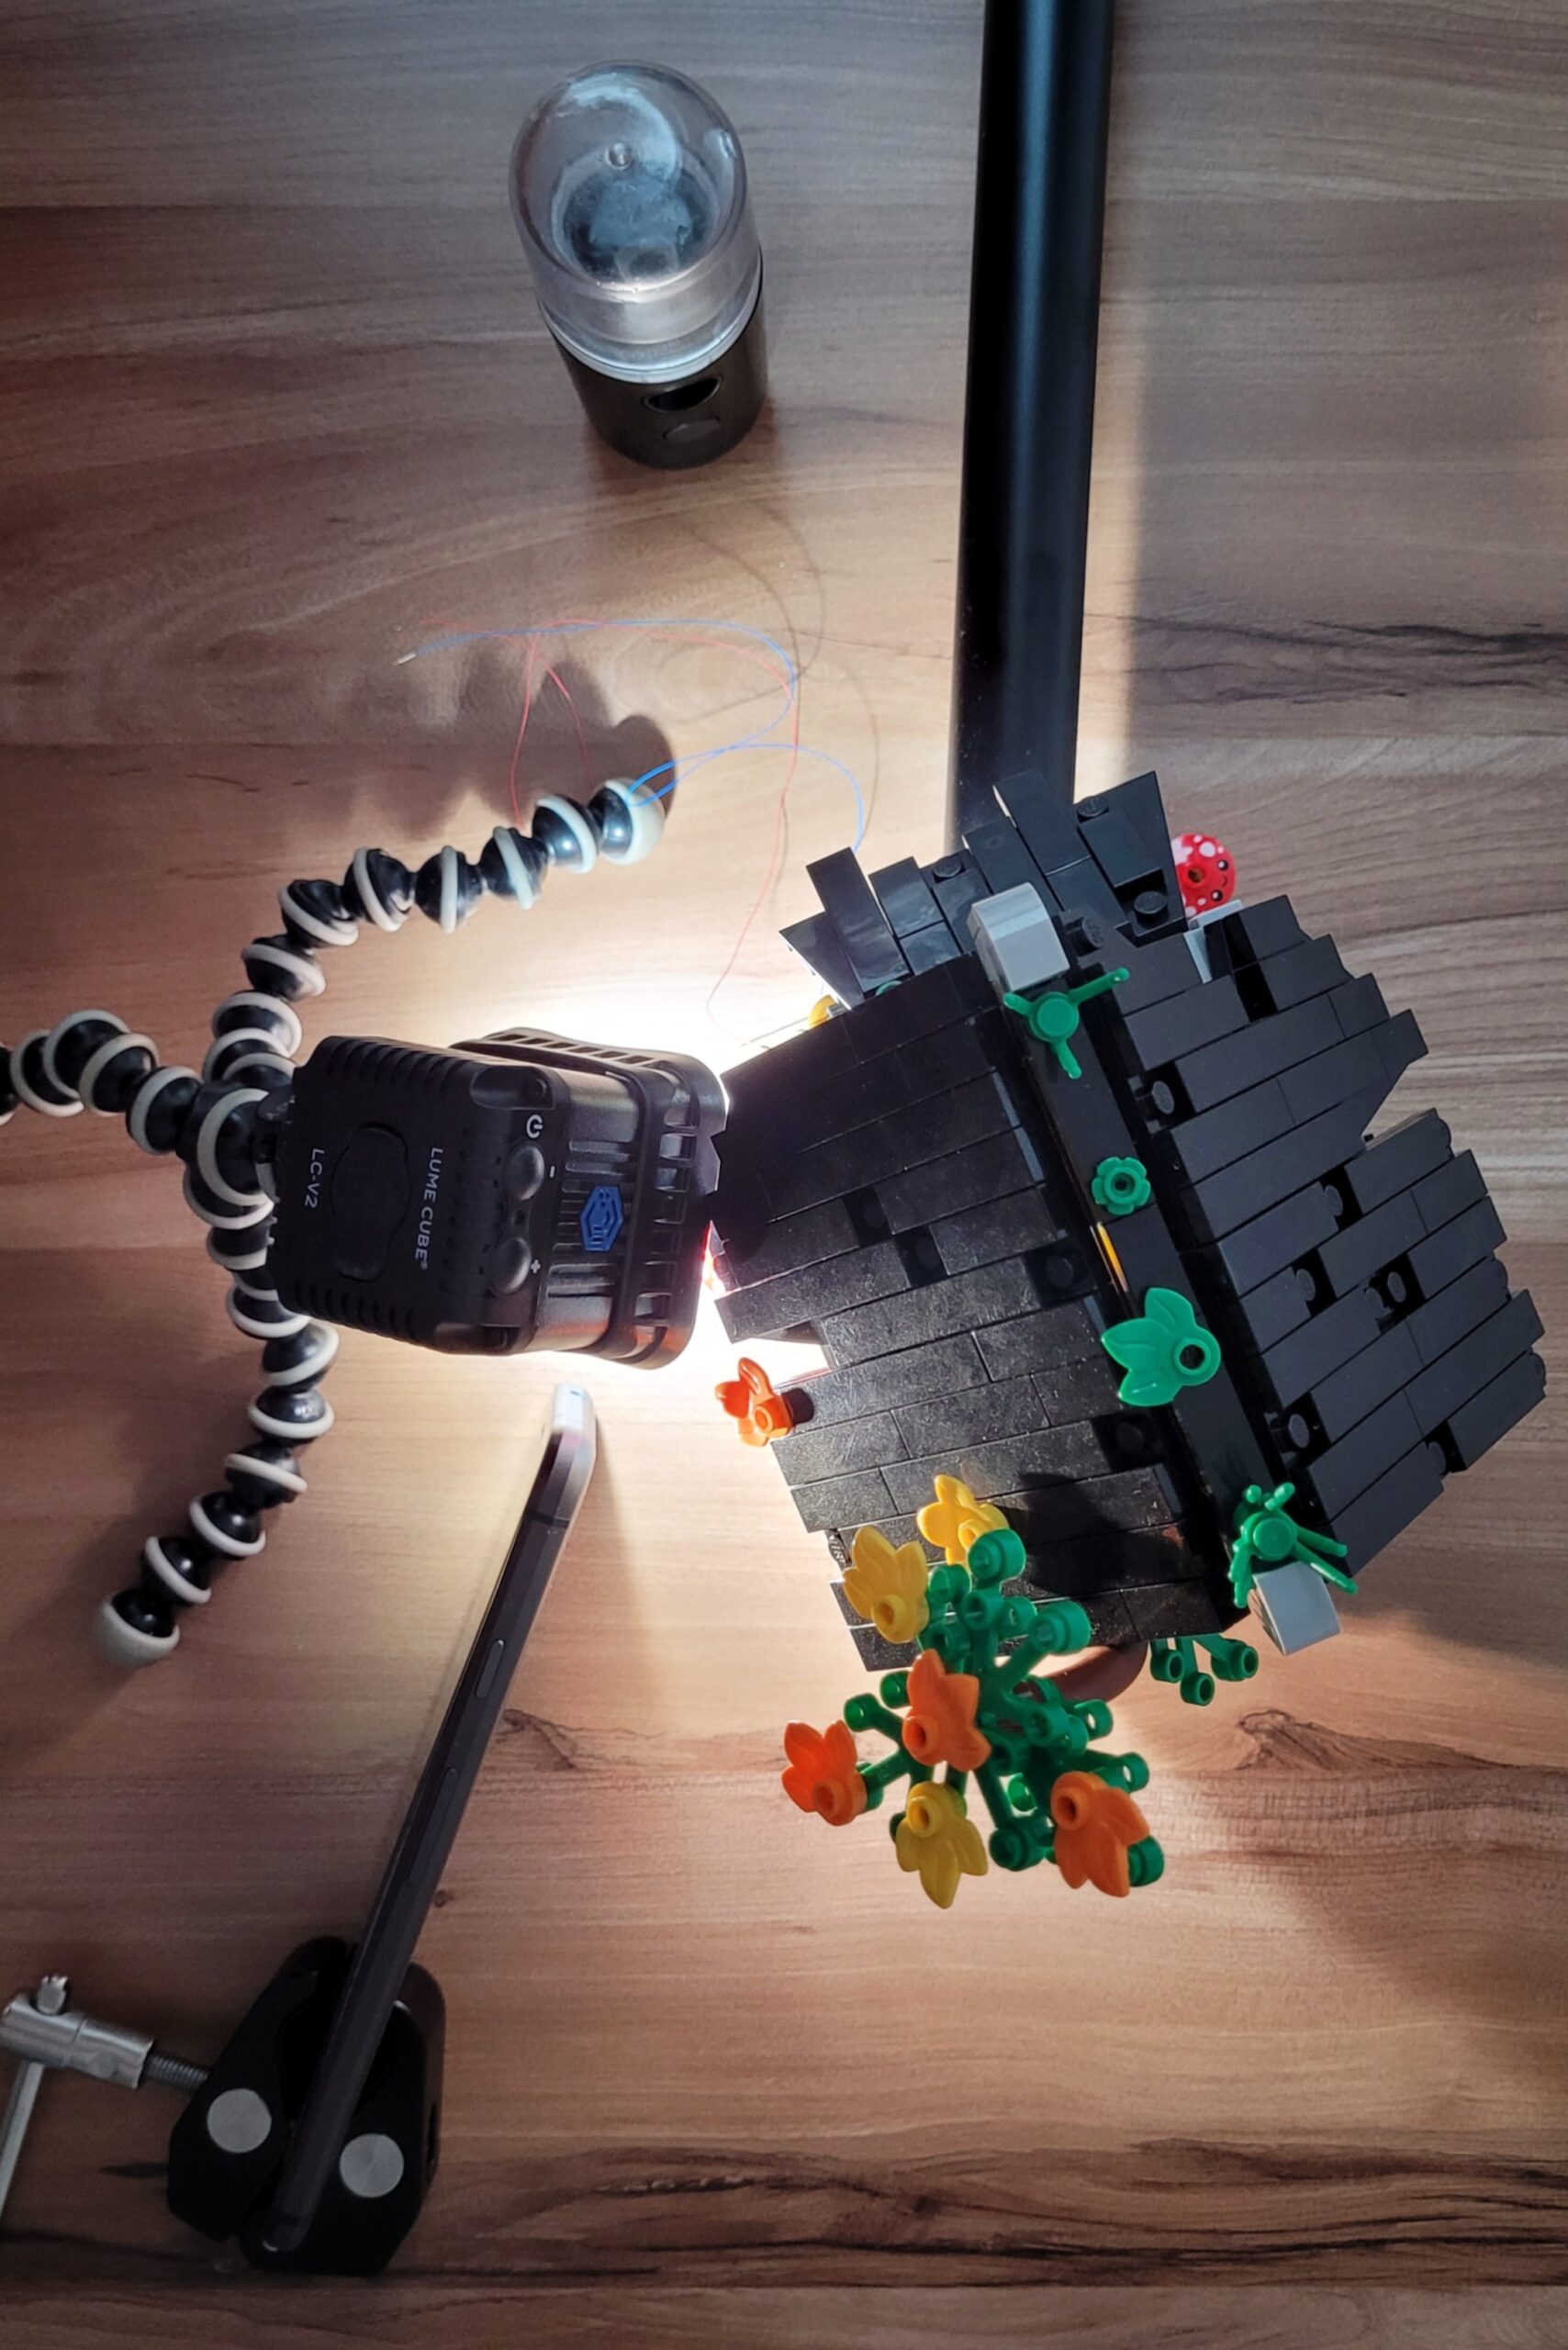
Finally, I sent in a little bit of mist to catch some of the hard, colored light as rays and to diffuse it.
All in all, an easy lighting setup. I would’ve even used a second phone flashlight instead of a Lume Cube for this photo but I just don’t have that many old phones around the house.
So if you need a small and relatively bright light source for your LEGO photography, reach for your phone! It’s a great hard light source that’s easy to use and perfect for shooting LEGO toys.
