

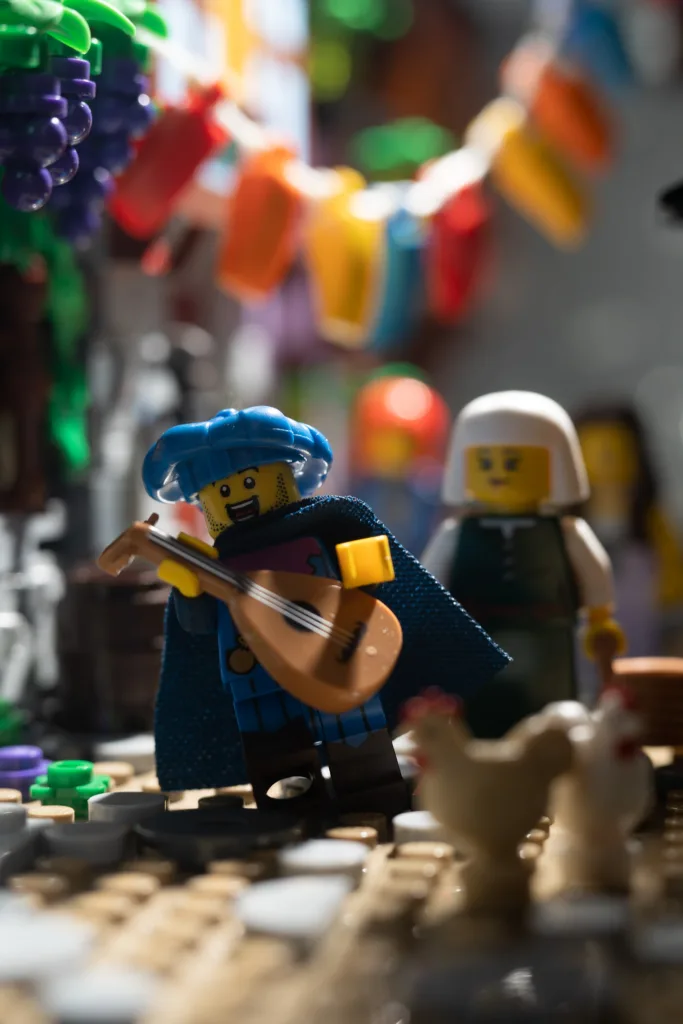
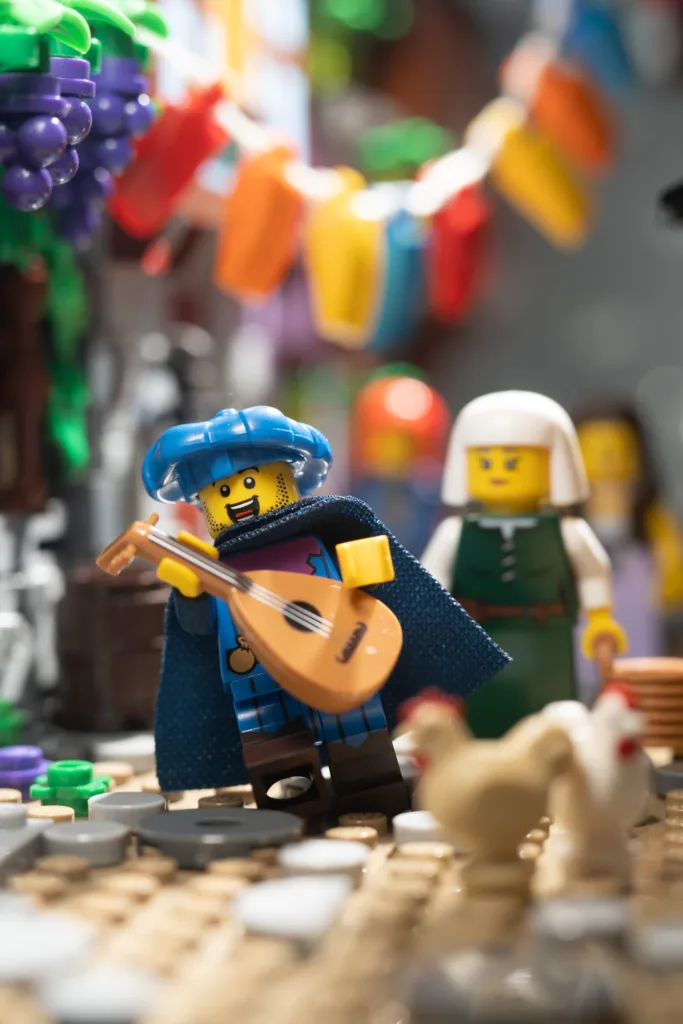
I’m going to walk you through how I created this photo of a happy LEGO bard in a medieval street from coming up with the idea to editing.
Ideation
My LEGO toy photography workflow usually starts with creating a completely custom character, but this time, I simply wanted to outfit the troubadour from CMF Series 22 with a custom hat I just got.
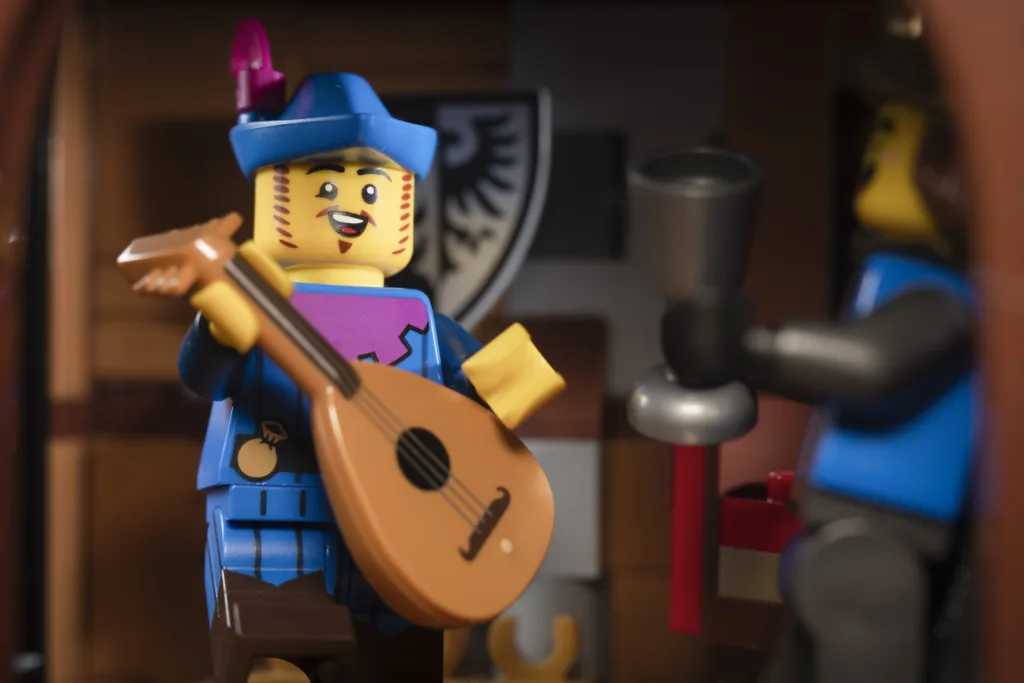
That hat plus a new cape from the Falconer in CMF Series 24 and my custom bard character was done. The hero of the story was settled.
Coming up with a “story”, however, is a challenge for me: I don’t really believe a single photo can tell a whole story in the way I traditionally think of them, at least.
Maybe I’m more in the Winogrand camp:
I don’t have anything to say in any picture. My only interest in photography is to see what something looks like as a photograph.
– Garry Winogrand
I think “concept” is a better term for a single photo, whereas I’d reserve “story” for a series. But I digress.
Scene setup
I’d gotten some good news the next day so I decided my bard should be celebrating. A “story”!
I already had a “stage” built– Galen’s Row, my medieval alley MOC that is basically a series of connectable facades– but dressed it up a little with a simple string of colorful party banners.
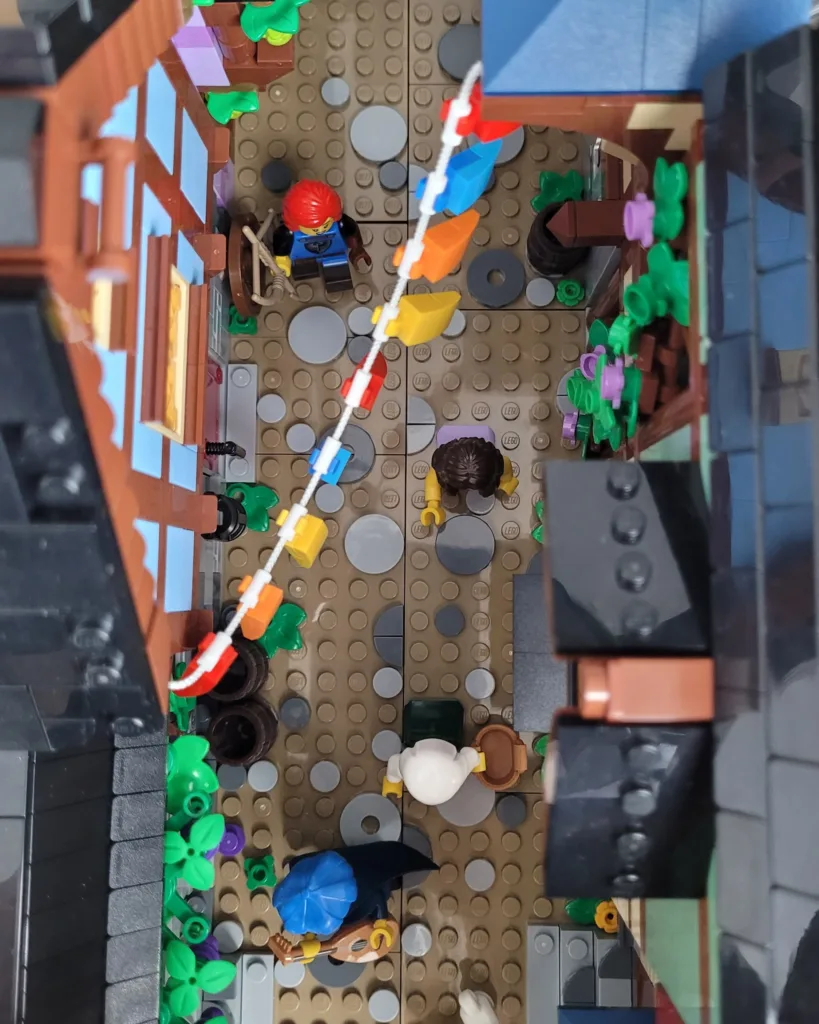
I intentionally created a leading line with the party banners to draw attention to the grapes over the bard’s head. The grapevines are my favorite detail in Galen’s Row and that’s also why I chose this section of the MOC to place the bard.
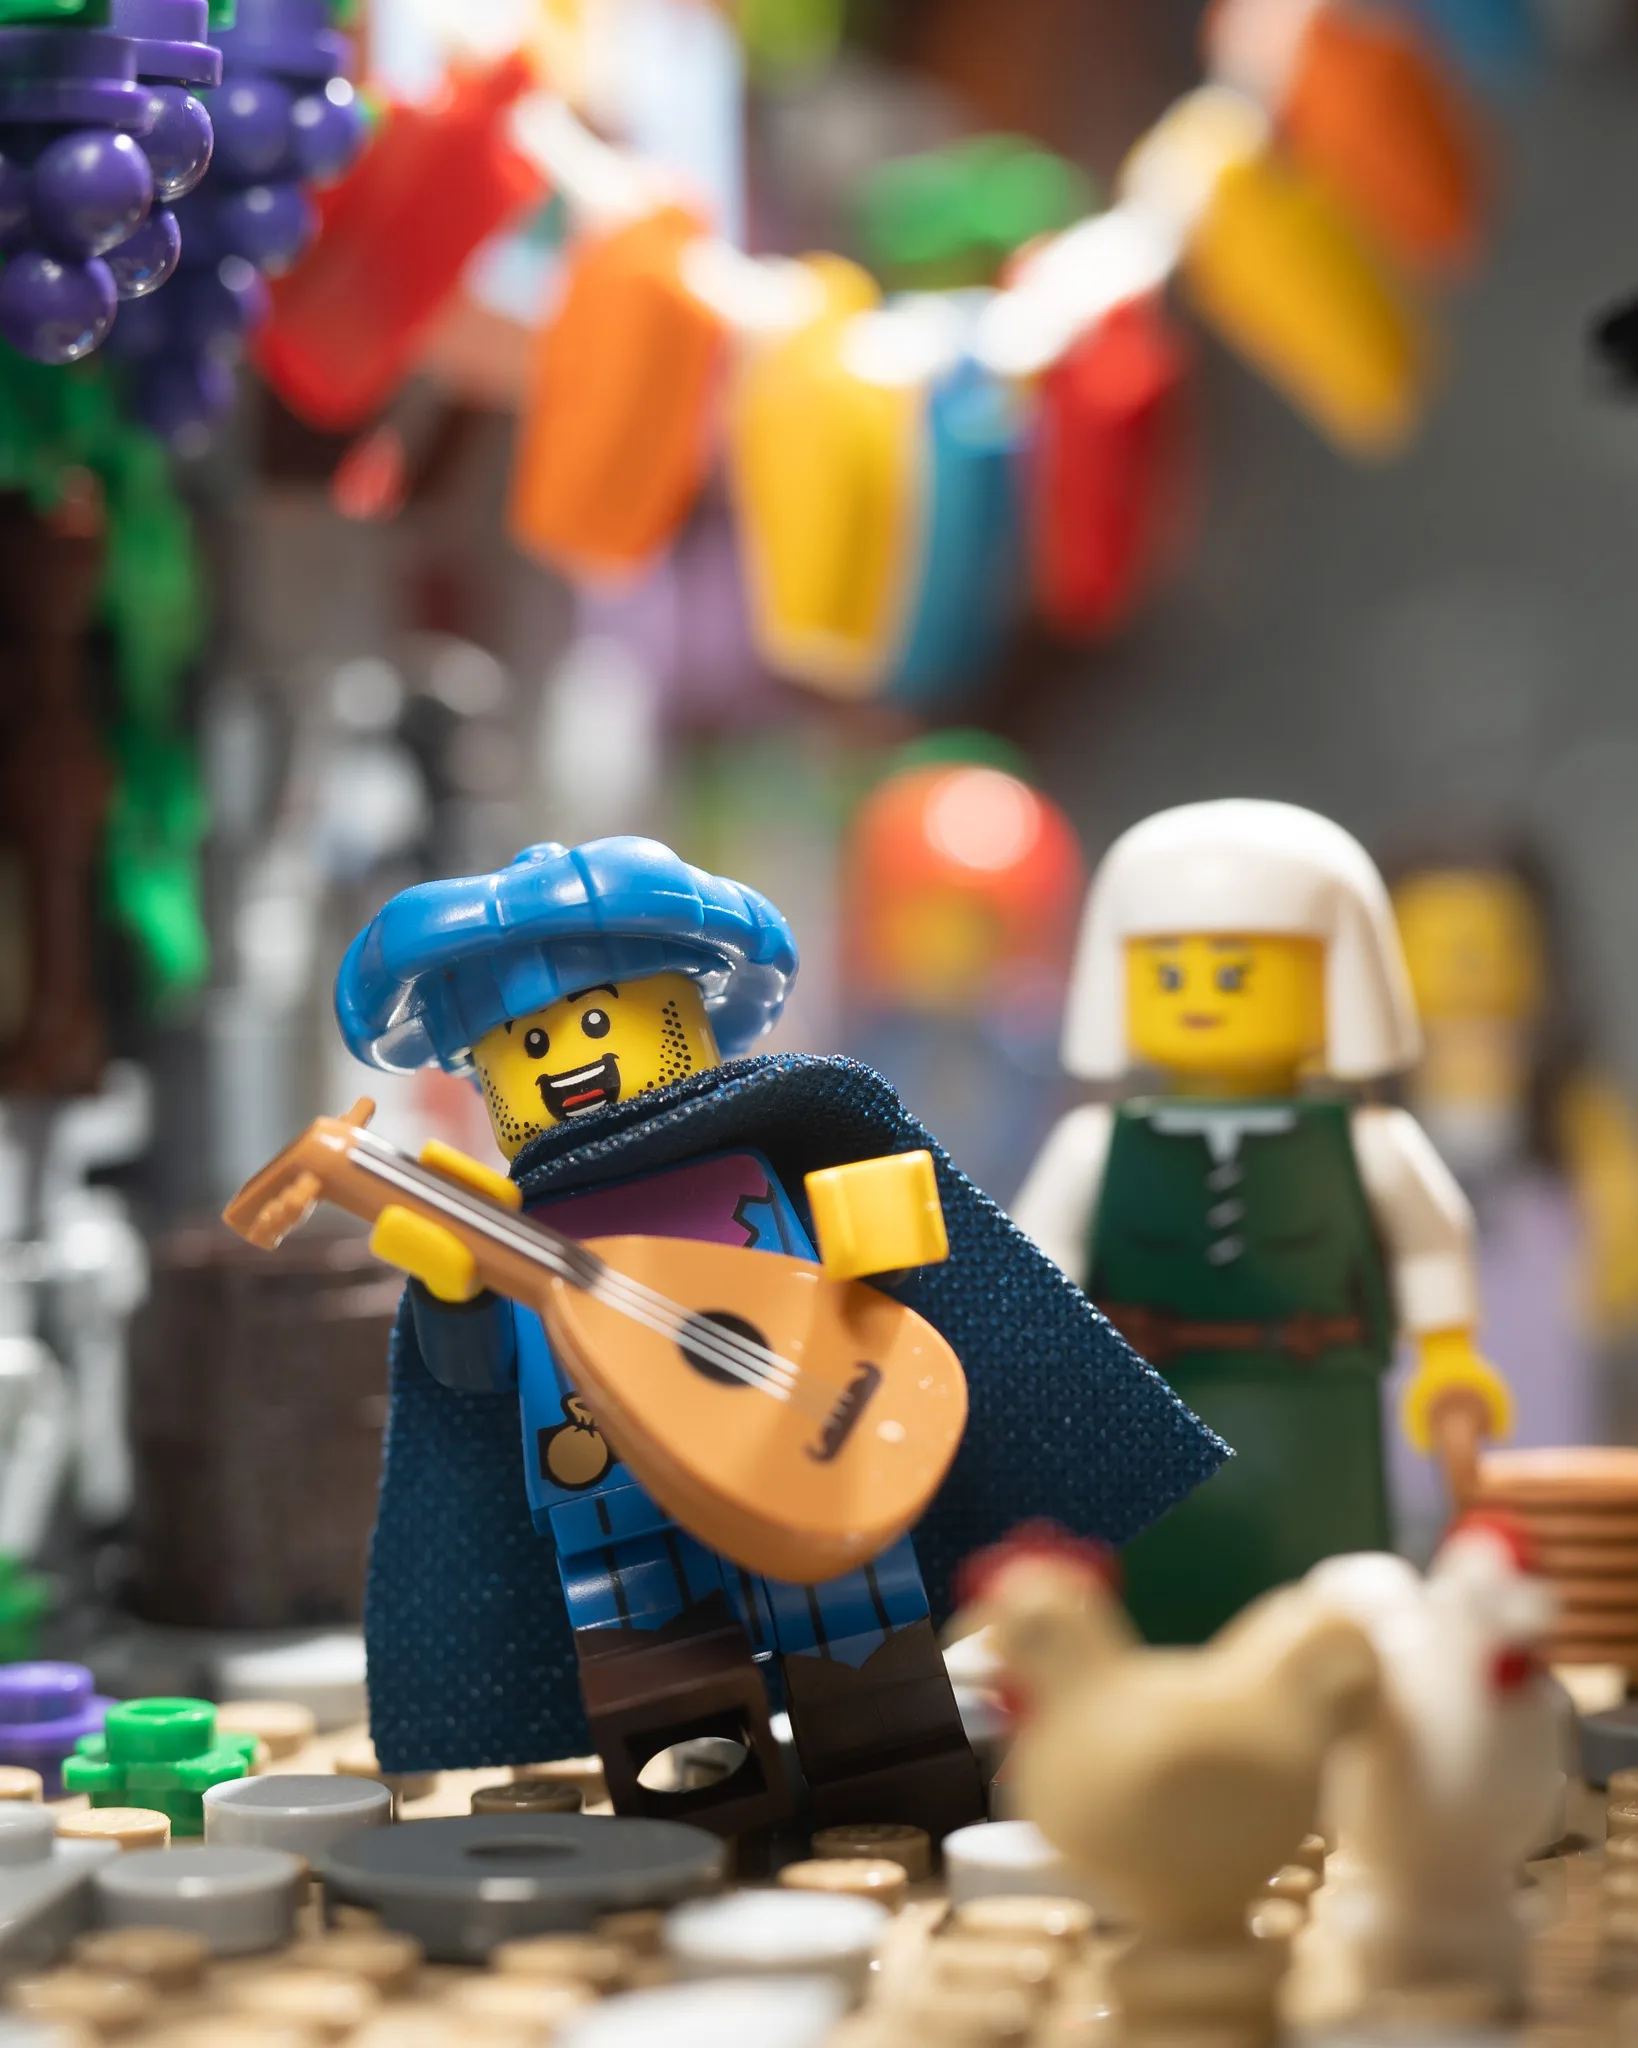
At this point, I brought in my camera to check how everything looked through the lens. Keeping my eye on the camera screen, I carefully added minifigs and objects (like the chickens) to the stage.
I’ve learned to add details incrementally while checking the LCD screen because it’s very easy to go overboard and mess up compositions if you just eyeball it. It makes more sense to “build to the camera” this way.
Gear selection
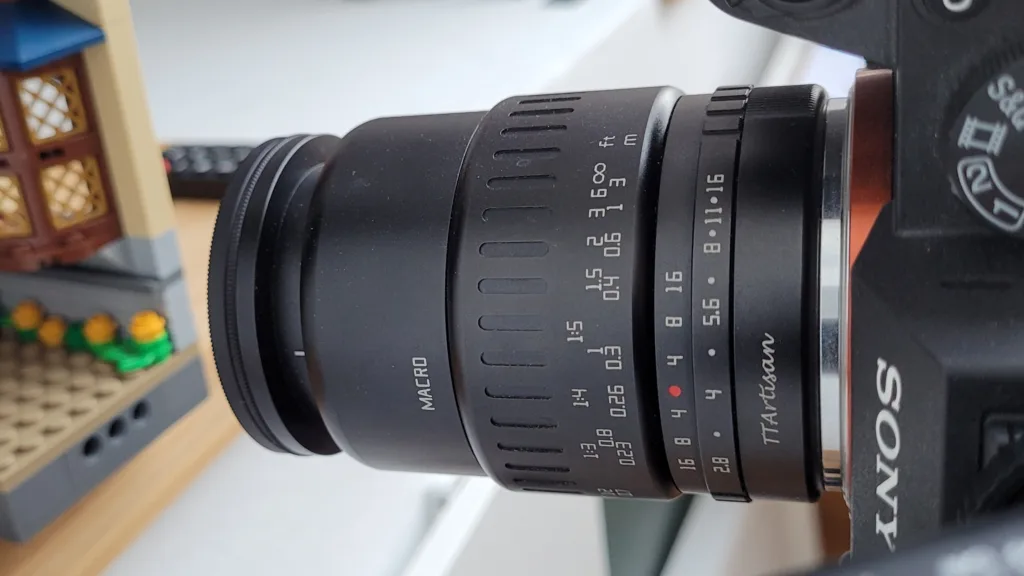
I usually shoot with a Sony 30mm macro lens in Galen’s Row and other narrow brick-built MOCs to make them appear more expansive. But I used the TTArtisan 40mm macro lens instead to make the minifigures look like they were closer together. A 10mm difference in focal length can be a big deal.
I also had my camera positioned vertically on my tripod using an L-bracket so I could capture the important party banner detail.
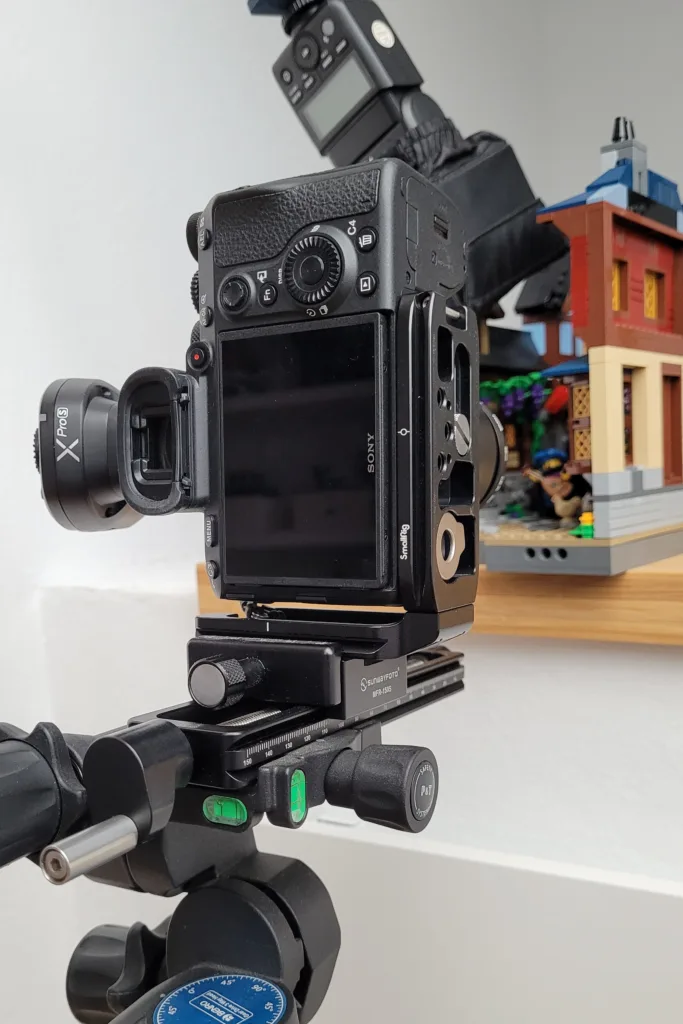
L-brackets are great because you can quickly orient the camera and keep the center of gravity the same. You don’t have to rotate or flip the camera to the side of the tripod.
Composition
To recap my main composition choices so far, I used:
- leading lines with the party banners pointing to the grapes and the bard, and adding depth
- compression with a slightly longer lens to make objects look closer to each other
- portrait orientation to get the party banners in the frame
- layering by adding characters in the background
- foreground interest with the chickens
Lighting adds other compositional techniques too, like separating the subject from everything else and drawing the eye.
Lighting setup
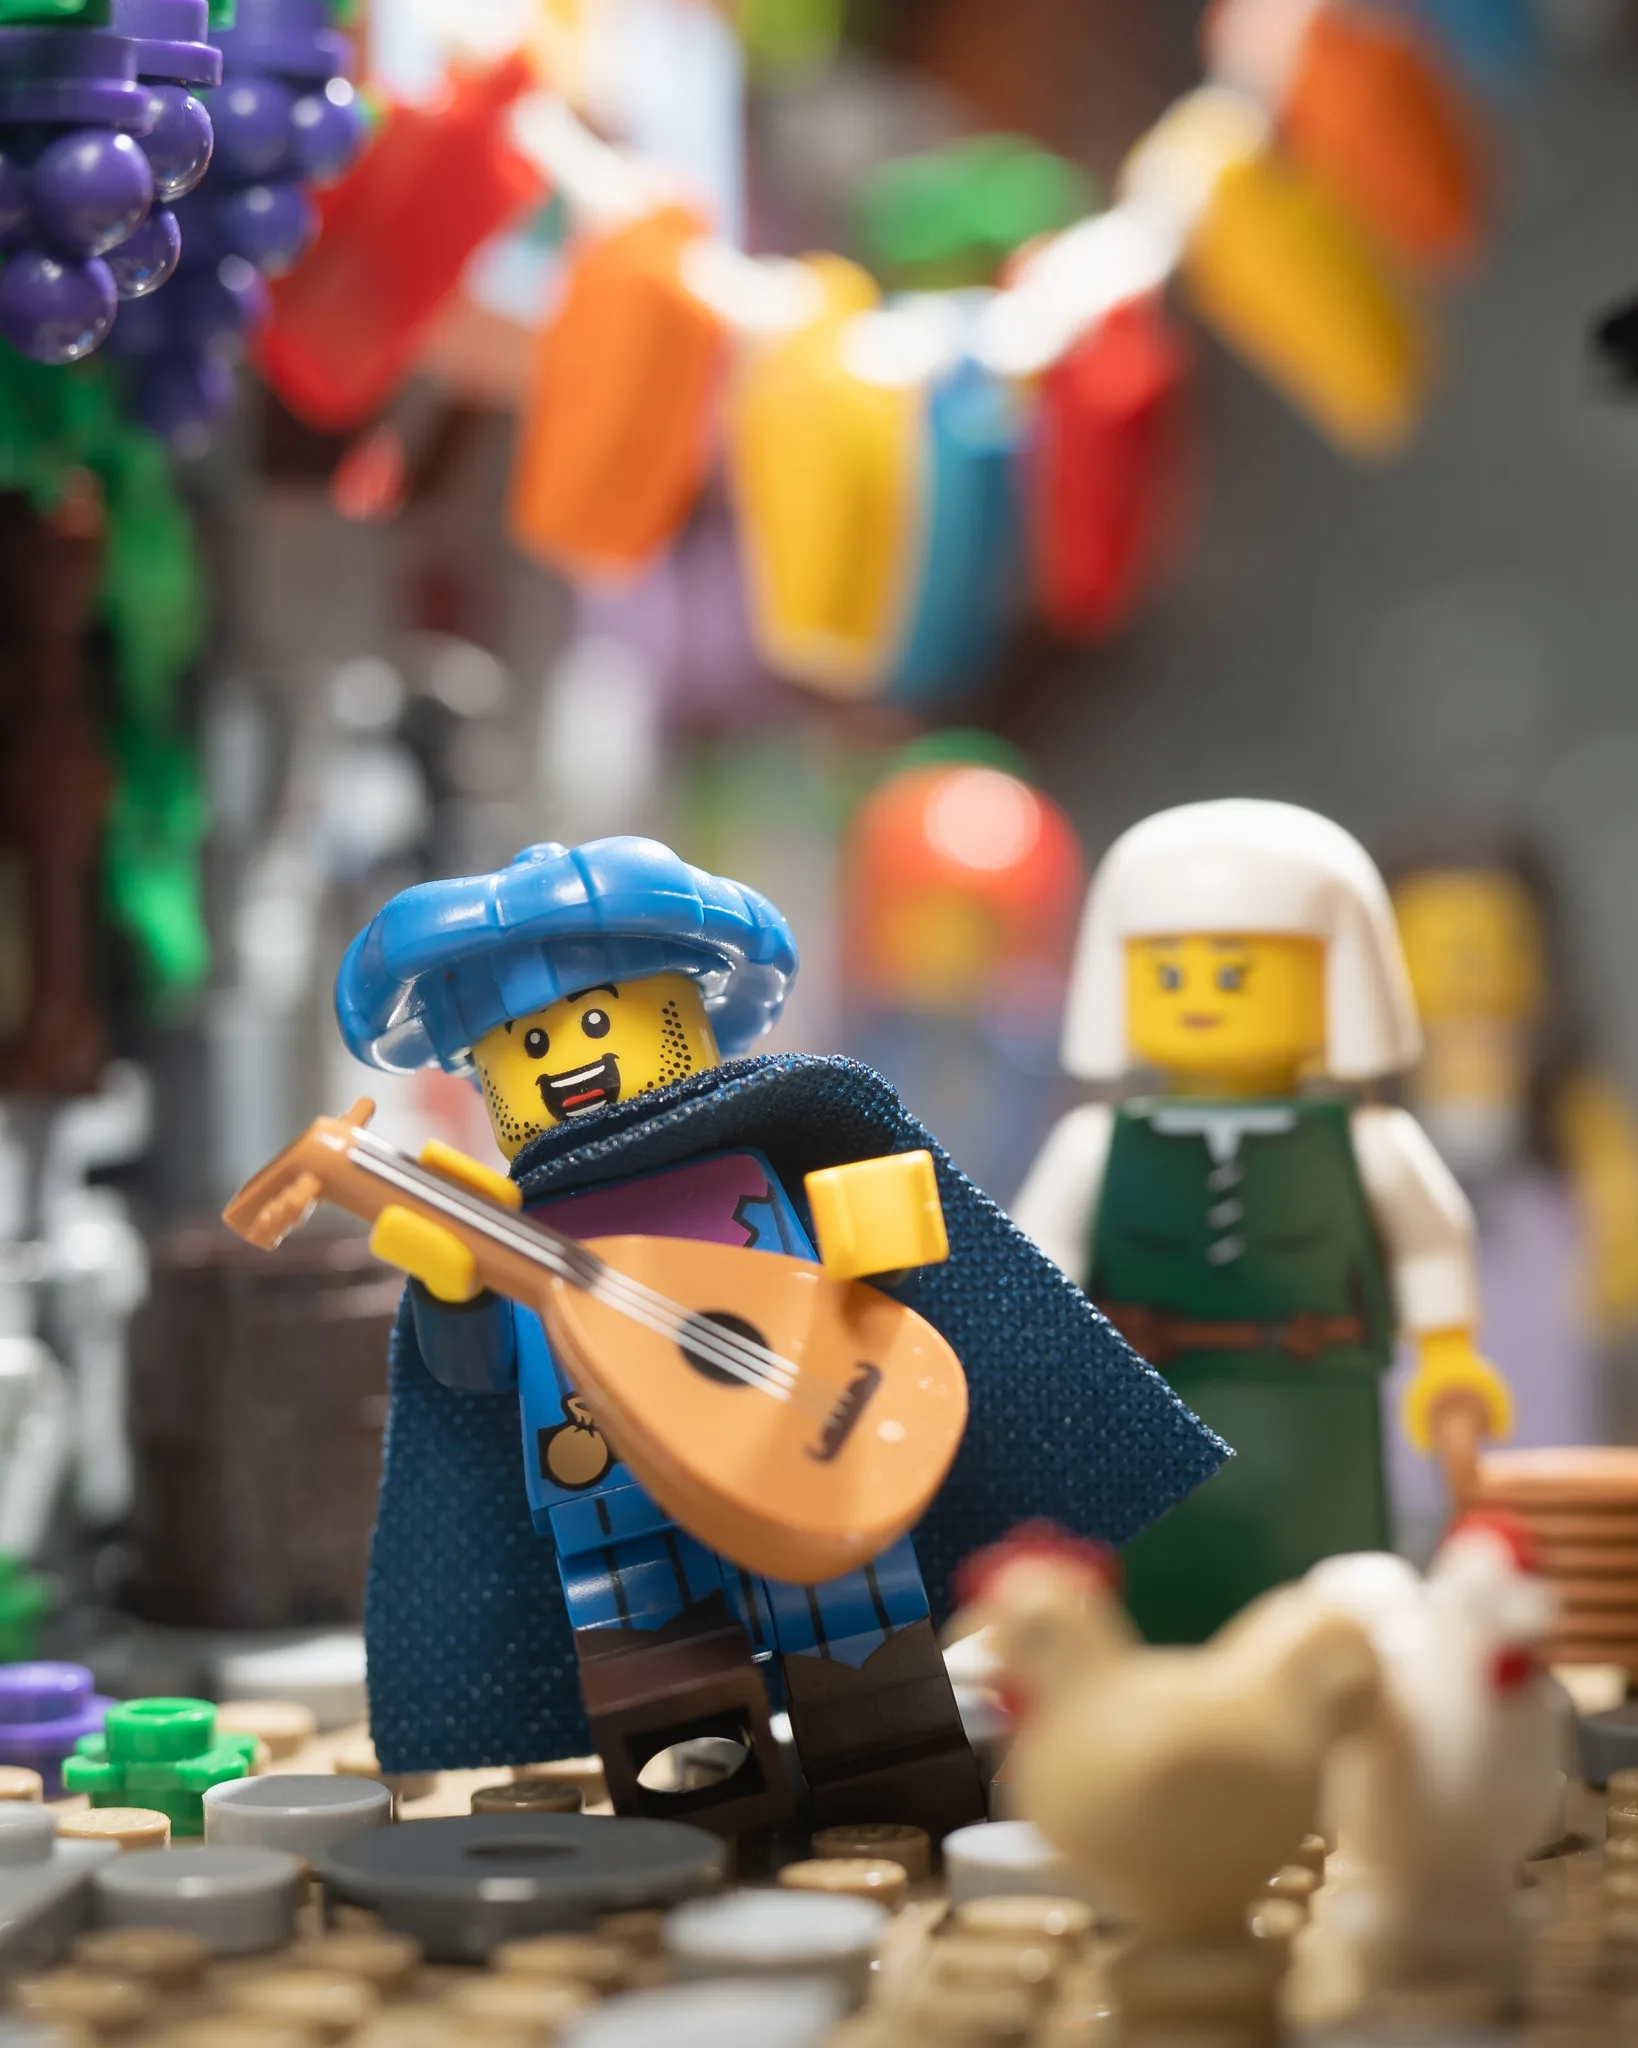
The scene was a busier one than usual since I had chosen to add more minifigs and objects for a festive environment, so I used lighting to make my bard stand out more.
I had 3 flashes set up outside Galen’s Row: a standard flash on a light stand, a mini flash, and a small flash with a small softbox on a wall-mounted articulating arm.
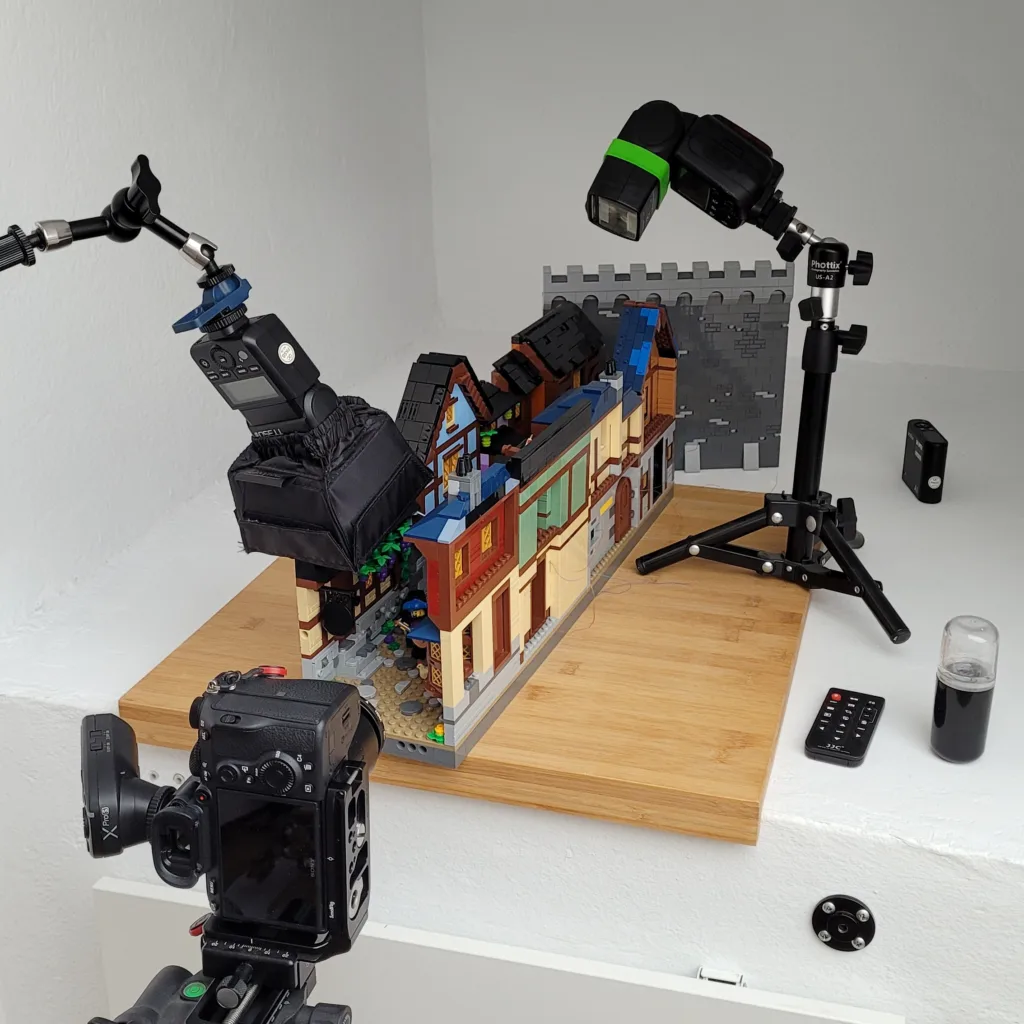
These are my backlight or rim light, background light, and key light in that order.
I “build up the light” which means I set up light sources one at a time. It’s much easier to incrementally add lights than to have all the lights firing at the same time and try to guess which light source is affecting what part of the scene.
Here’s how I built up the light, starting with a shot with the ambient light, the background light next, then the backlighting, and finally the main light.
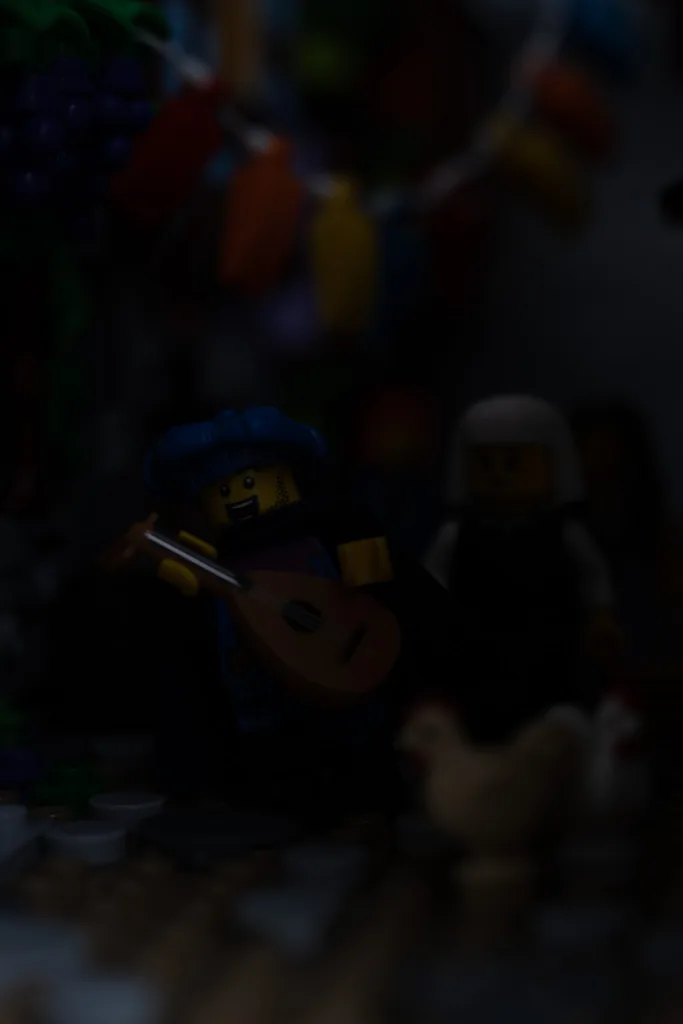
- Ambient light only: Ambient light seen at f/4 to isolate the bard in the busy street, and then shutter speed slowed down until I just started to see some shapes. I only wanted some legibility with the ambient light, not a completely black frame.
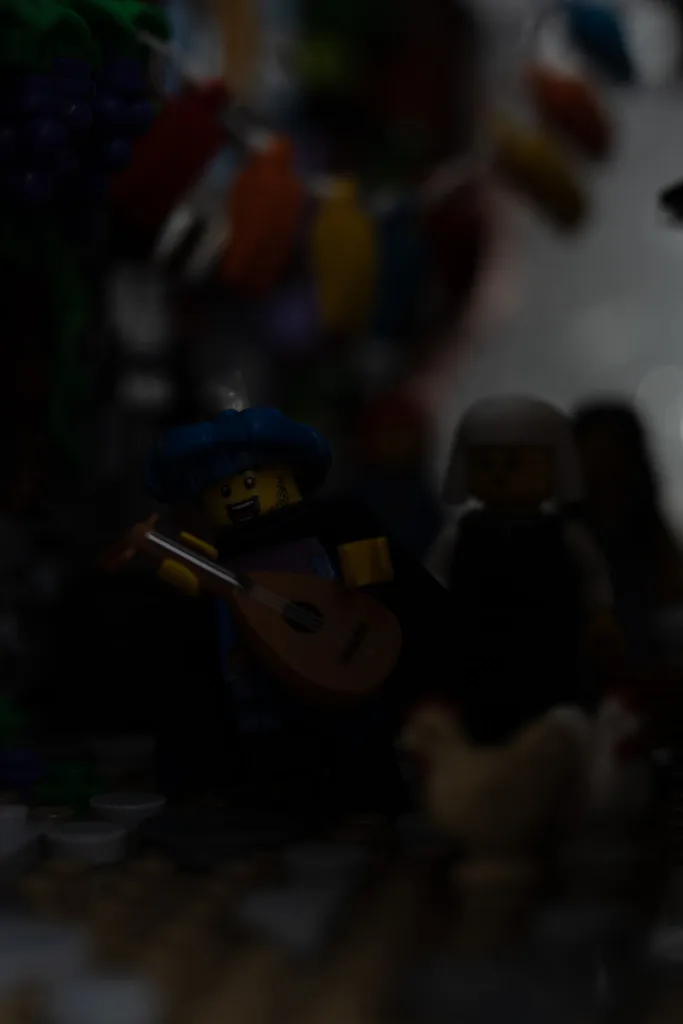
- Background light: Light the angled castle wall with the mini flash to illuminate the background and separate the minifigs from it.
- Backlight or rim light: Backlight the subjects with the standard flash on the light stand. I like the direction of this light because it creates highlights around the minifigures’ shapes and doesn’t give me problems with reflections on the faces.
- Key light: Light the bard frontally with the small flash in a small softbox at low power.
Here’s a short video that shows the effect as each light comes on:
Editing
I don’t tend to do much to my photos in post-processing unless I have supports I need to remove or I need to focus stack, so generally my edits here are done entirely in Lightroom.
The left photo is the unedited image and the right is the edited one. You might not be able to see the differences because they are so subtle, so I’ll point them out:
- The brightness of the foreground was pulling my eye towards it so I brought the exposure down with a linear gradient.
- I wanted a little more focus on the bard’s face so I increased the exposure with a radial gradient.
- I also slightly lifted the overall exposure using a curves adjustment.
Here’s a short video of the whole process, which was under 2 minutes:
And that’s how I got the shot.
NOTE: This is a revised article based on a LEGO photography tip I originally shared in a Take Better Toy Photos essay.